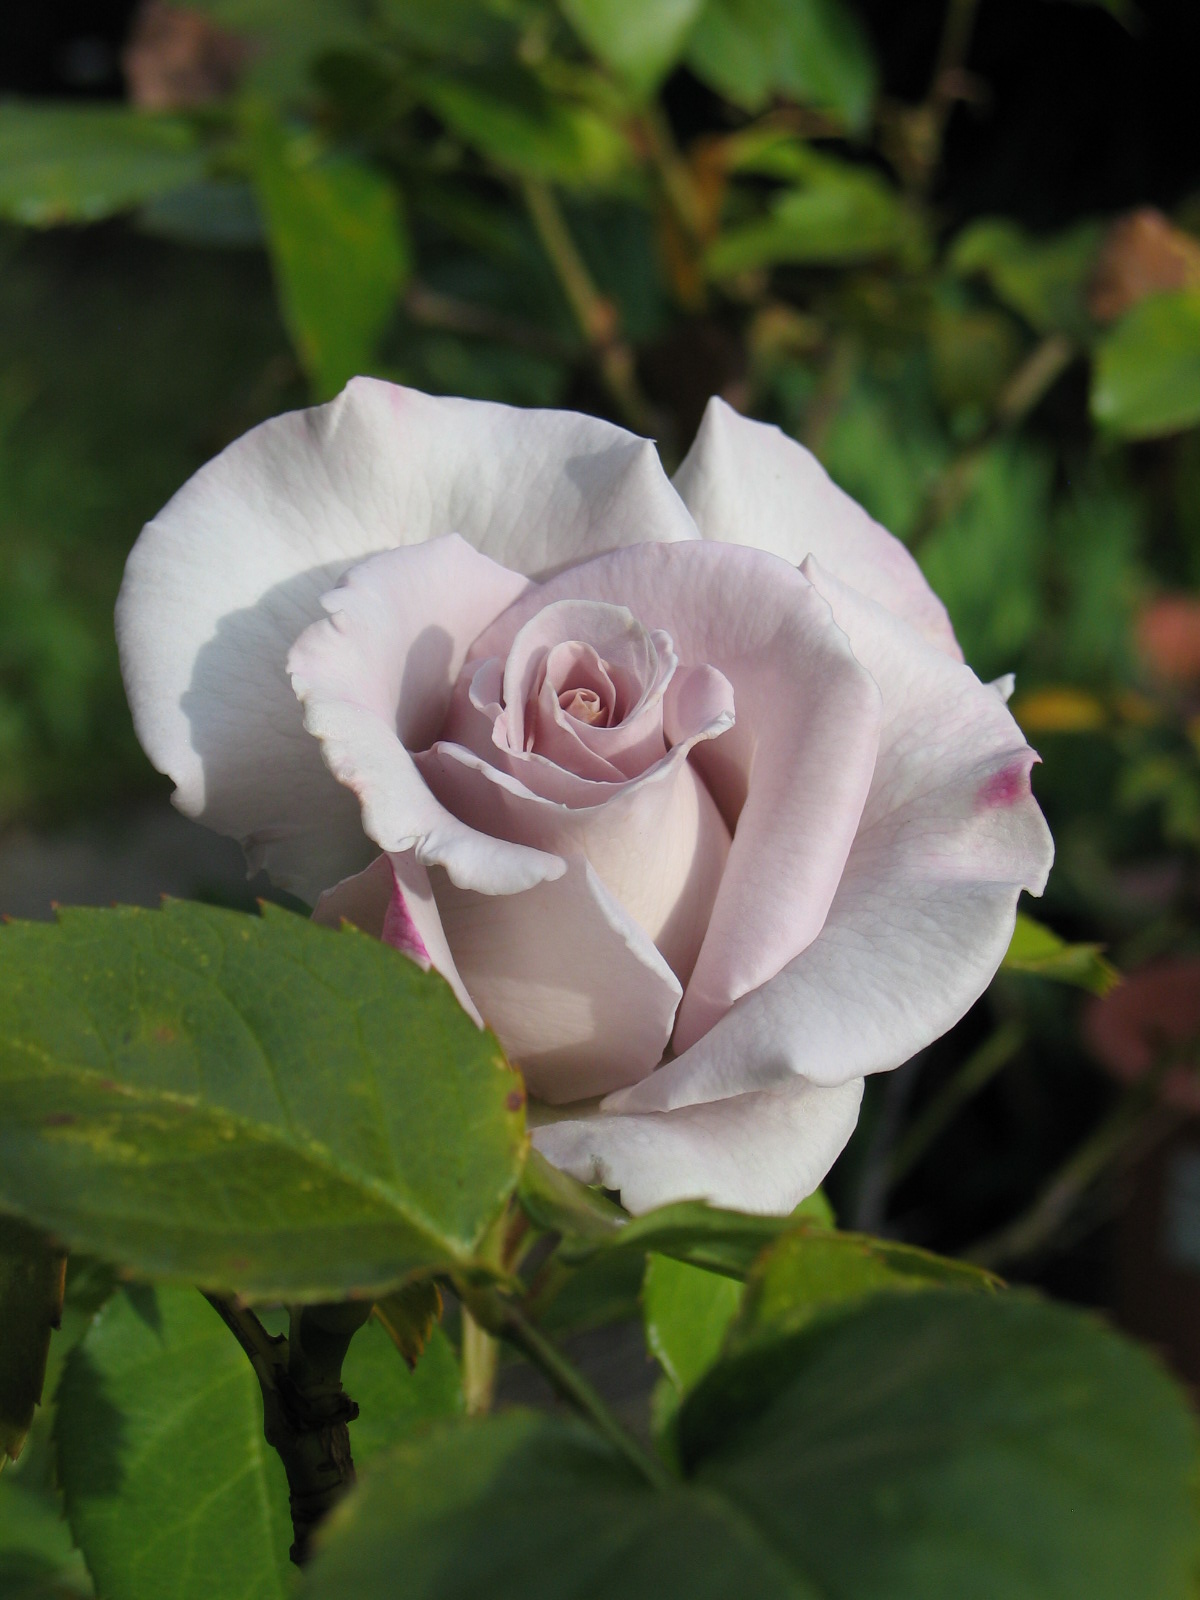
Lathyrus ‘blue shift’ in the author’s garden and experience appreciating the change of the shifting blues!
Read moreScientific names rule. Here's why
common names suck.png
The argument for using scientific names (against using common names alone) in sourcing and discussing plants.
Read moreDaylilies in the Mail
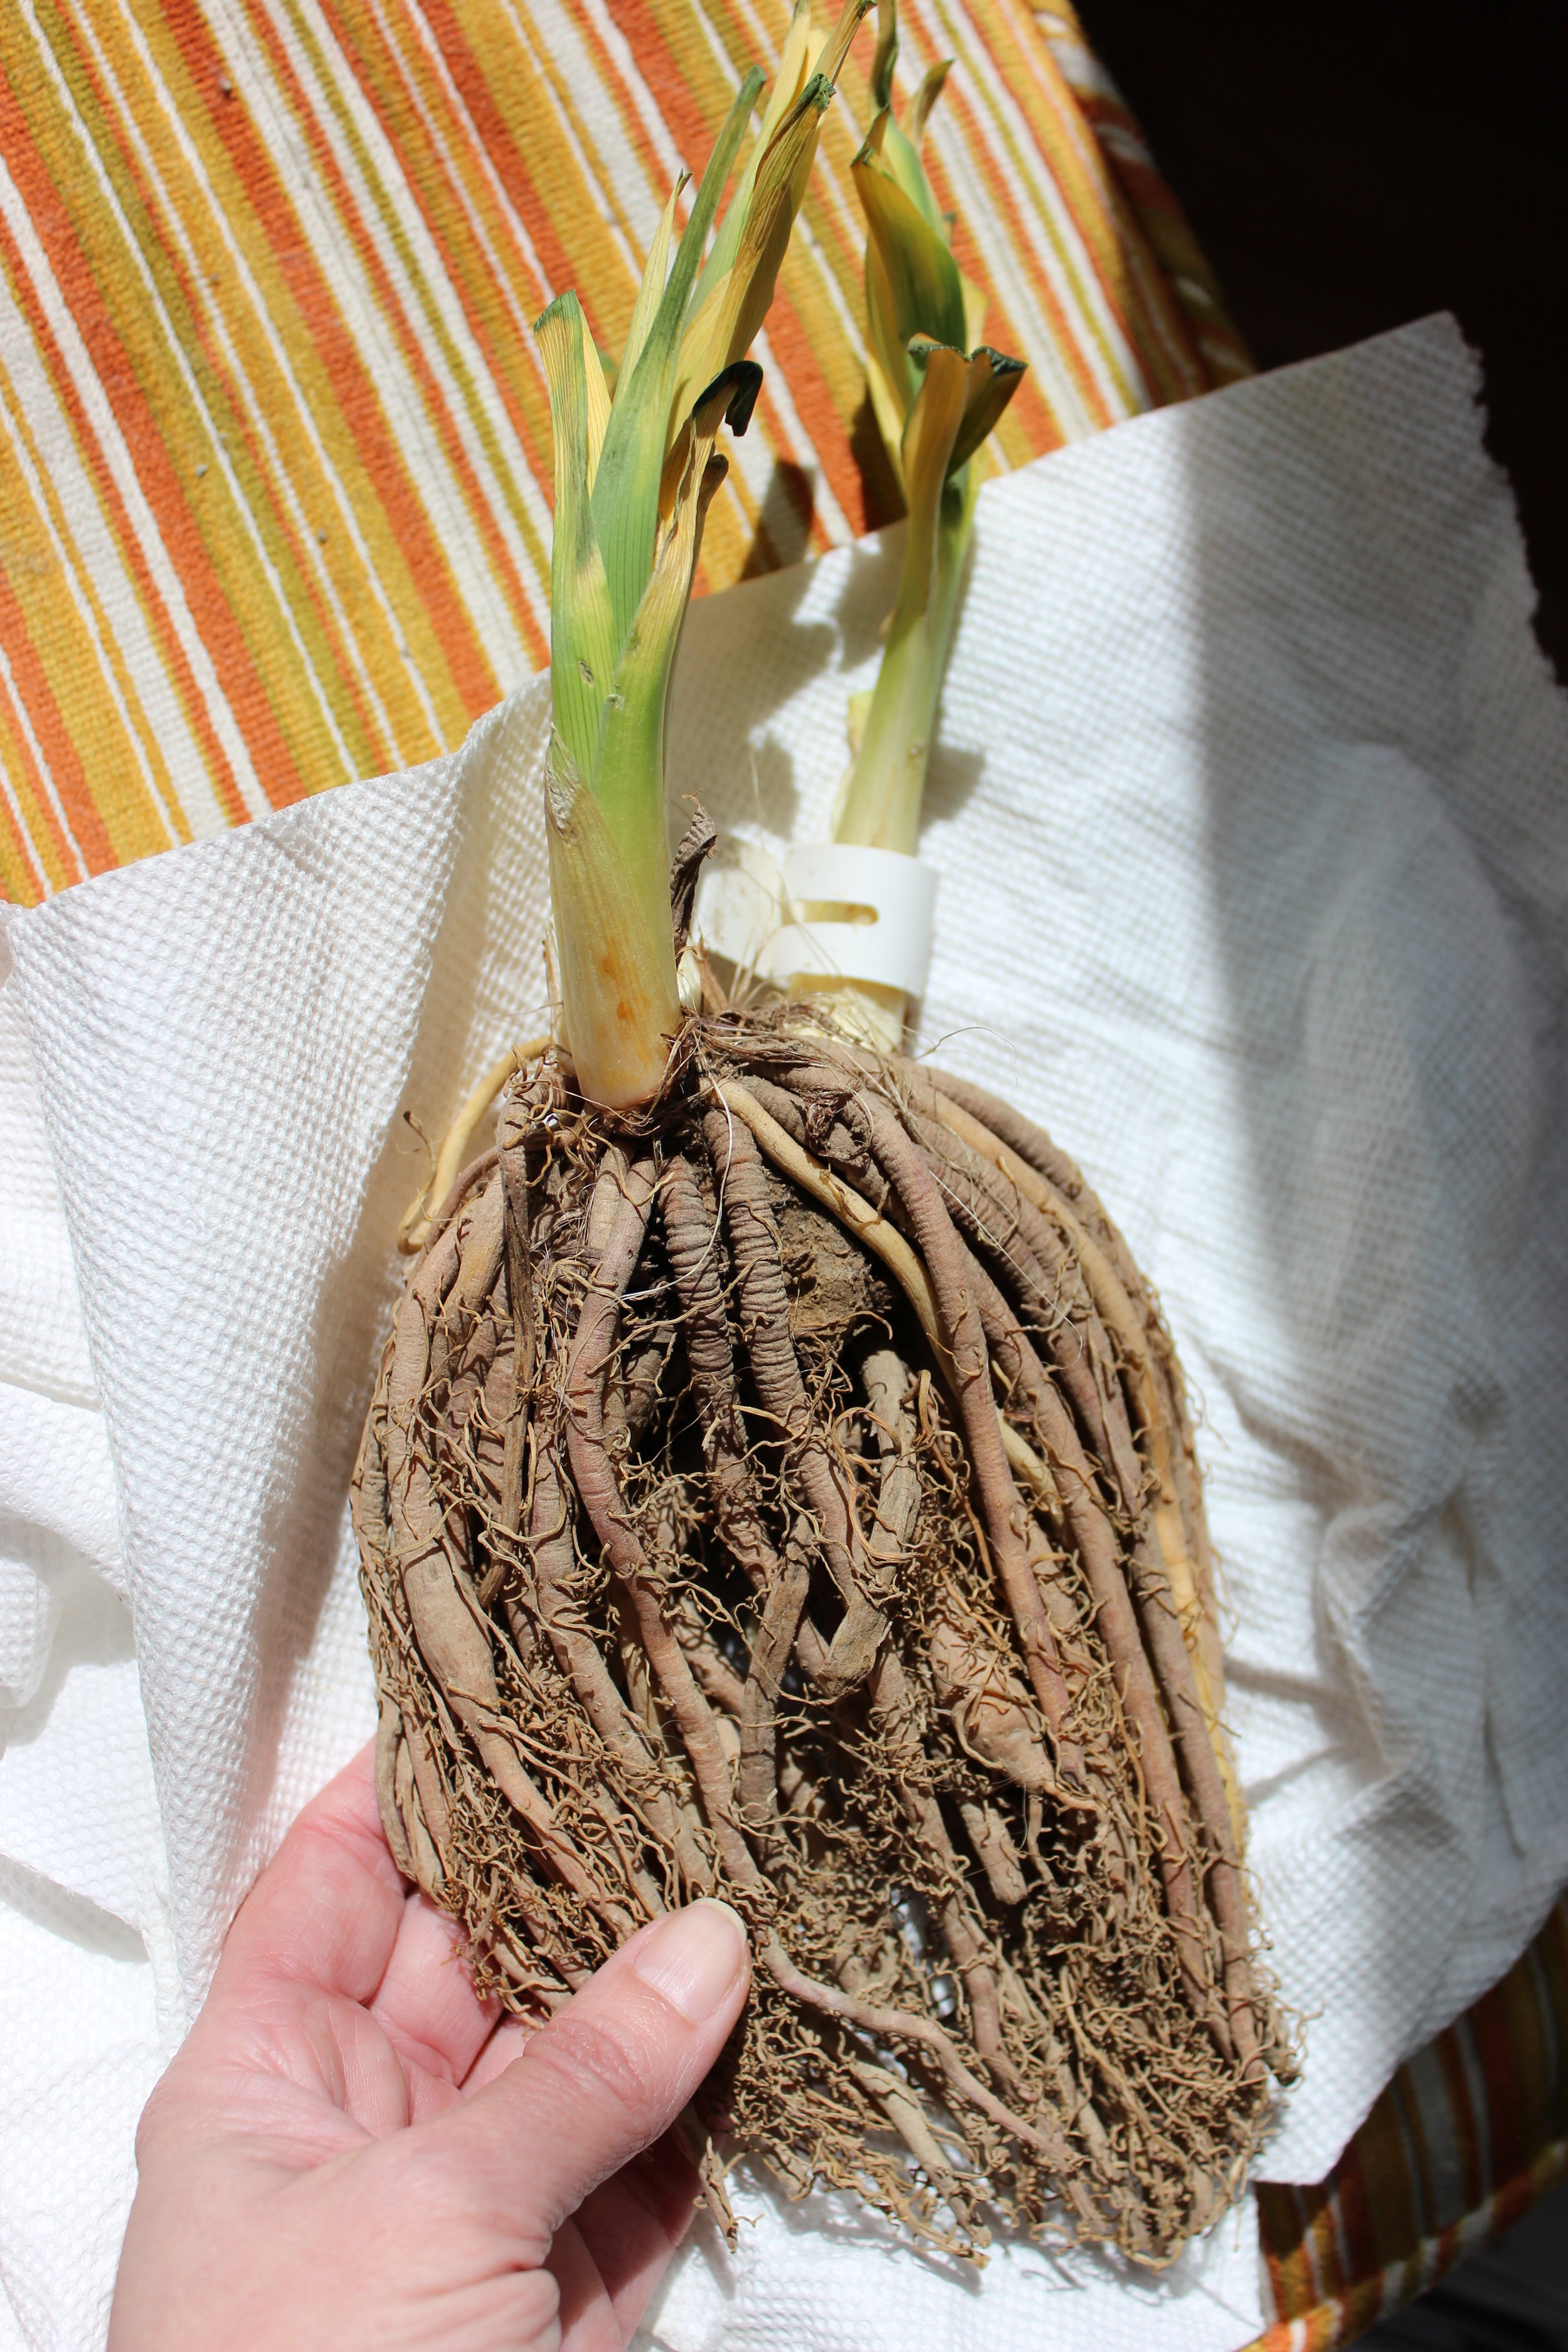
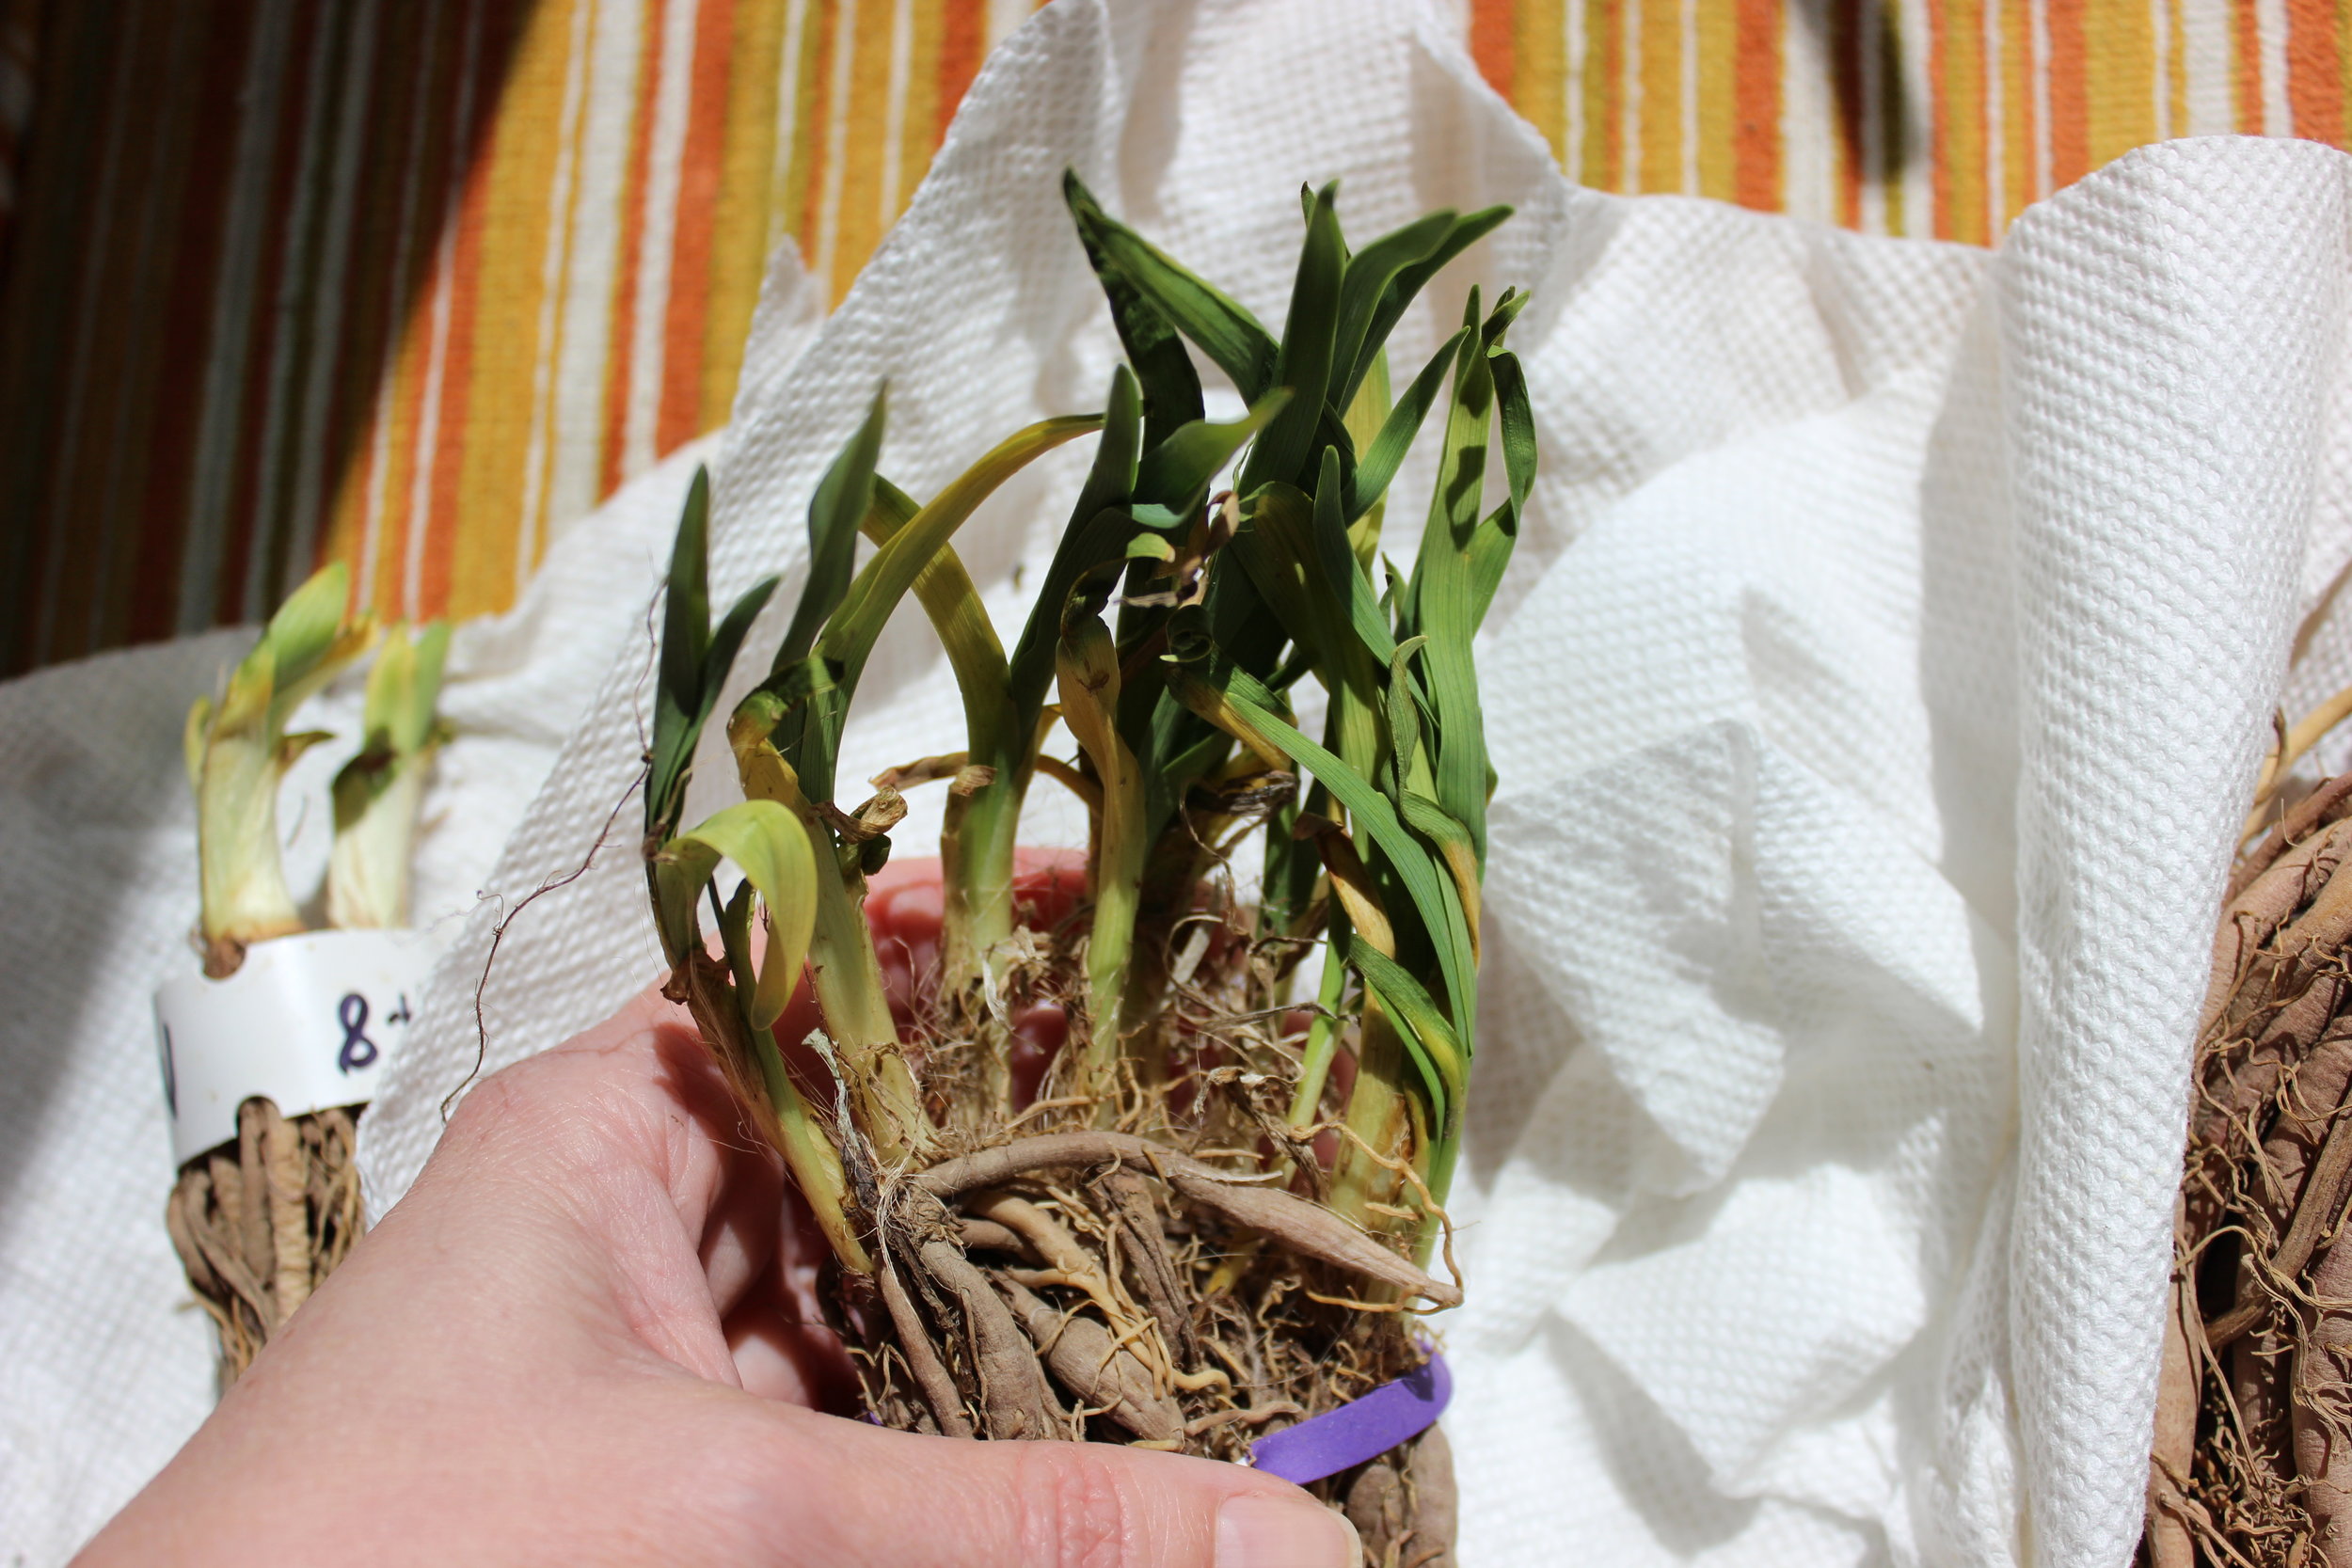
You know the stand-by sitcom joke that when dating someone new, you should let the crazy out only a little bit at a time? Well, I've been writing this blog a while, so here's a little piece of my crazy made just for you!Sometimes I get something stuck in my head like a bad craving and MUST have it. You know what I mean, yes? Ever want chocolate really Really REALLY badly? So much so that it felt like a biological need? Yeah, like that, but for colors, color palettes, plants, and so forth.Today, my mail brought me a daylily I've been coveting for years and could never obtain (darn you, Martha Stewart Magazine!). But, thankfully I now have Hemerocallis 'Milk Chocolate'. I've planted it in the garden and hope to grow it up big and fat. I bought it from the generous folks at North Country Daylilies in Buskirk, NY (now apparently gone). Hemerocallis 'Milk Chocolate' is the little guy all the way on the left in the photo above.See, the growers here in California who grow daylilies don't seem to grow this particular cultivar (or at least not list it online). Some growers list it but didn't actually have any or wouldn't return my calls and emails - after looking for this thing for years, I was thrilled when North Country said they had one. ONE. Not only that, they were willing to ship it to California - another stumbling block I've run into before. BUT, they sent me a 3 fan plant, more than most mail order companies would send.I bought 'Milk Chocolate', 'Third Witch' and 'Vatican City' to make the most of the shipping. I stole the images below from the American Hemerocallis Society (AHS) webpage:Milk Chocolate:Third Witch:Vatican City:North Country sent me the biggest danged plants, I am completely delighted. In NY where they are, the snow has just melted away and the dormant daylilies are beginning to stick their heads up. Out here in Northern California, it is warm and spring is old news.One of the ways I hone my professional knowledge is to order plants from mail order companies and see what happens - I look at accuracy, plant quality, packaging, and customer service (bonus: an excuse to buy plants). I've had some wonderful surprises as in this daylily order. I've also had some really unfortunate and problematic orders (I won't be ordering from Wayside or Easy to Grow Bulbs again) that surprised me the wrong way.I've found that generally the growers who love their plants and specialize in certain kinds of plants have the best stock. The big business companies send the smallest, least healthy plants, the most poorly packaged, and have the most errors in order accuracy. I once got a box of dead plants from Wayside and they never did return my inquiries. So, when something goes right like this, I like to crow about it.Do you see these roots on H. 'Vatican City' and the extra fans on 'Third Witch'?! Mail order plant droolworthiness:I have a few other daylilies that I will tell you about another time - that will be fun - there's more crazy to share there.Thanks for reading!
My Theory on Roots
You've heard that you should water trees deeply and infrequently, right? I take that approach a bit further and use it for everything - trees, perennials, roses, everything. I'm careful with my water anyway having grown up in Los Angeles during the 70's drought when we let our yellows mellow, removed or reduced lawns, and collected shower water.See, we're in for some serious growing pains while we struggle to understand and adjust to mandatory water restrictions now in 2015 - I don't need to repeat the advice, you already know it (ditch the lawn, add compost and mulch, etc). But what we need to be doing is more than just using less water, we need to use water more wisely - to help our plants fend for themselves better. I see water as a training tool and my plants as smart, but slow. They can't fetch and training them to do much of anything takes years.As of my last water bill, I'm down to 36 GPD (gallons per day) including landscaping. Before you bow in awe to this amazing feat, you should know that I irrigate my garden a little differently than most and I'm not watering anything I don't want to keep. Let the rest die, they're out of here anyway. Here's where I water differently: I bought a 15 gal. Magnolia 'Black Tulip' (that baby green tree in the background left-side). It is rated as having "moderate" water needs in Oakland by WUCOLS. Moderate isn't exactly water-wise, but I've got a theory..... and so far, so good. I planted the tree a year ago this month. At the same exact time, my client in Mill Valley had three planted (guess whose idea that was). Their landscape contractor did exactly what they usually do - they amended, fertilized, and watered the hell out of those trees. My client's trees bloomed and grew and leafed out beautifully, gained stature nicely. Mine didn't. Luckily for them, theirs are next to a lawn that I'm sure they'll keep as long as they can, where I have no lawn. Below is a better shot of mine last May (1 month after planting).I planted mine with a bit of compost, watered it in well that first day, and walked away. It looked fine for a while, then it got all stressed out and started dropping leaves. I watered it again, a nice soaking, and it threw out some new leaves. We did this all summer: I kept an eye on it, watering only when I found signs of stress in the leaves, but then not again until I saw more stress. It was nerve-wracking. The tree did not visibly thrive, and it sure as heck didn't get much bigger. I'm pretty sure it would slap me if it could.... but it survived. While it was dormant over winter and I held my breath to see how it would do come spring. This spring when it started blooming, I was delighted with how many (albeit smallish) flowers there were on my young tree, and now it is leafed-out for the season. I'll be doing the same this summer, soaking the presumably larger root-zone, but as seldom as possible. I'll also be adding more compost on top (not working it in, that's the worms' job) and maintaining a good layer of mulch over that.I believe that what I am doing will be better for my tree's long-term durability. I believe that I gave it reason to throw energy into its root system in search of water, and that I rewarded deep root growth instead of fast, exciting foliage and gains in stature. Over the winter, its root system likely continued to dive and while I watered, soaking further and further down but less and less often, we're working together to train this "moderate" water needs tree to survive more like a drought tolerant tree. Here it is today, not much bigger, but doing just fine:I don't water fast enough that it trickles off, doing by hand what irrigation designers call "cycle and soak", making sure that the water goes into the soil and nowhere else. I'm also taking advantage of the few light rains we had to water further than the rain itself went = deep watering every time.I can't tell others to do this, the tree looked like hell that first year of establishment and I think most people wouldn't watch closely enough nor would they enjoy the experience (even I was a bit nervous). We'll see how things go this summer, but I can tell you that I don't water much, maybe once a month? I avoid watering if it is overcast or cool outside. I look closely at my plants in the most stressful times - when it is blazing hot, sunny, and/or dry and windy. If I see stress, I'll water. If not, forget it. I'll keep you posted on how things go this summer.The most impressive thing, though, is what I noticed in putting together this post - look how much my roses LOVE this treatment - they get watered only when the tree gets watered and I have yet to see them look even a little stressed. You can see the change best between the second photo and the one above. They're the hybrid tea 'Stainless Steel' (my favorite). Here's the original one (now on the right in the photo above) blooming in my old garden in Alameda in 2010 and again in 2012:
San Gabriel Garden's Preliminary Planting Palettes
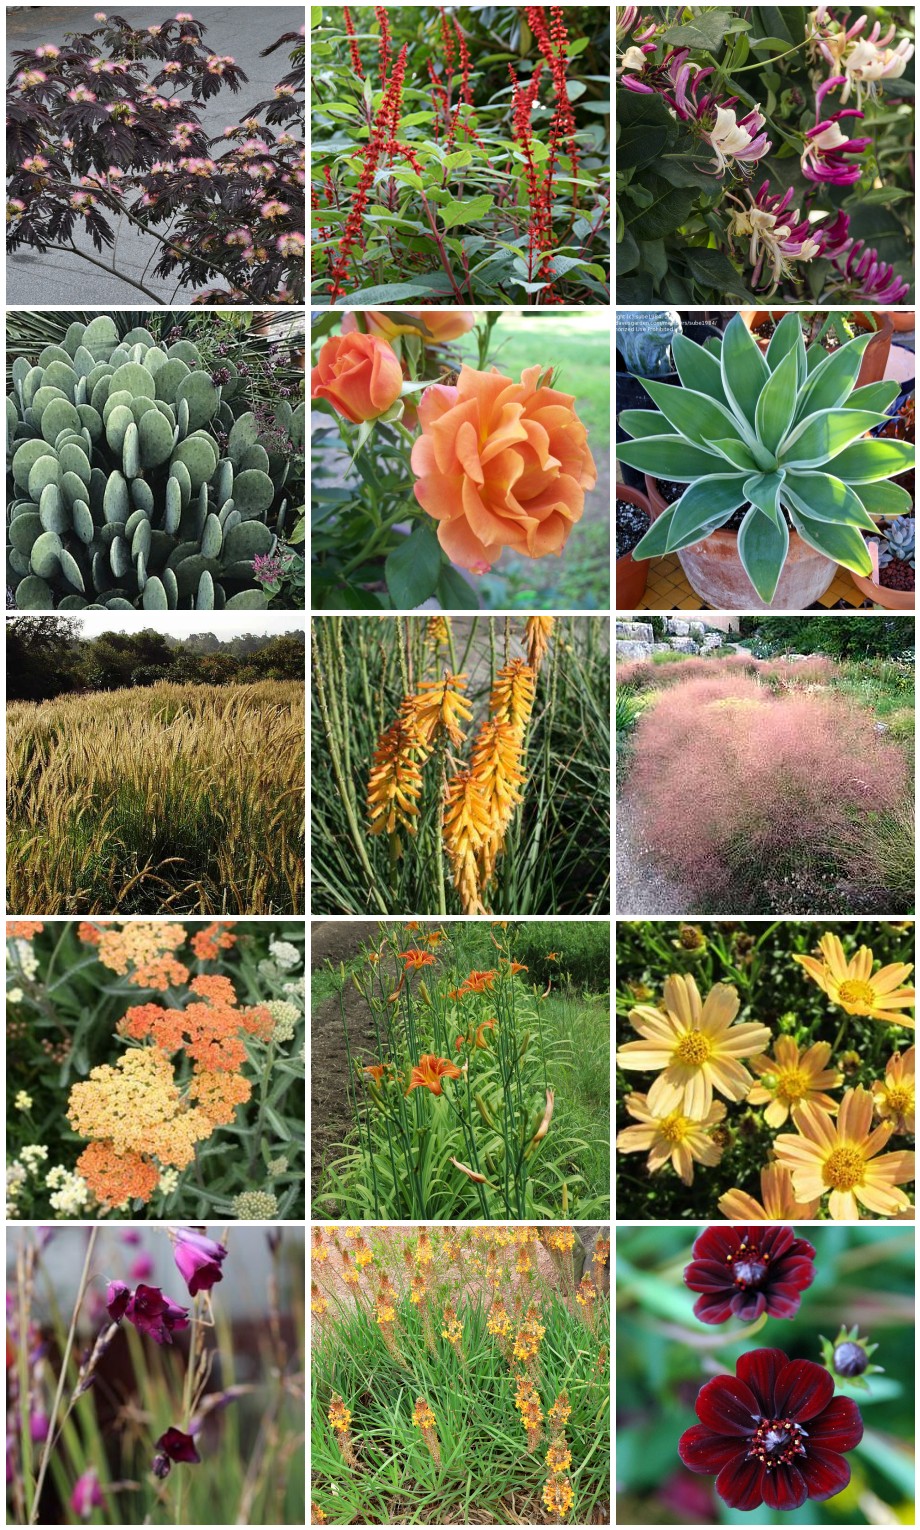
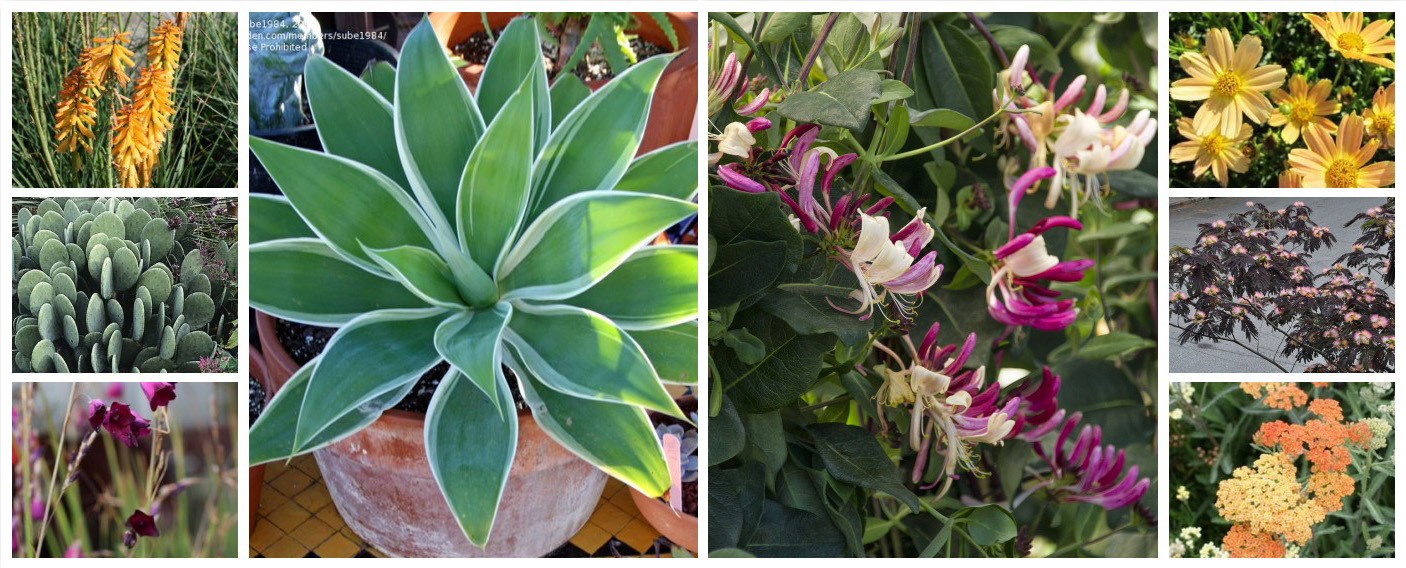
Back here, I talked about the conceptual design process, where I developed and sent over design concepts with a memo full of notes to the Owners. I sent all this via email because they live in Southern California and I live in Northern California, about a 6 hour drive away, so in-person meetings aren't always feasible. I also know the Owners pretty well - the husband is an Architect I have worked with, and the wife has a background in Interior Design - so I trusted that they'd be able to read the memo alongside the concepts and make an informed selection of their favorite. They did exactly that, sending me back comments on their preferred designs and I will now start to draft the designs for use in preparing construction drawings (so hang tight...)The next thing to do is develop the Schematic Design. In Schematic Design, I will make sure that the Conceptual Design evolves to have elements represented at actual size while I strive to hold true to the concept and incorporate their comments. For example, I will make sure that any paths are an appropriate width, furnishings are represented at their real measurements, gates, paving patterns, fencing, materials, etc will begin to be discussed, but I won't change the overall intent. I'll try to remember to share that when it is accomplished.... for now, one of the elements that needs discussion is a planting palette. In every phase of design, I imagine the feel of the place, and few things have more impact on that than the plants!What I'm trying to get at here is that in addition to designing for plants that will thrive in the same sun exposure, watering practices, soil type, climate zone, etc there's an importance to gathering plants that want to be seen together. The plants bring more than just leaves and color, they bring personality (and seasonality!) to the place. The plants and the concepts (at least for me, others may work differently) are not separate discussions, but both part of a larger vision. For this project, I made a huge list of plants I thought would work in San Gabriel as well as plants I thought the Owners would like. I imagined the designs as real spaces, re-imagining them repeatedly with different planting palettes until I had edited the lists down into a concept for the planting palette.Now, this does not represent the layout of the planting palette, and any plant geek can see that I've got some hydrozoning to do (putting low water use plants together and irrigating separately from higher water needing plants). That will happen in future phases, but for now, I am playing with a planting palette as a preliminary concept. For the rear garden, I chose lots of green foliage plants with what I equated to a "Hollywood / tropical" palette with many plants that could also grow in Texas (the Owners are from Texas, which is where I know them from). I did the same exercise for the front, but without the Hollywood / tropical aspect to it. Don't ask me why, that's just the direction it went.The front garden and the rear garden for this project are imagined with different vibes, but that doesn't mean that we can't use some of the same plants in both and we should! Having the two be completely distinct runs the risk of making their property seem disjointed. Take a look at the preliminary palette for the front garden (above) in contrast with the preliminary palette for the rear (below):They seem very different at first, but both have the same Honeysuckle vine in common and the same Agave. Each of the little square photos shows each plant at the same size, and of course we also aren't demonstrating how much of each plant there will be, nor giving a complete idea of their forms.... their impact in real life based only on visual impact could look much more like this for the front:and like this for the rear:See how they relate but take the same impact plants in different design directions? isn't that trippy?! I'll repeat this exercise with materials and furnishings, and the hope is that the whole mess will come together and become more than the sum of its parts.Years ago, when I worked on a pro-bono project with this Owner and had a conversation where he explained to me that the building he had designed had to be white. It wouldn't be the same building if it was not white (I was vehemently against it being white, I thought it was unsympathetic to the landscape). We had what must have been an amusing and fervent "discussion" for any flies on any nearby walls, and in the end, he convinced me. The color was not just a tacked-on thing at the end, it was integral to the spirit of his design. What I'm describing here is that lesson brought forward in my career and applied to my own work. In designing the outdoor environment and making connections to indoor spaces and people, one shrub does not always do the same job as another, and plants are not so interchangeable as one might hope. So stay tuned for the results - between me and the Owners, their home, and the process of refining the design, the end result is always a little bit of a surprise. I will be excited to see how the process progresses with them, and then to see it installed?! holy heck, I can't wait.
Artichokes' Awkward Phase (so what?!)
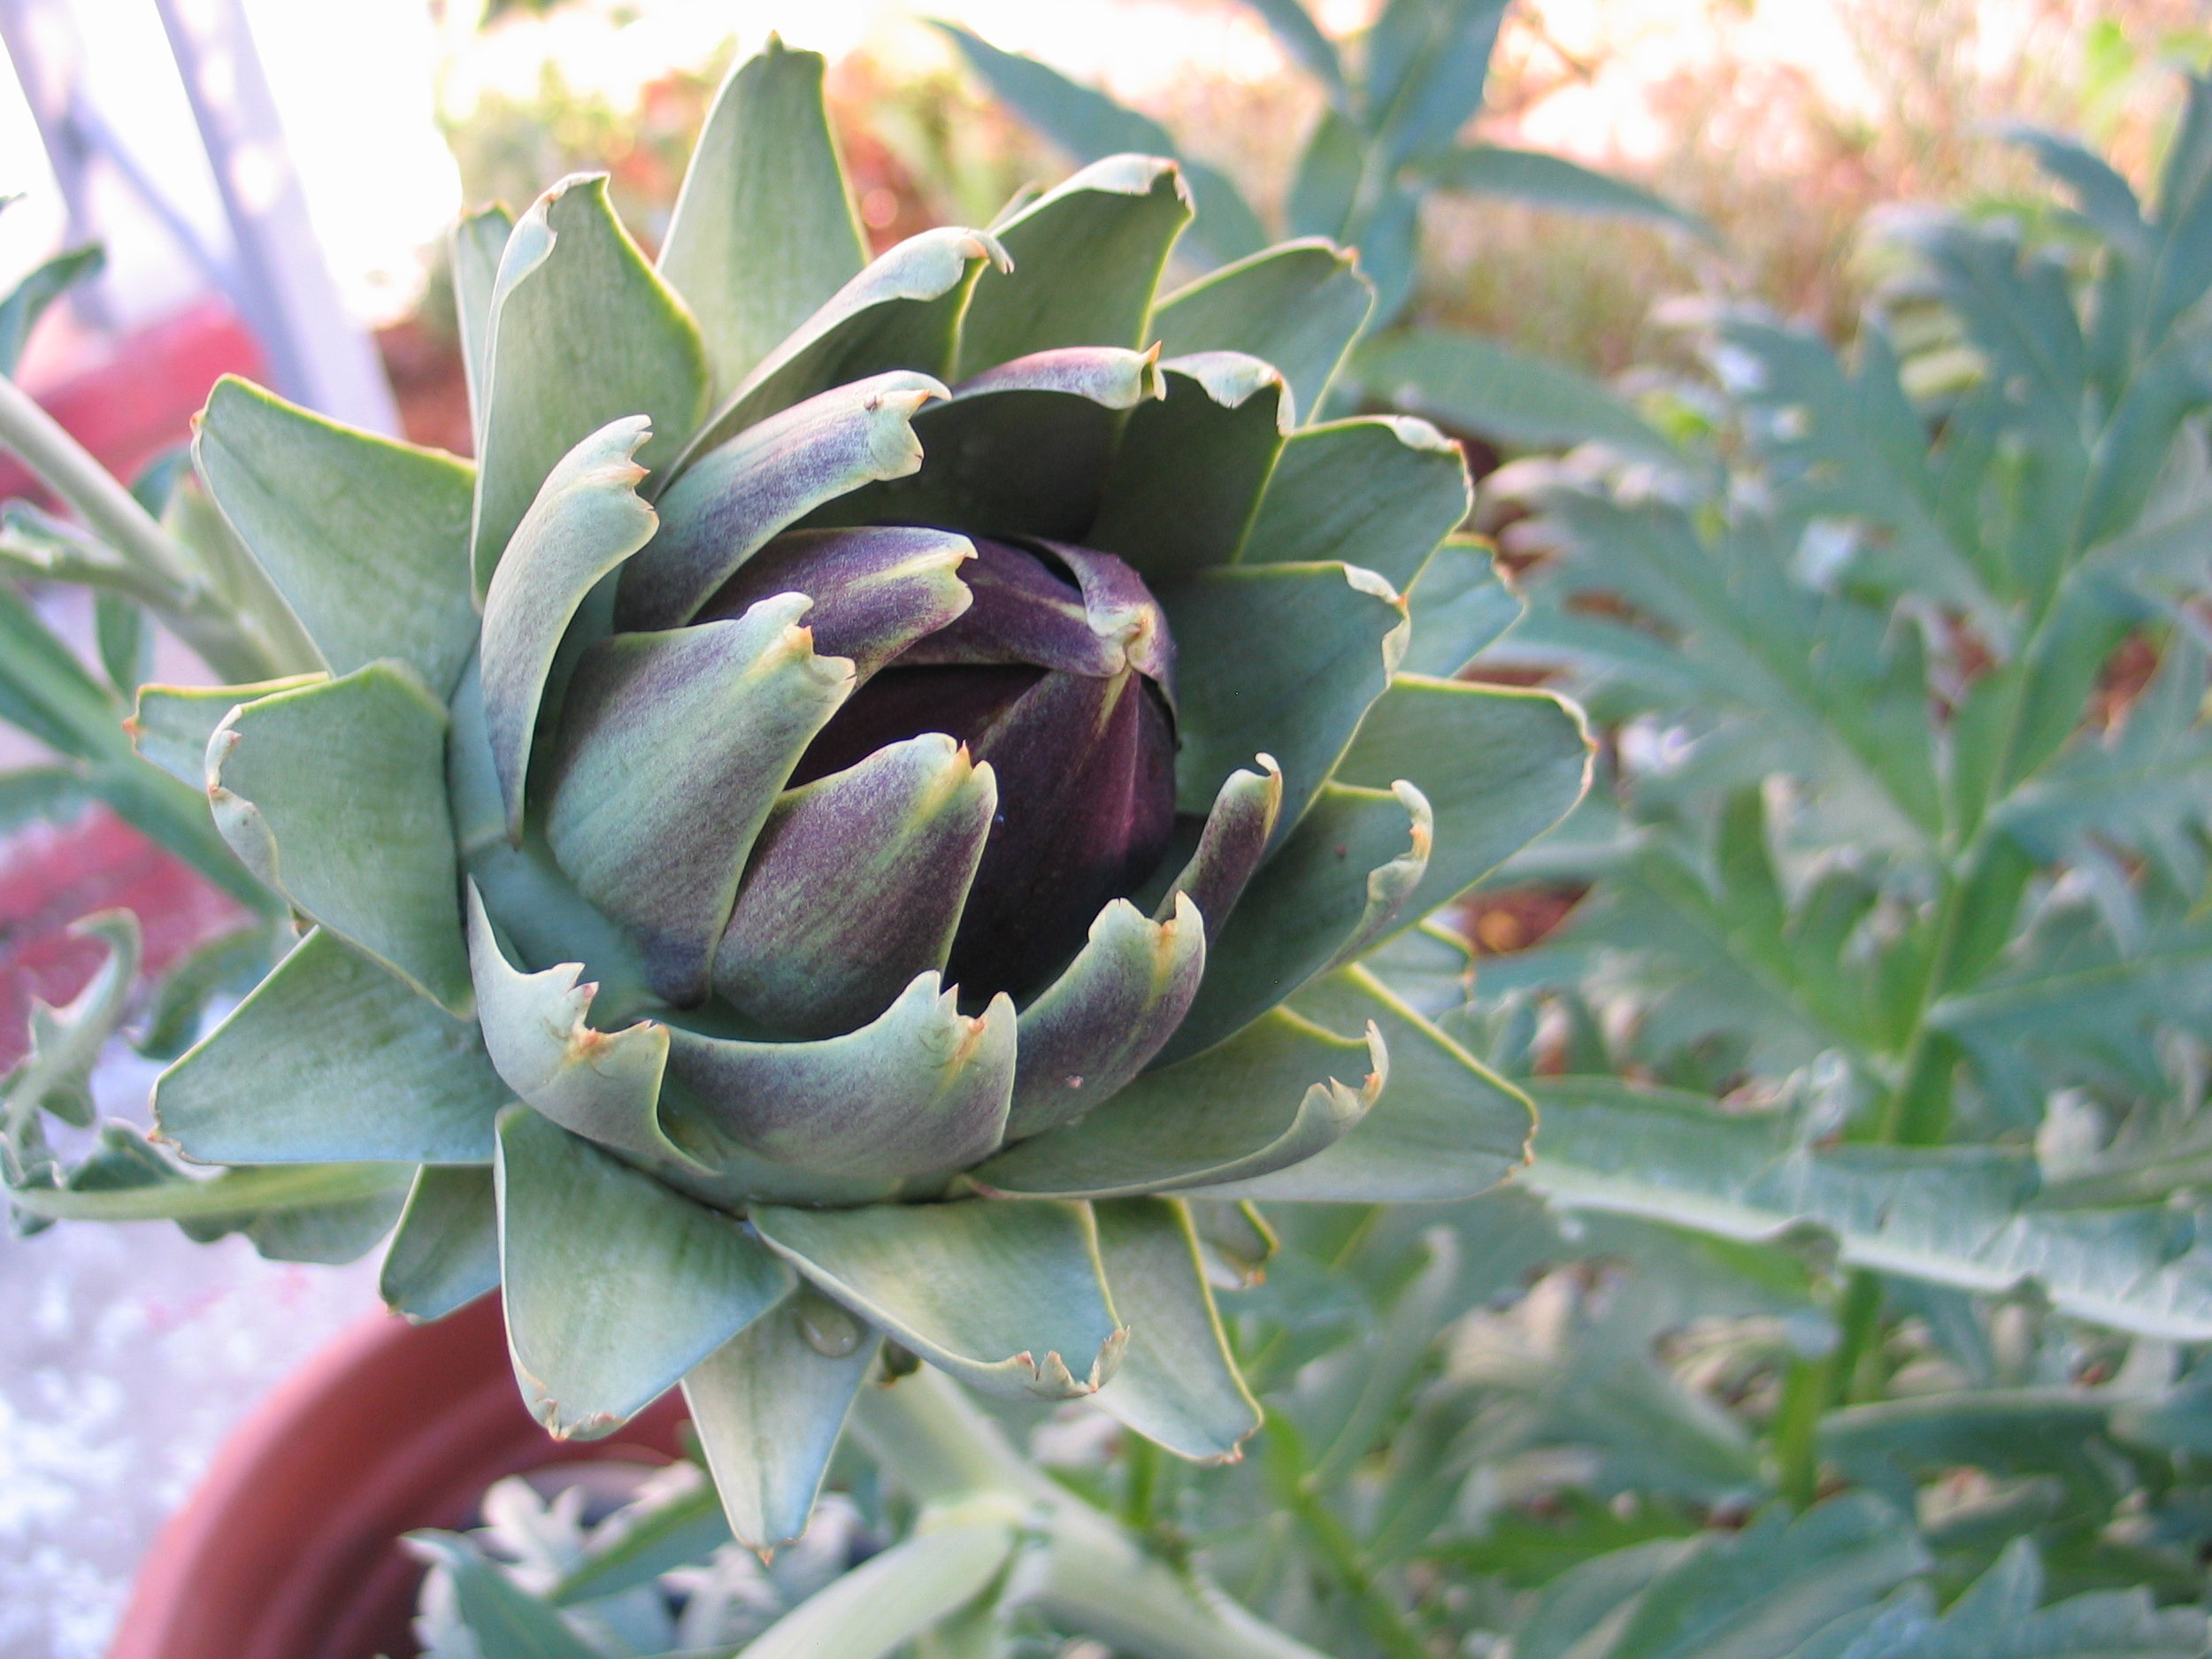
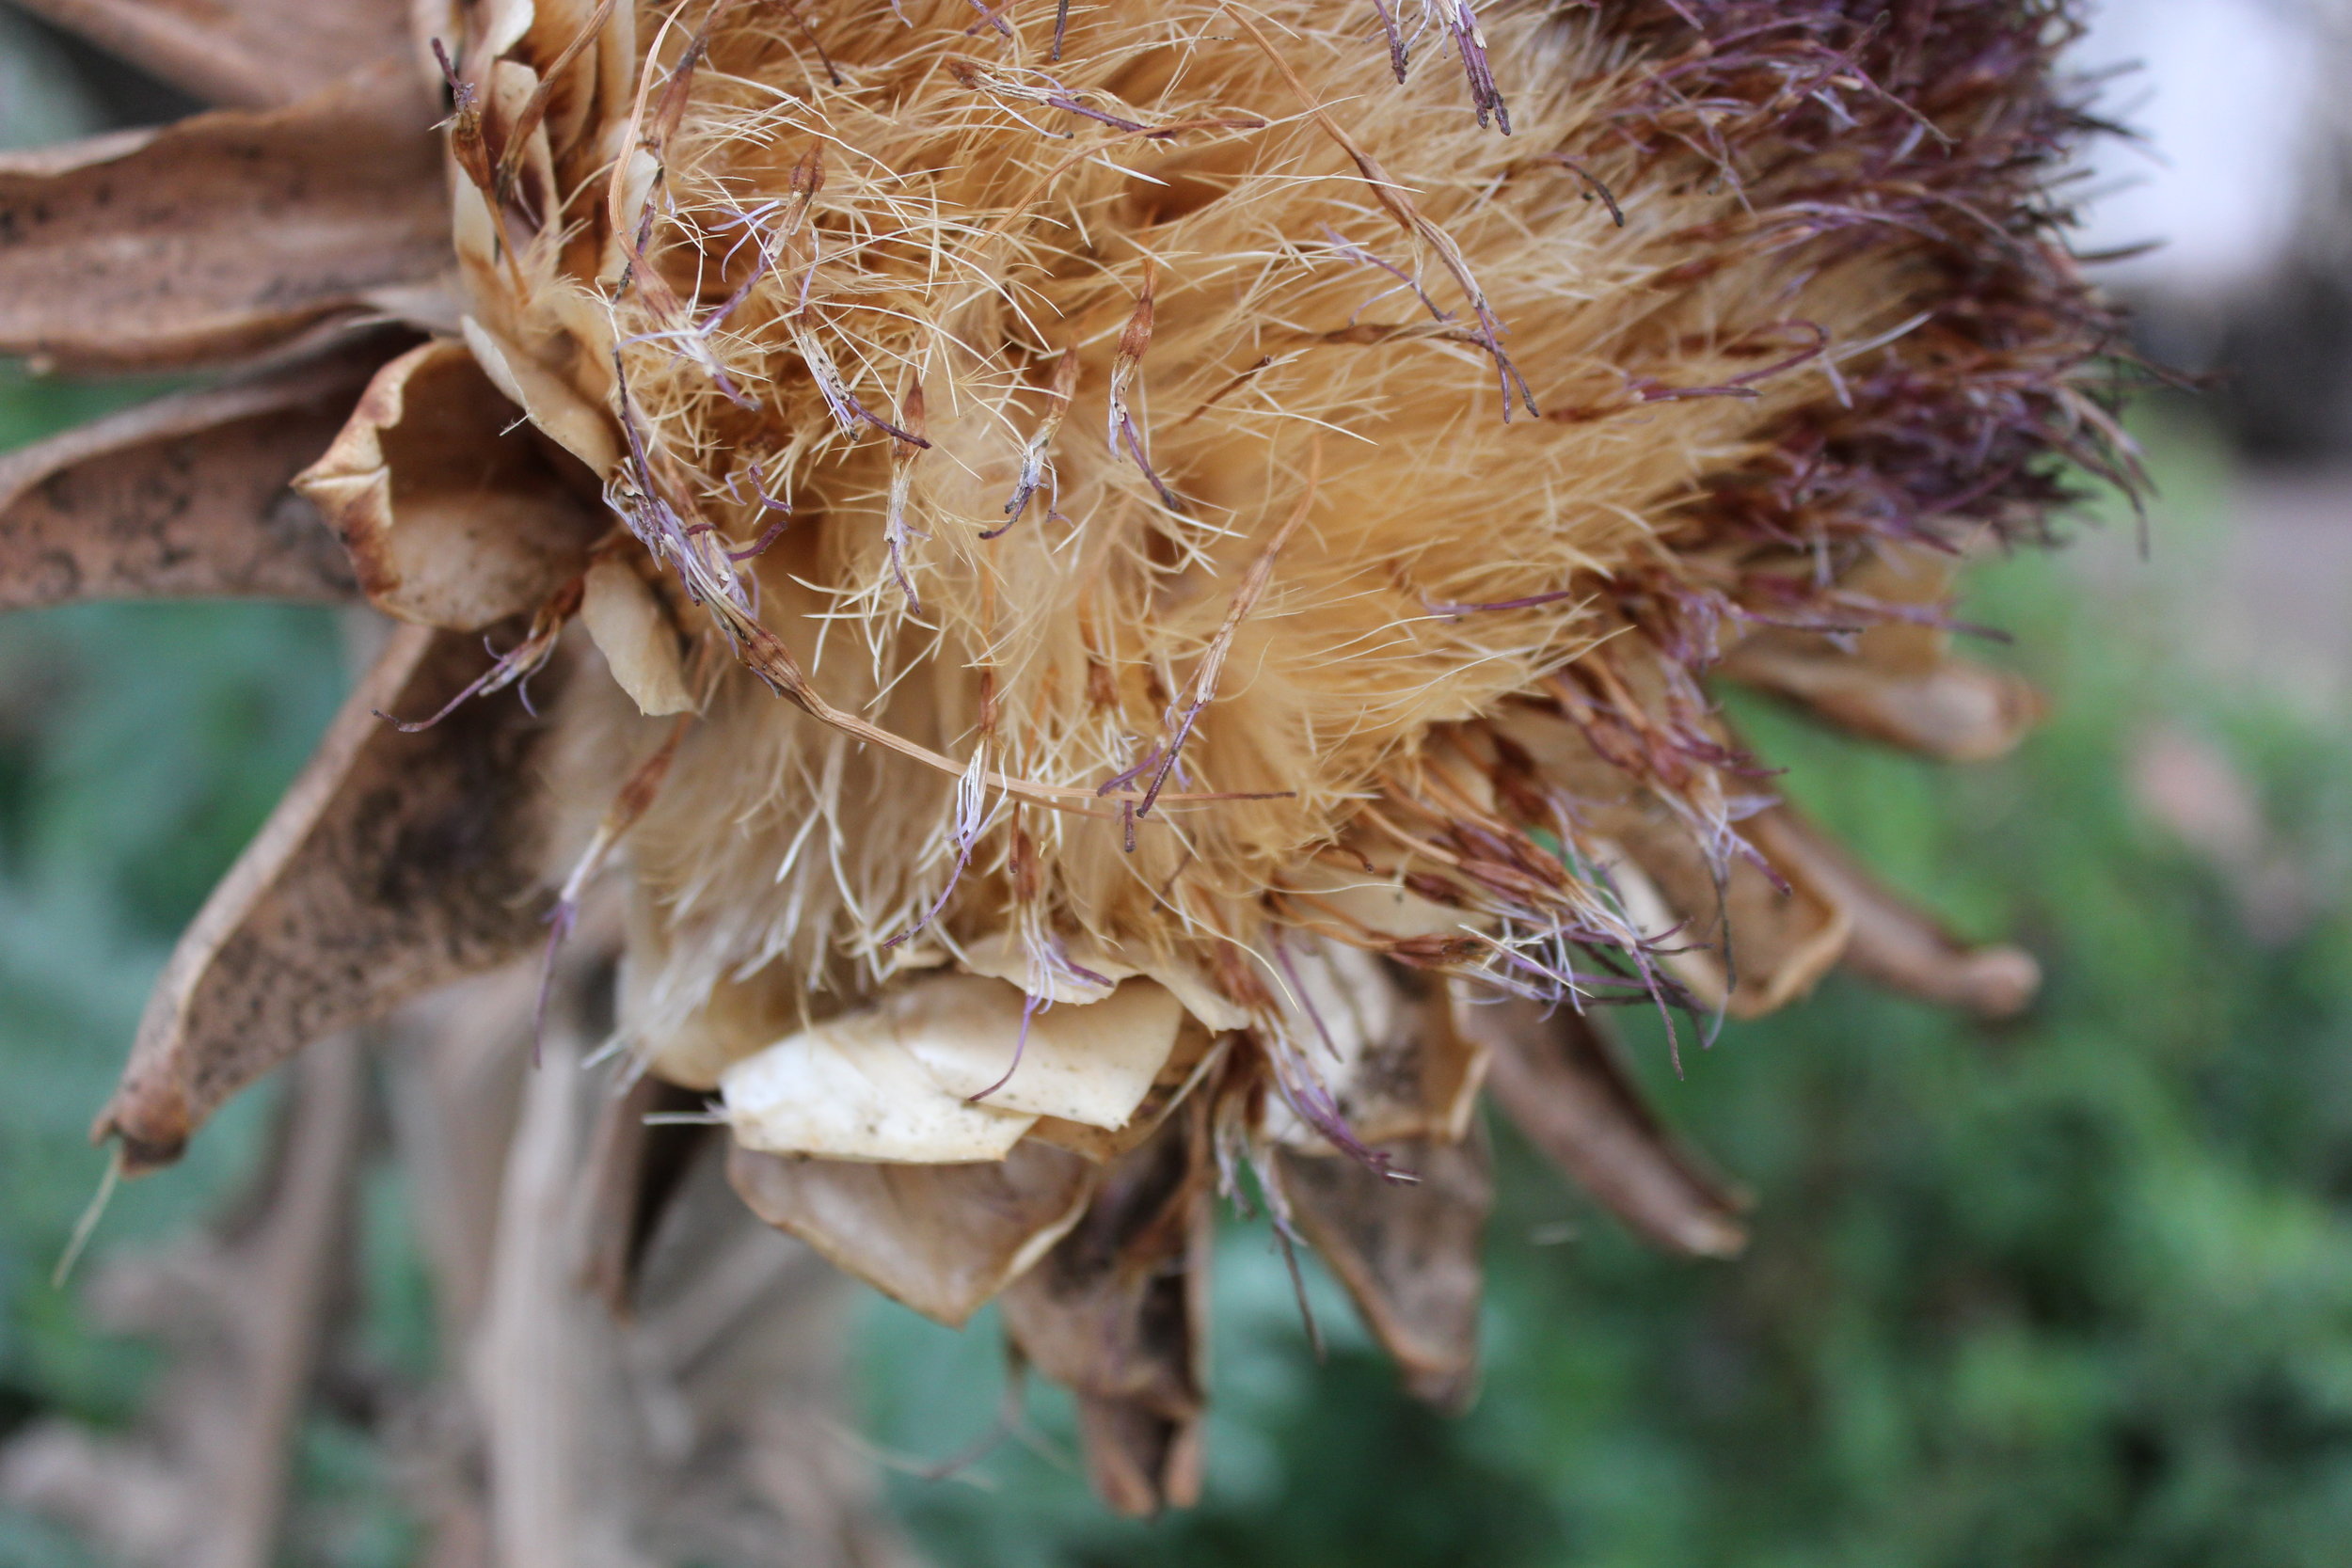
Artichoke plants can be real stunners. Their soft, enormous, sculptural bluish foliage is a real treat in a garden, especially in contrast with more subdued looking plants. These big dudes can make a real statement. One of my practices as a professional (which sounds better than 'I can't go to a nursery without buying something') is test growing plants and watching what happens over time. This summer I trialed Zinnias, Artichokes, several ferns, Marigolds, Scabiosa, Cosmos, Calendula, several roses, Gardenias, Heucheras, a few grasses, Daphne, a handful of Penstemons, a Magnolia, an Albizia, Sweet peas, and Lupines among others (this list is the survivors).The Artichokes, though, held a lesson. Googling Artichokes didn't tell me much about them. I found oodles of photos of the flower buds (the bit we eat) and foliage, tons of recipes and so forth... I found websites about how to grow them, where to get them, I even watched a video about growing them, but in my searches and plodding through books, I did not find anything about their life cycle. The best information I found was in Golden Gate Gardening, which talks about how to grow them in decent detail, tells you what to do, but does not give a complete picture of what the plant is doing while you're busy taking care of it.So, darling readers - here are my chokes from their glorious youth through that first awkward phase:May 7th: Here they are a few weeks after I put them in the ground - I bought three 4" pots of them and also three clearance rack 2" pots of dying plants. All of them grew so FAST! There really isn't much point in spending a lot on an artichoke plant, the little sad ones will do just fine if you get them in the ground where they really want to be. Sorry, I did not record when I planted them nor did I take photos of the sad little dudes.July 8th: Two months later, I've got several flower buds starting (above).July 28th: I let a few flowers open just to follow what they do. Out of the six plants I grew, despite being in partial shade, I had more artichokes than I could possibly eat.Aug 1st: I had taken the chokes off one of the plants (delicious) and it repaid me by doing this. It is a sad looking stemmy misshapen thing. Welcome to the Awkward Phase. I know they're perennial, some say they're semi-perennial, living only 5-6 years, others claim they can live much longer. I don't give a rat's patoot when getting a replacement plant can cost less than buying an artichoke for dinner and they grow so well.September 25th: The stems and leaves continued to fade and look like total crapola (read: turn brown and sticky) until about mid-september when the next growing season's leaves began popping up at the base of the plant. I left the flower on to watch it go to seed, and seed it did! I was tracking these big globs of brown fluffy seeds into the house and they were blowing around the yard. Rather than let artichoke babies take over, I took this opportunity to finally break the old stems off most of the plants at their bases and chuck them in the green waste bin, I left one alone to do its thing for another two weeks, when I bought a new camera.... .... and in Mid-October, my new camera helped me get a better photo of the fluffy seeds on one plant and new foliage on another.So what is my point? Artichokes are cool. What is even cooler is how dynamic they are. Many people don't have the patience to let a plant do awkward unsightly things in their garden, and that's okay - but you can't really understand your plants unless you understand their lives. Books don't do enough, web-searches will give you tons of beautiful photos, but nothing compares to growing something and being observant.Thank you!!
Desert Botanical Garden in Phoenix
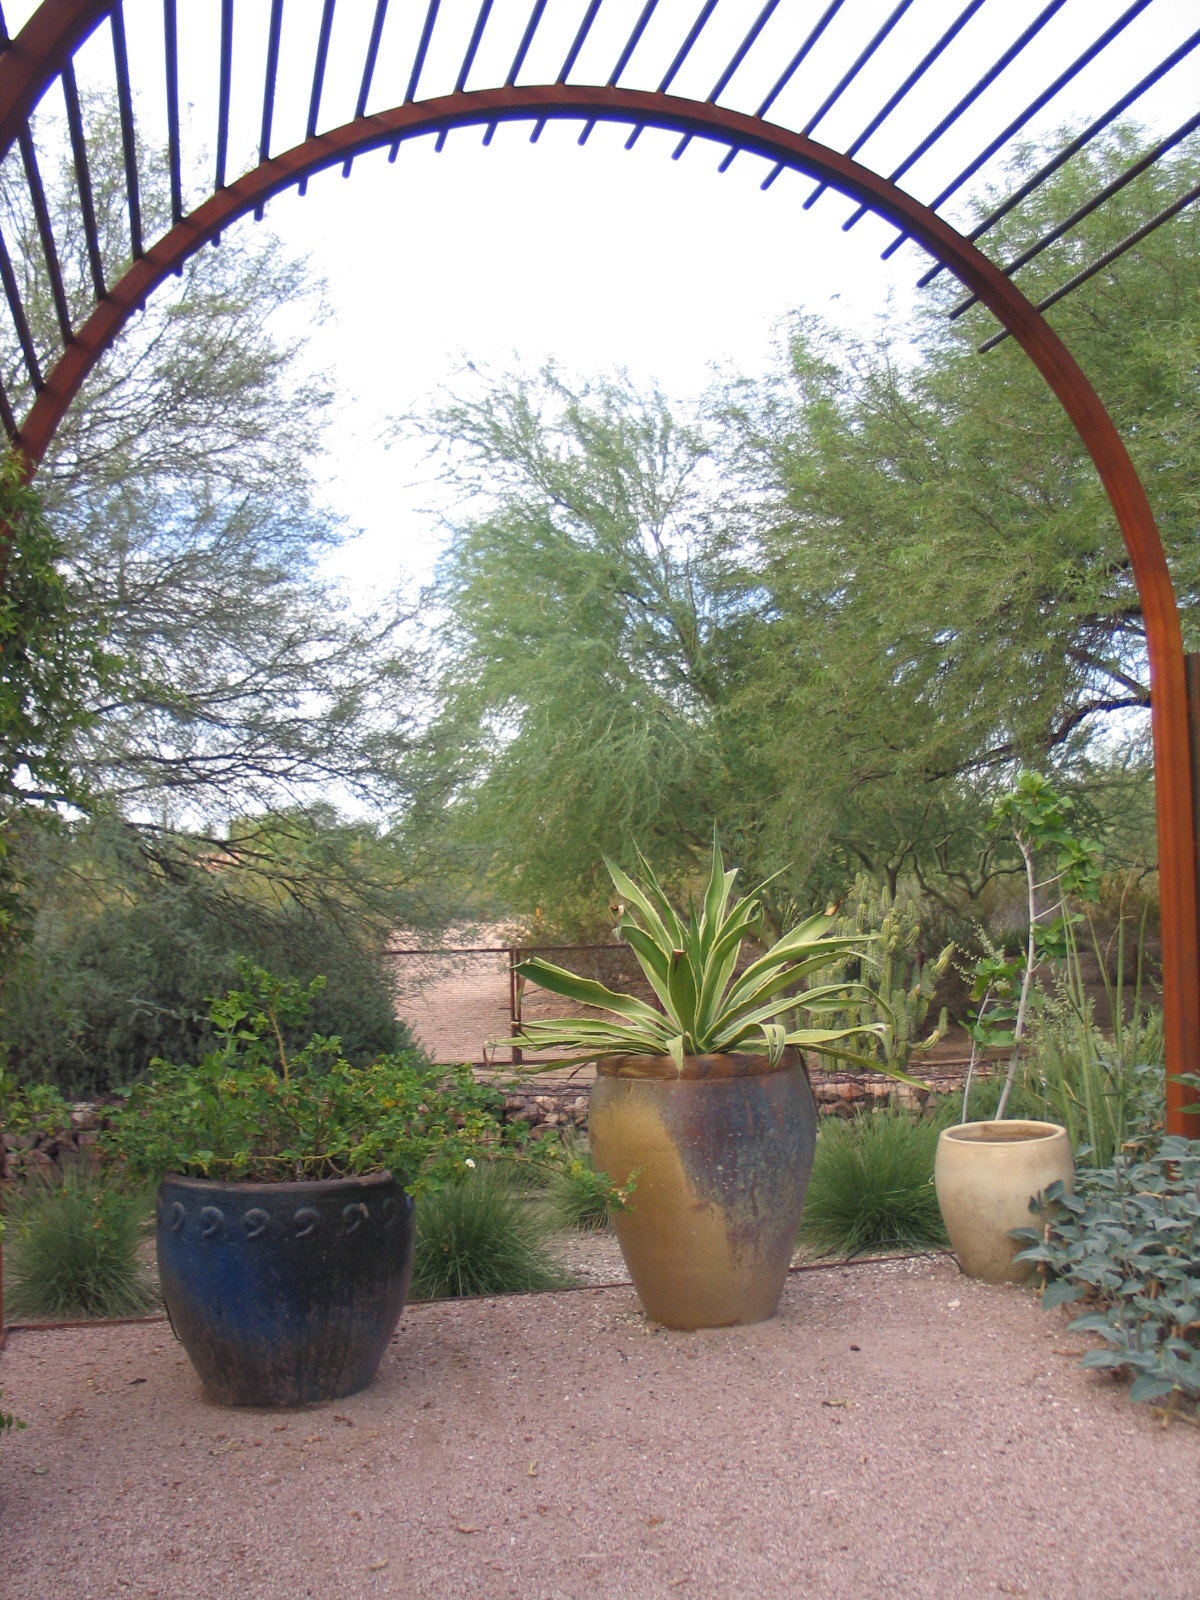
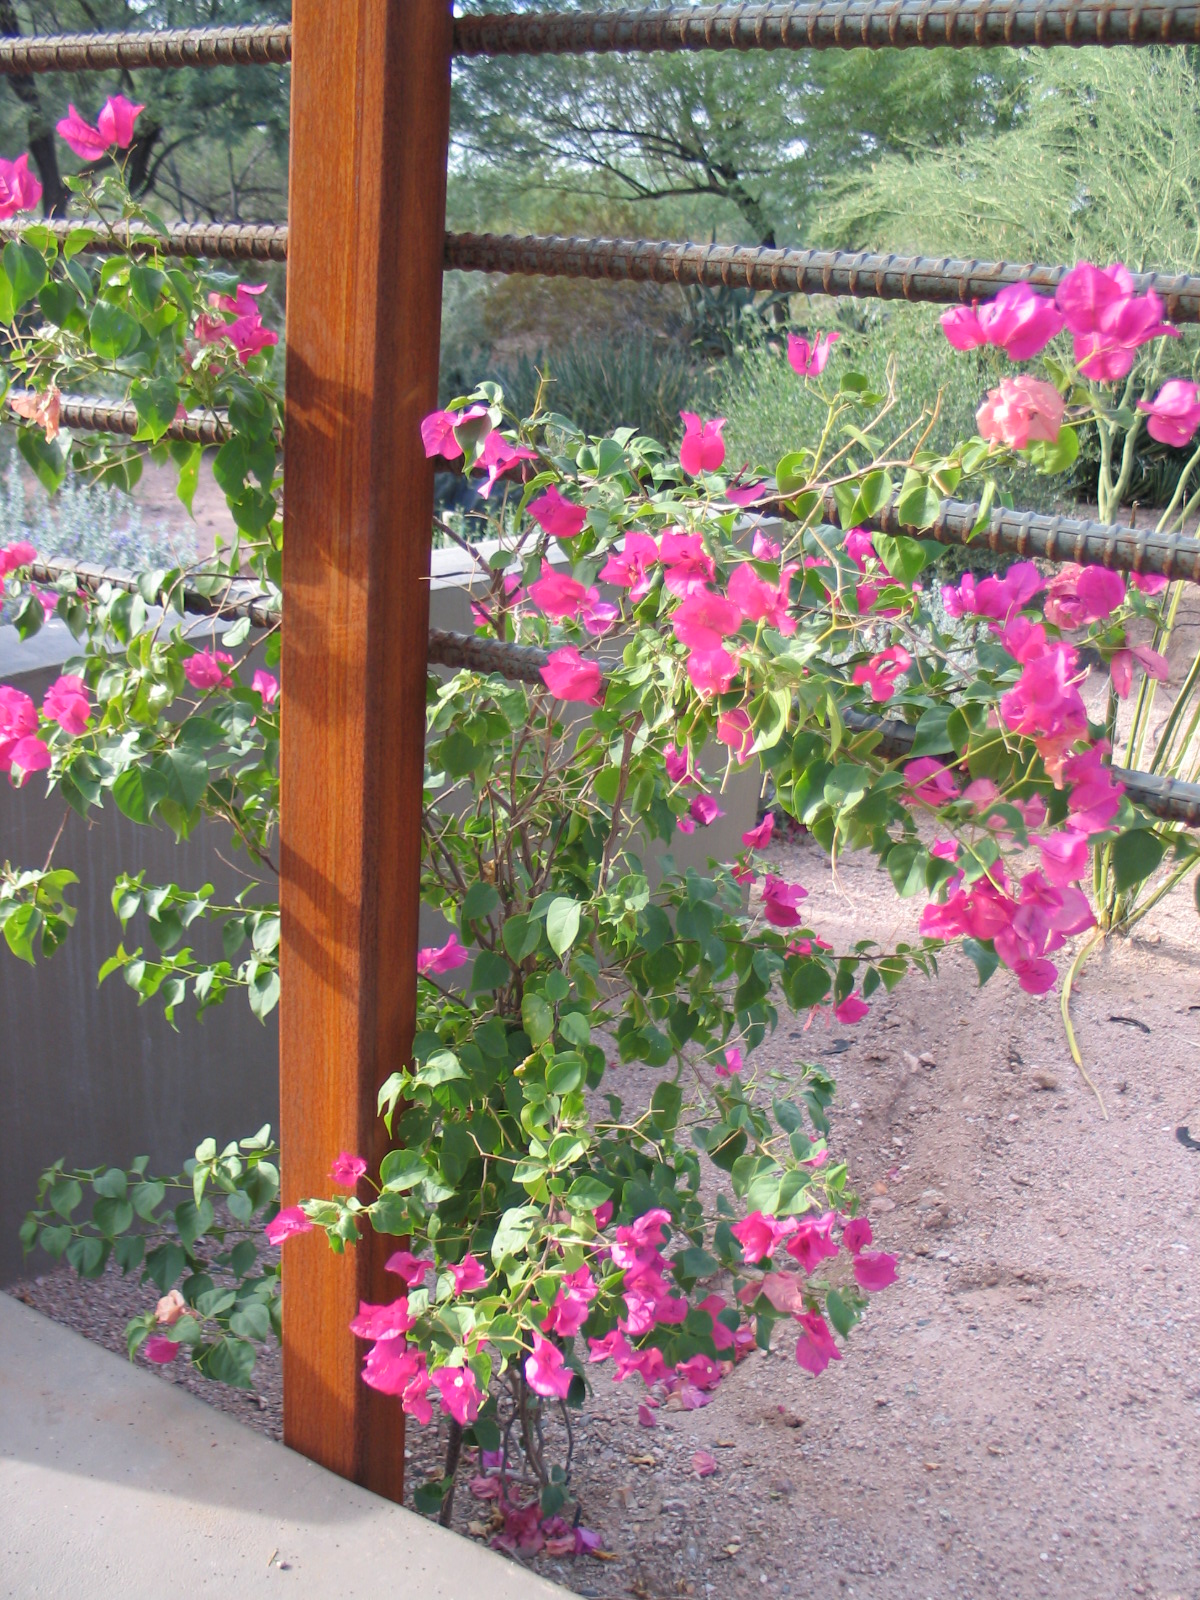
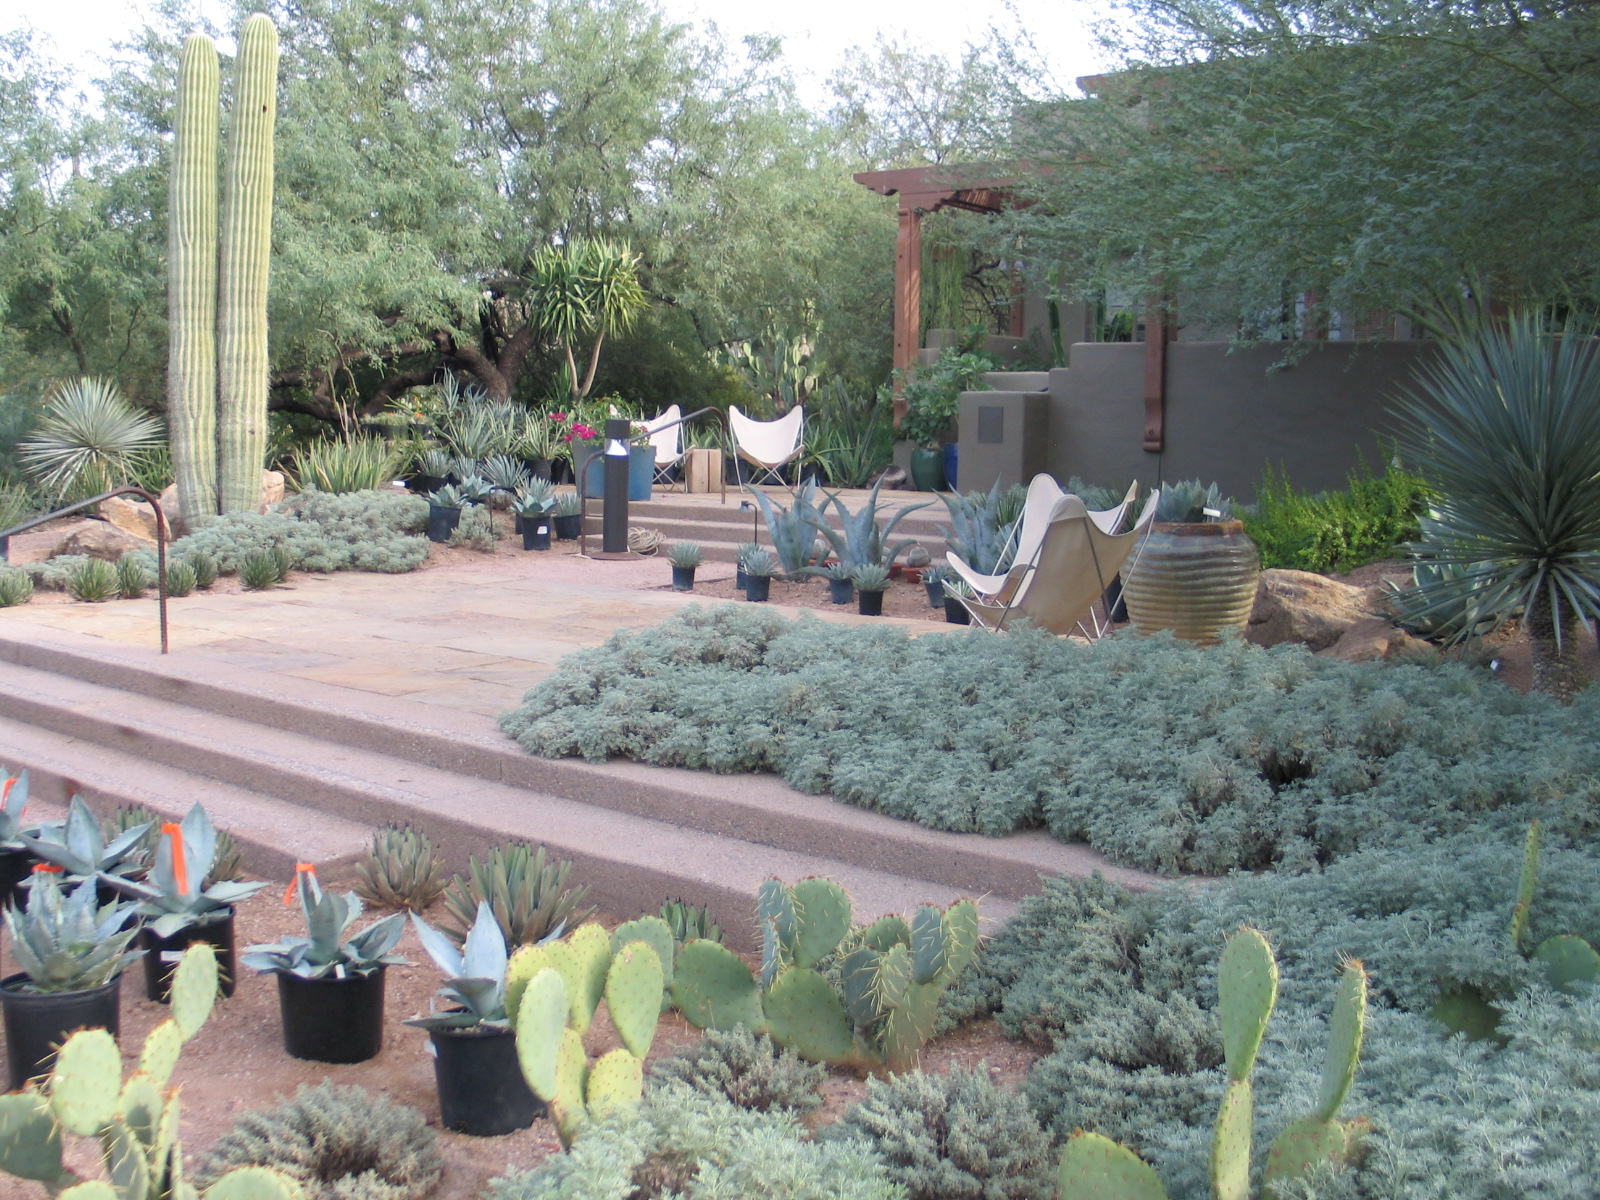
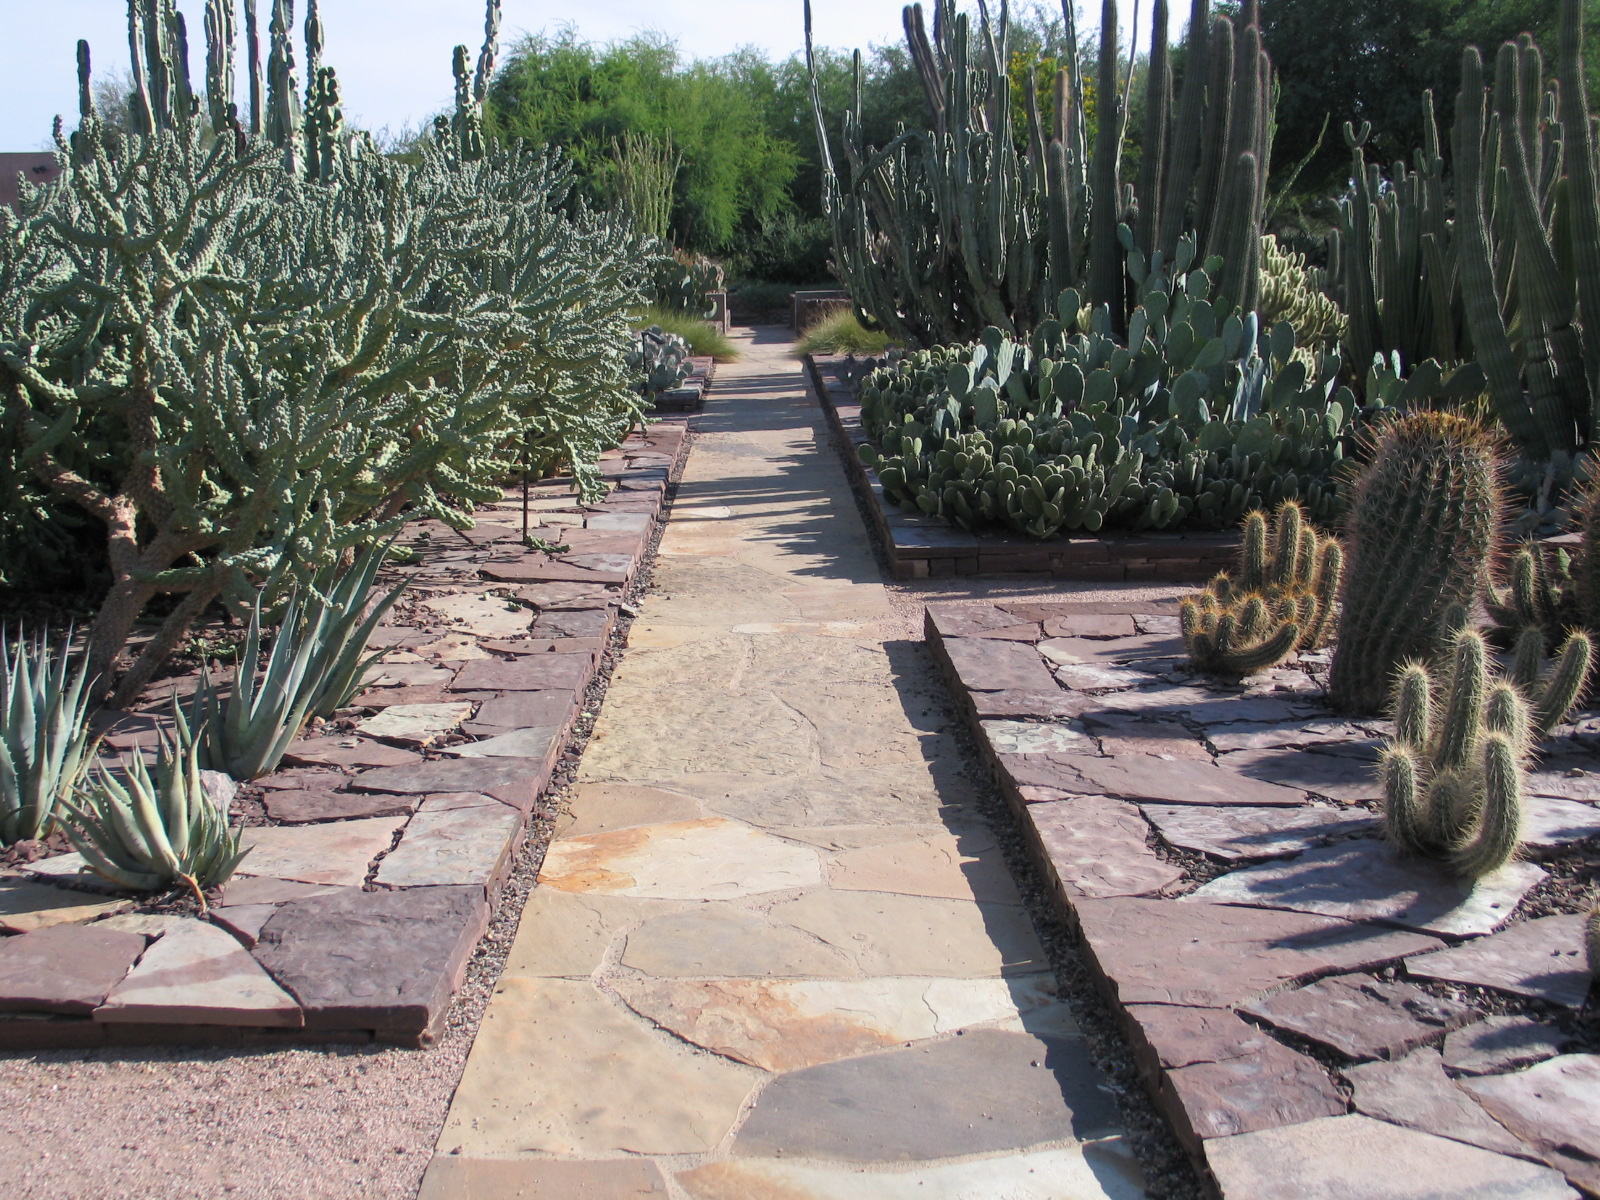
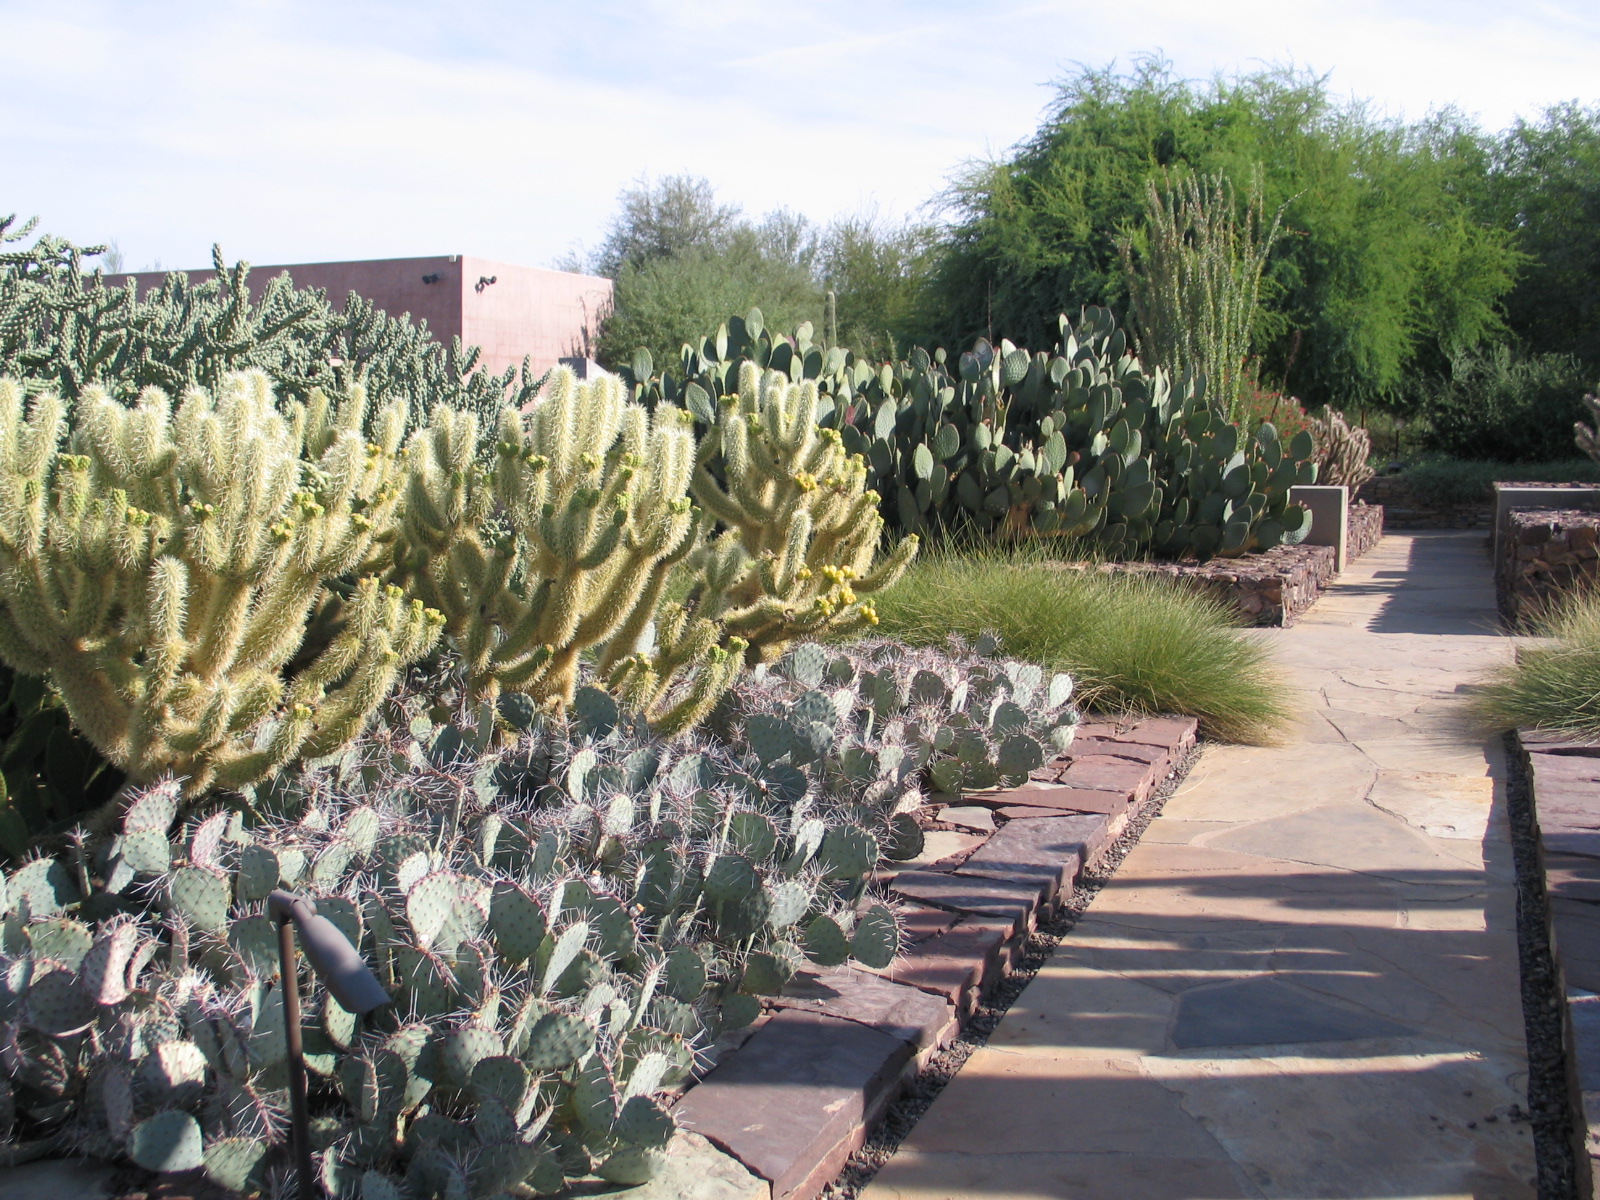
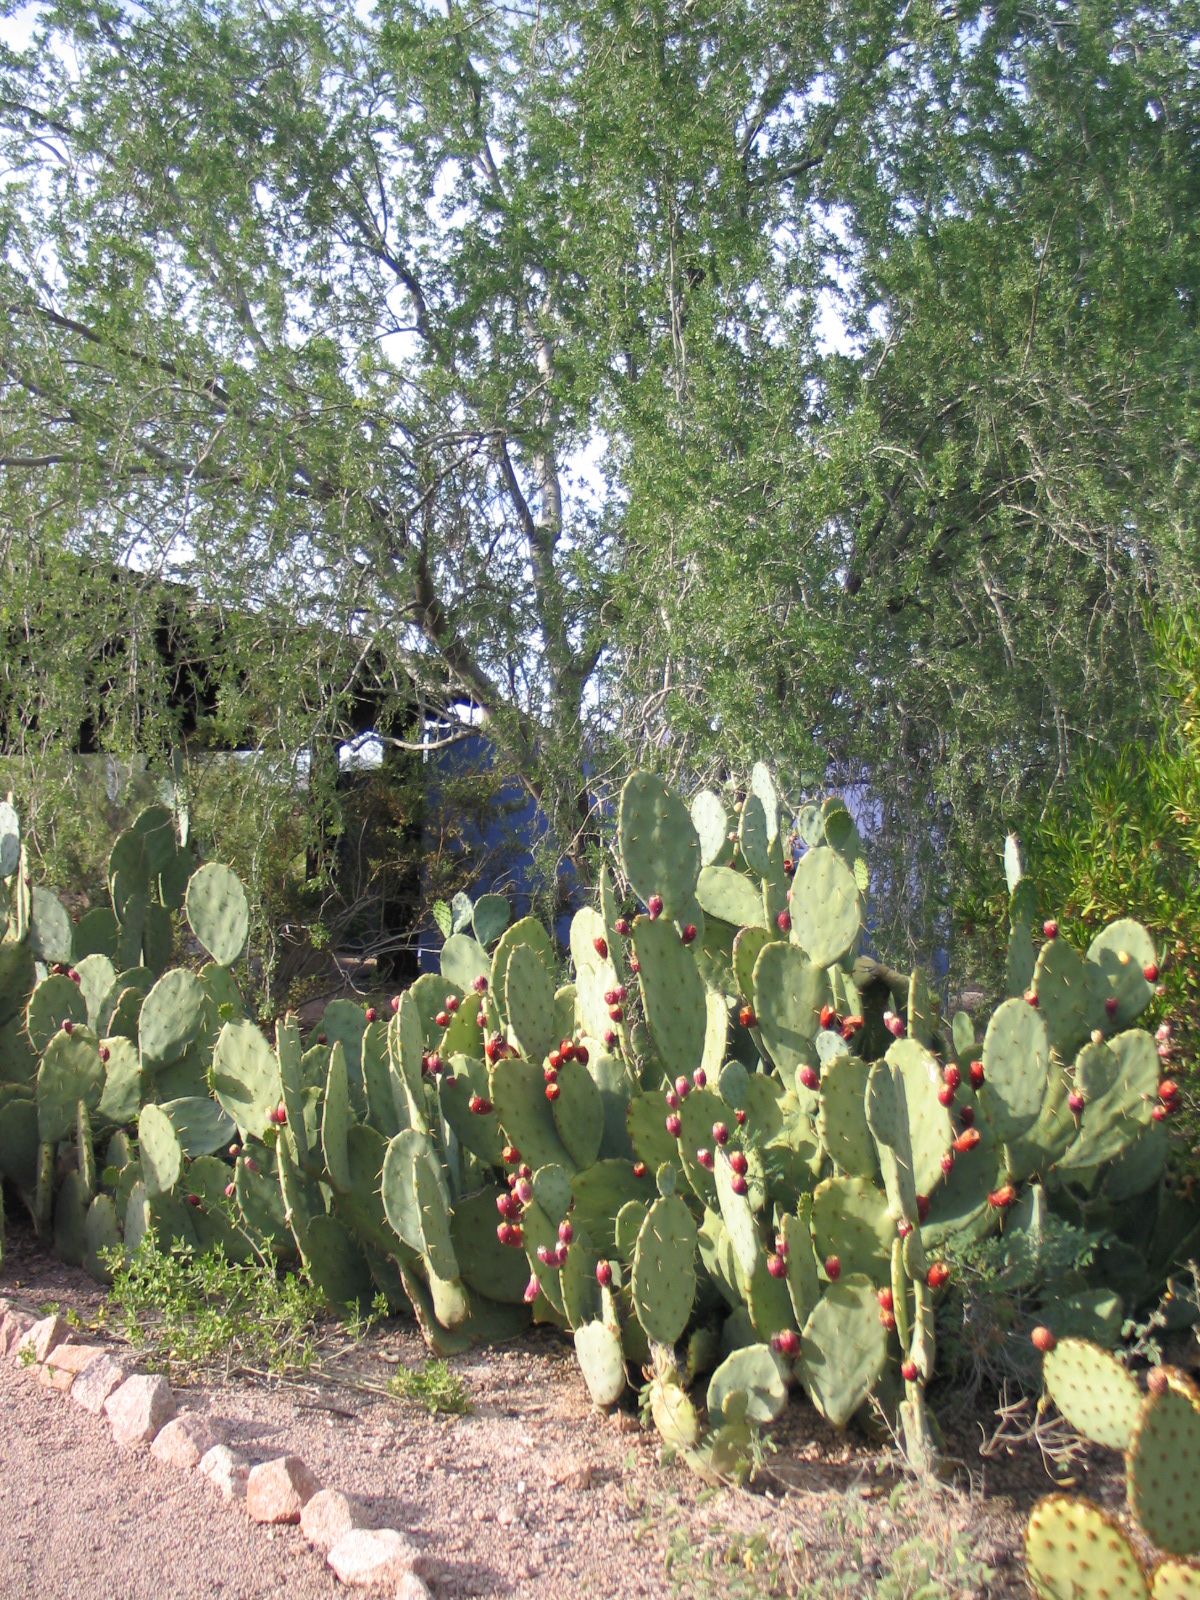
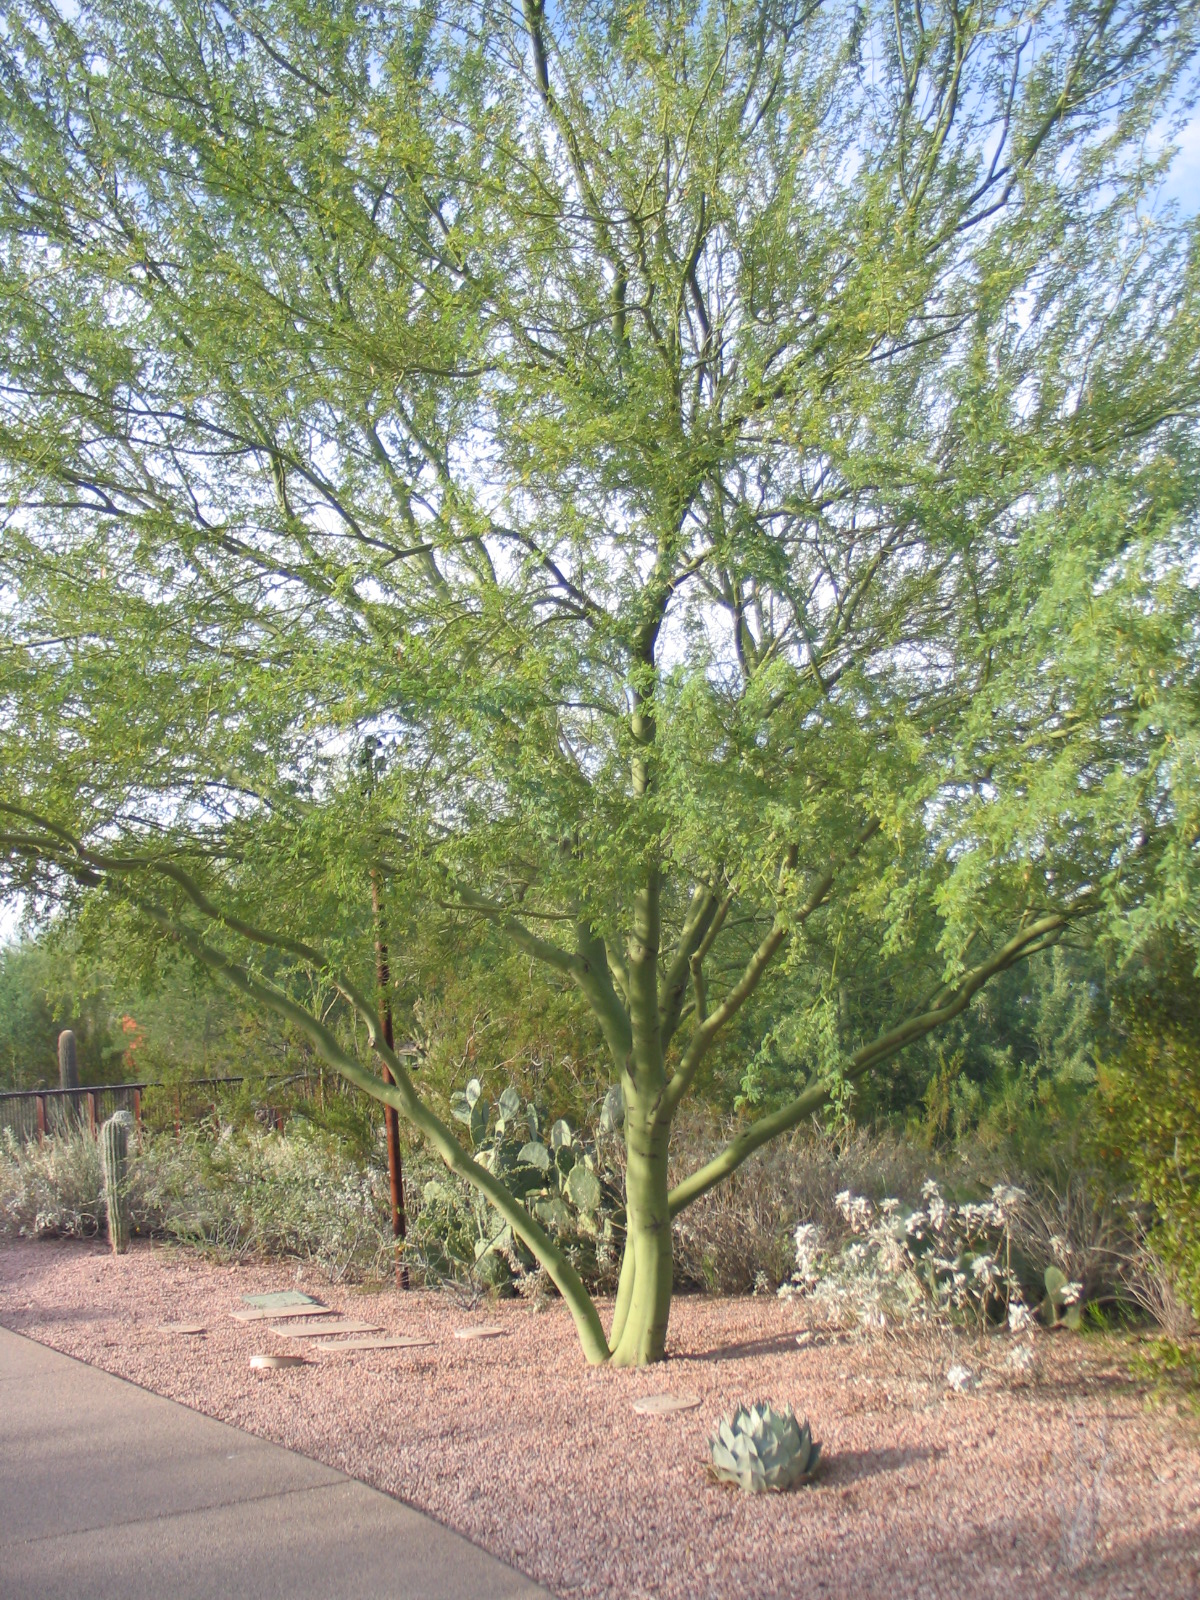
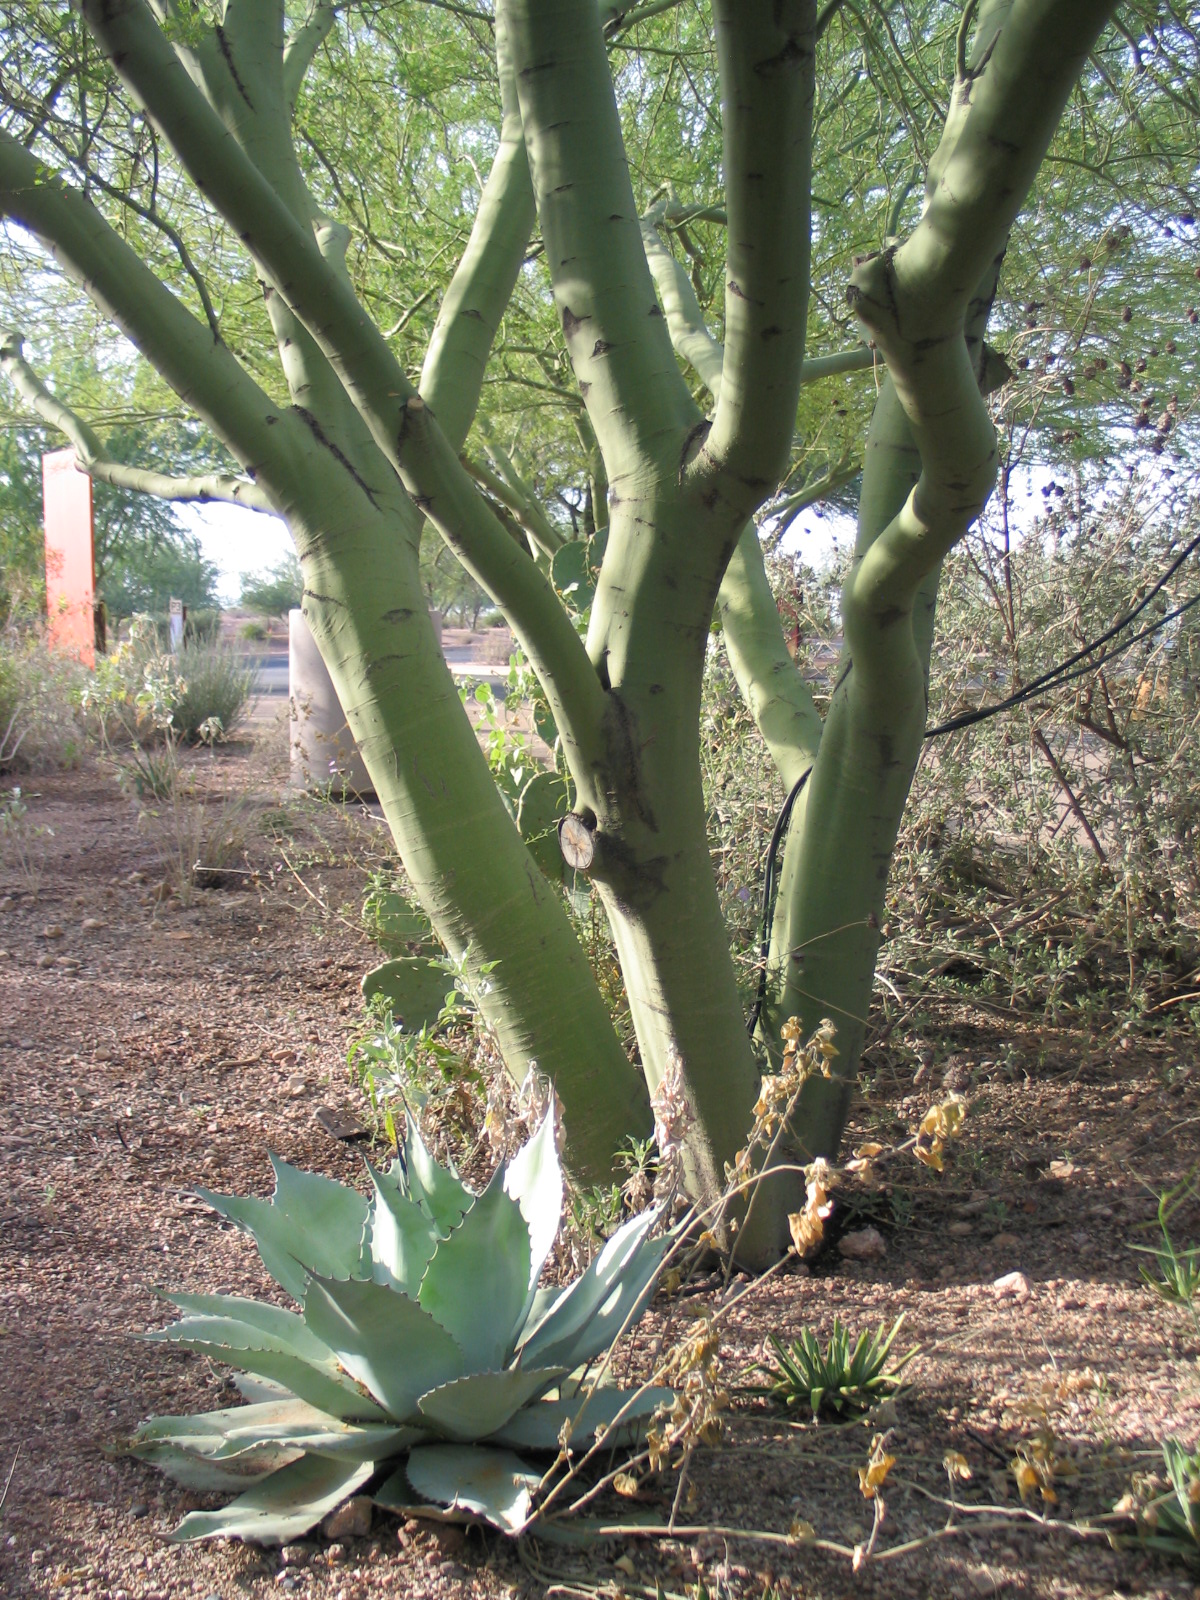
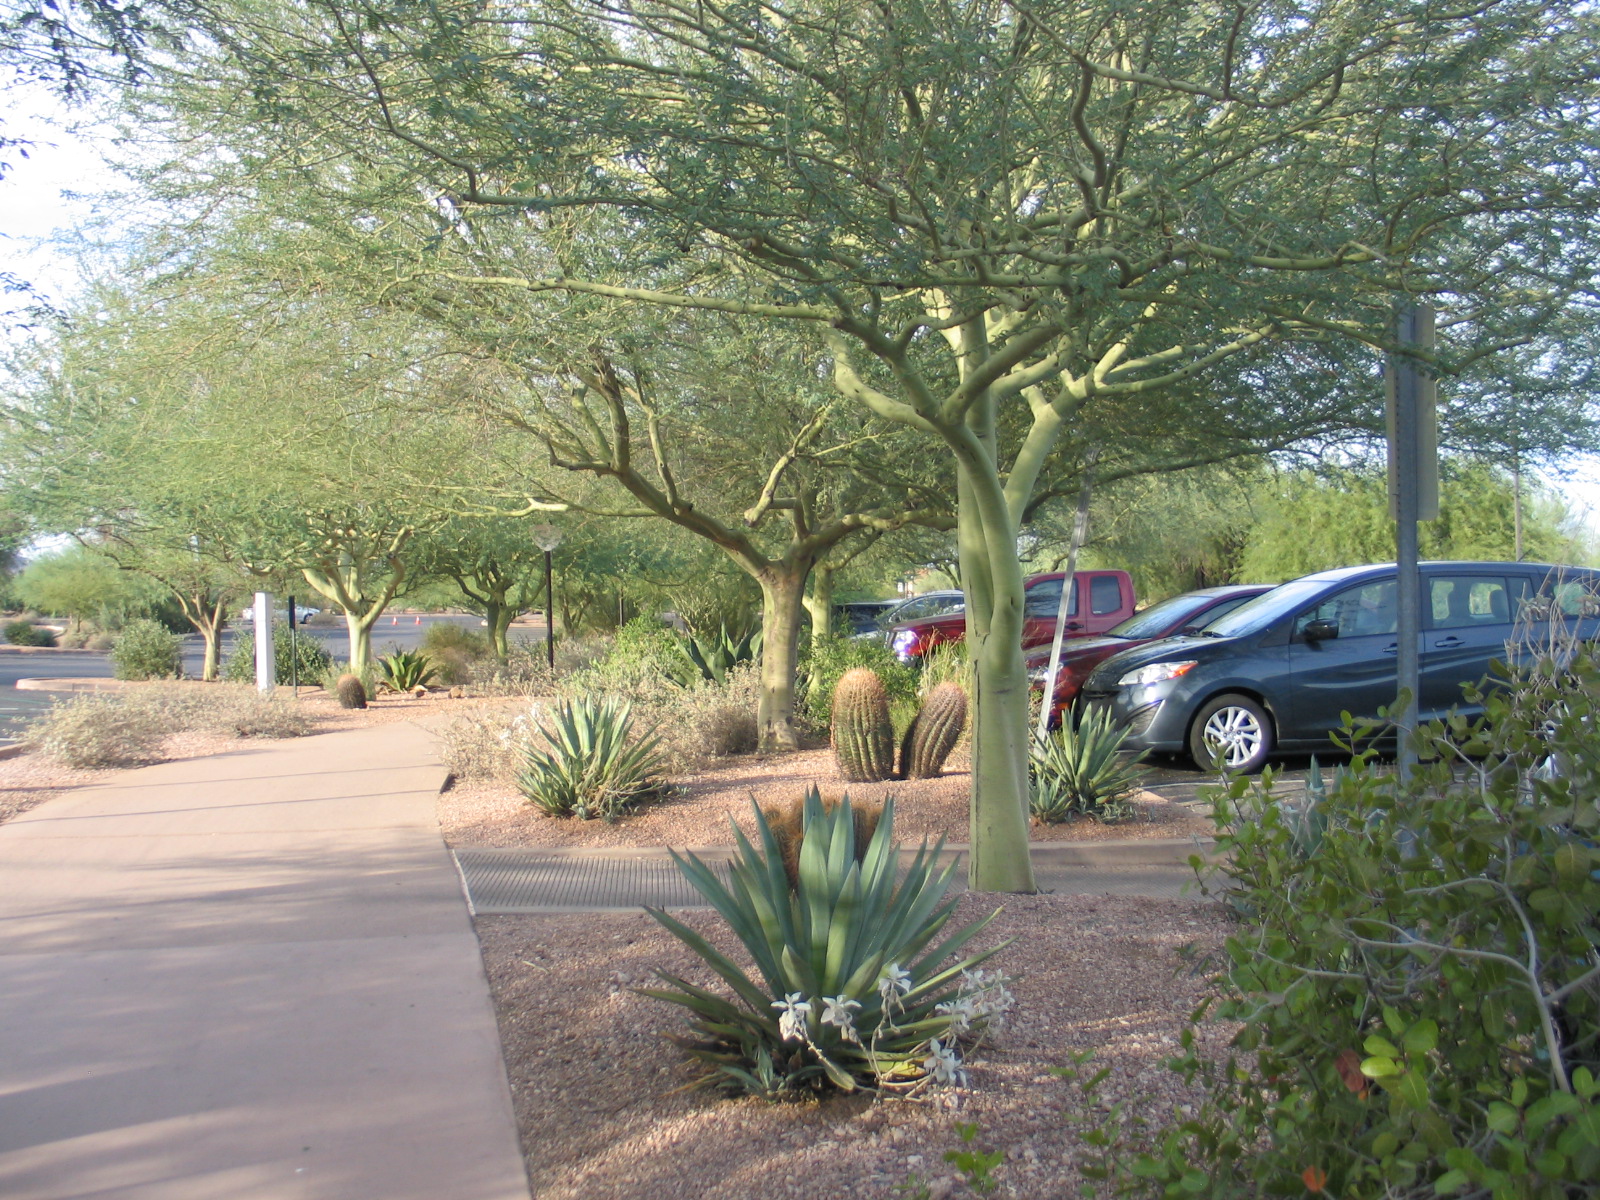
Two years ago this month I visited the Desert Botanical Garden in Phoenix, Az. Even though I was in Phoenix for the ASLA conference, I think I was more excited about visiting this garden than anything else. This year, they're celebraing their 75th anniversary - SEVENTY FIVE YEARS!The Desert Botanical Garden, despite being in the desert, has beauty, drama, softness, and life. There's a word that I hate (it starts with a "x" and ends in "scaping") that makes most people imagine a particular layout and use of plant materials that just makes my head hurt. Things have changed, though, and design of water wise planting has evolved!The folks at the Desert Botanical Garden have done a beautiful job with the materials they use. Most of the arbors, gates, trellises, and things like that are made with raw steel and rebar. They've oxidized into being gorgeous rusted pieces that are both crisp in their design and rustic in their finish. Next up is the use of concrete - oh yes, concrete is wonderful stuff! This board-formed concrete wall with the wood bench attached to it is so nicely detailed! There's this lovely seat wall with a green stone inlay that becomes a very discrete water feature at the other end. The water aspect of this would be easy to overlook, it is not showy or loud. Water, of course, is important for many reasons, but a big gurgling fountain would be out of place here. Tempting, but not appropriate.I only recall one other water feature, also a nice quiet, appropriate piece.Nearby were some very cool butterfly chairs with white slipcovers - they even looked refreshing - which caused me to realize that even if you don't sit or touch the water, the visual cue of taking a break is still a powerful (refreshing) force.Above you can get a real feel for the place - materials retain their integrity; for example, stone is used like stone, and it isn't just veneer. The colors belong here, and boldness is introduced sparingly. Here, the planting not only steals the show, it IS the show thanks to strategic restraint in all the other materials. Take a peek at the next several images - notice how the materials are used honestly, With color and a sense of place in mind, here are more of my favorites: Last, but not least I leave you with the parking lot (that's right, the parking lot) and a bunny with two quail (the quail blend, just behind the bunny to the right, in front of the succulents).Botanical gardens and arboreta are a big influence in my life and someday I hope to work on another one. In fact, I really should buy a lottery ticket because if I ever won, I'd buy some land and .... oh, do I have ideas!
True Colors (not what the interwebs says)
I love the internet, I really do. Seriously, I rely on it for all sorts of things. None of this is new information for you, savvy reader, but here's something that drives me absolutely bananas (you know it's serious because I don't even like bananas!)Here's a screen shot of Helleborus 'Onyx odyssey' from an internet image search: 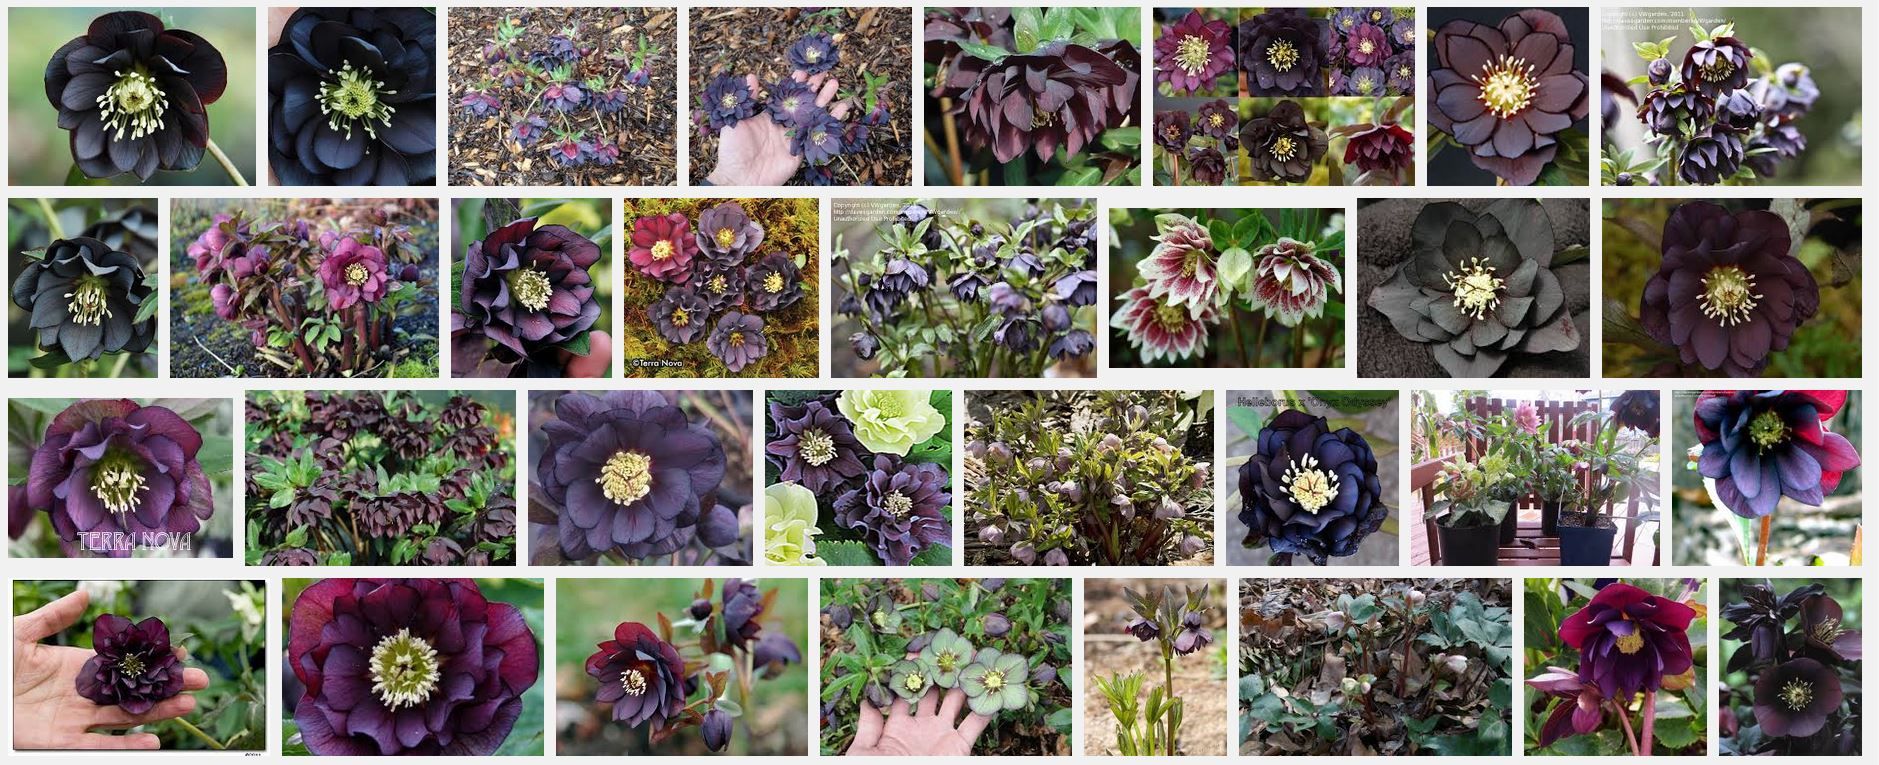 The majority of the photos above are a black or slatey near black color. From a collection like that, the black-flower-hopeful would expect that this plant was a true black or at least so ridiculously dark flowering that it didn't matter.I recognize that cameras and monitors vary in their abilities to accurately represent color, I have no issue there. My issue is more of an honor-code type thing. Below are some photos I took of this same cultivar in my old apartment patio:
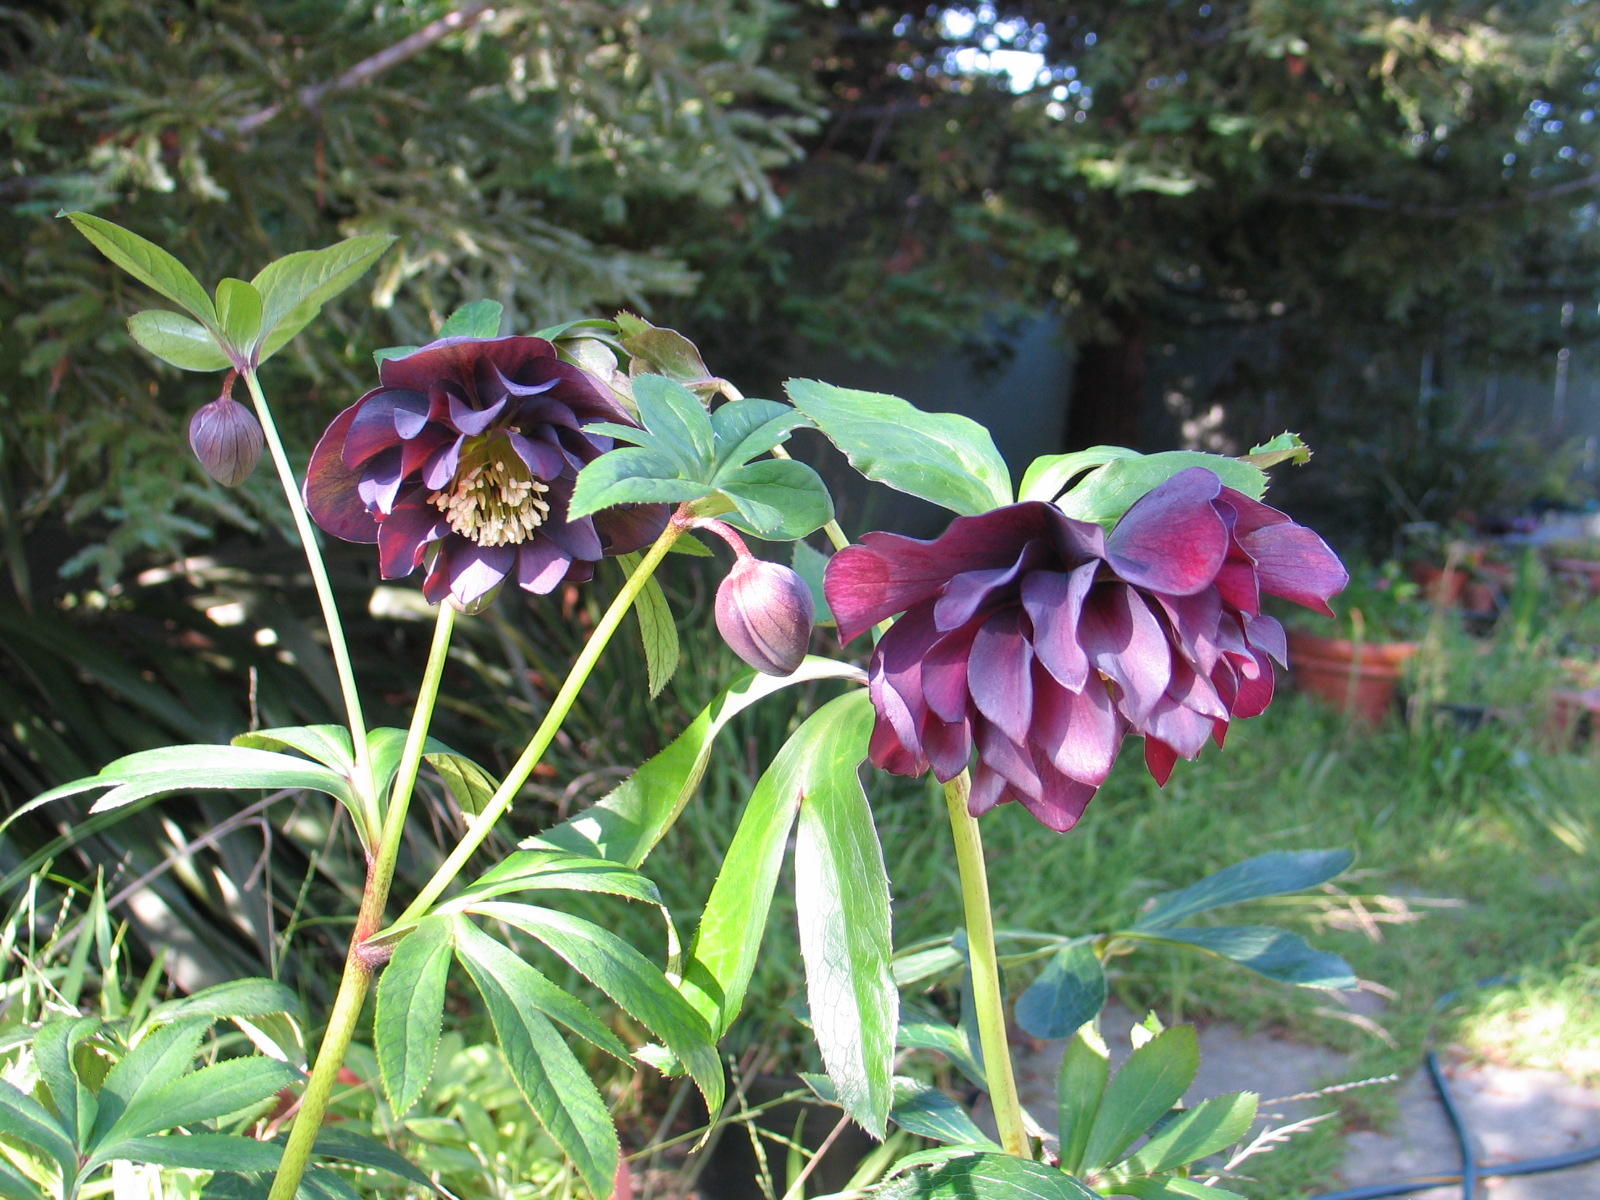
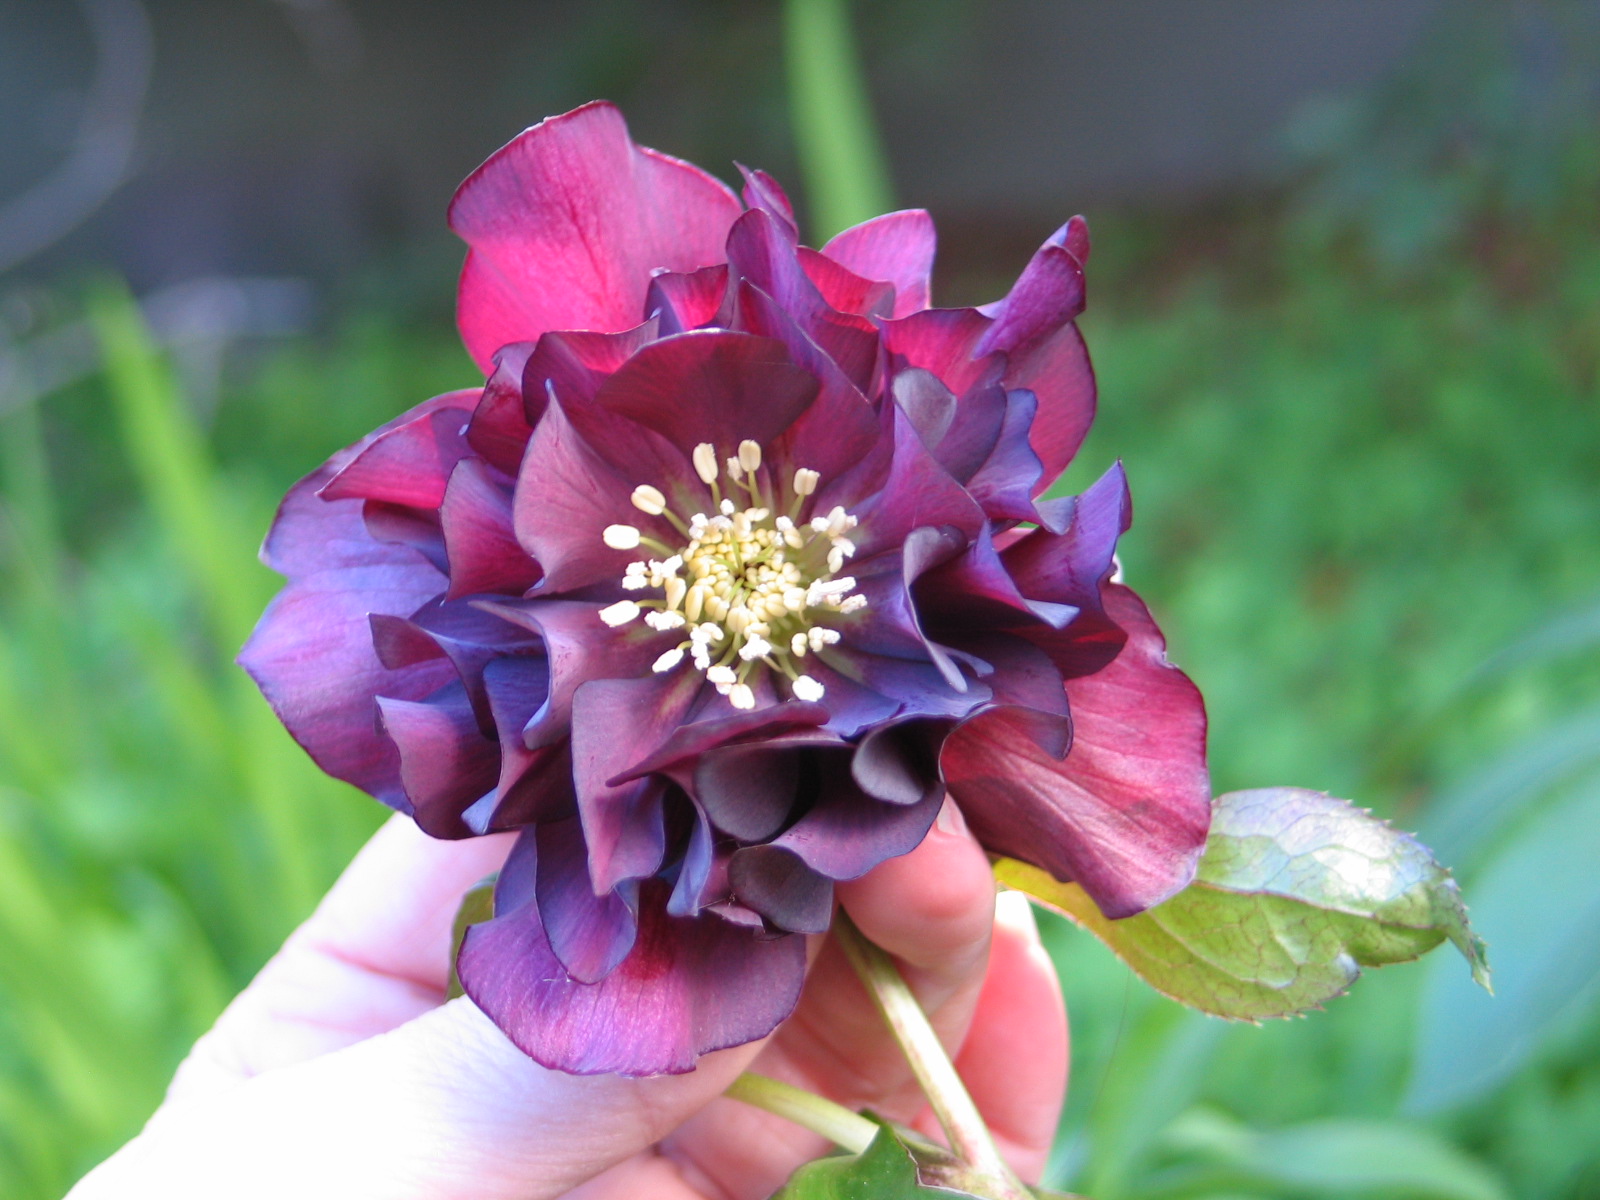
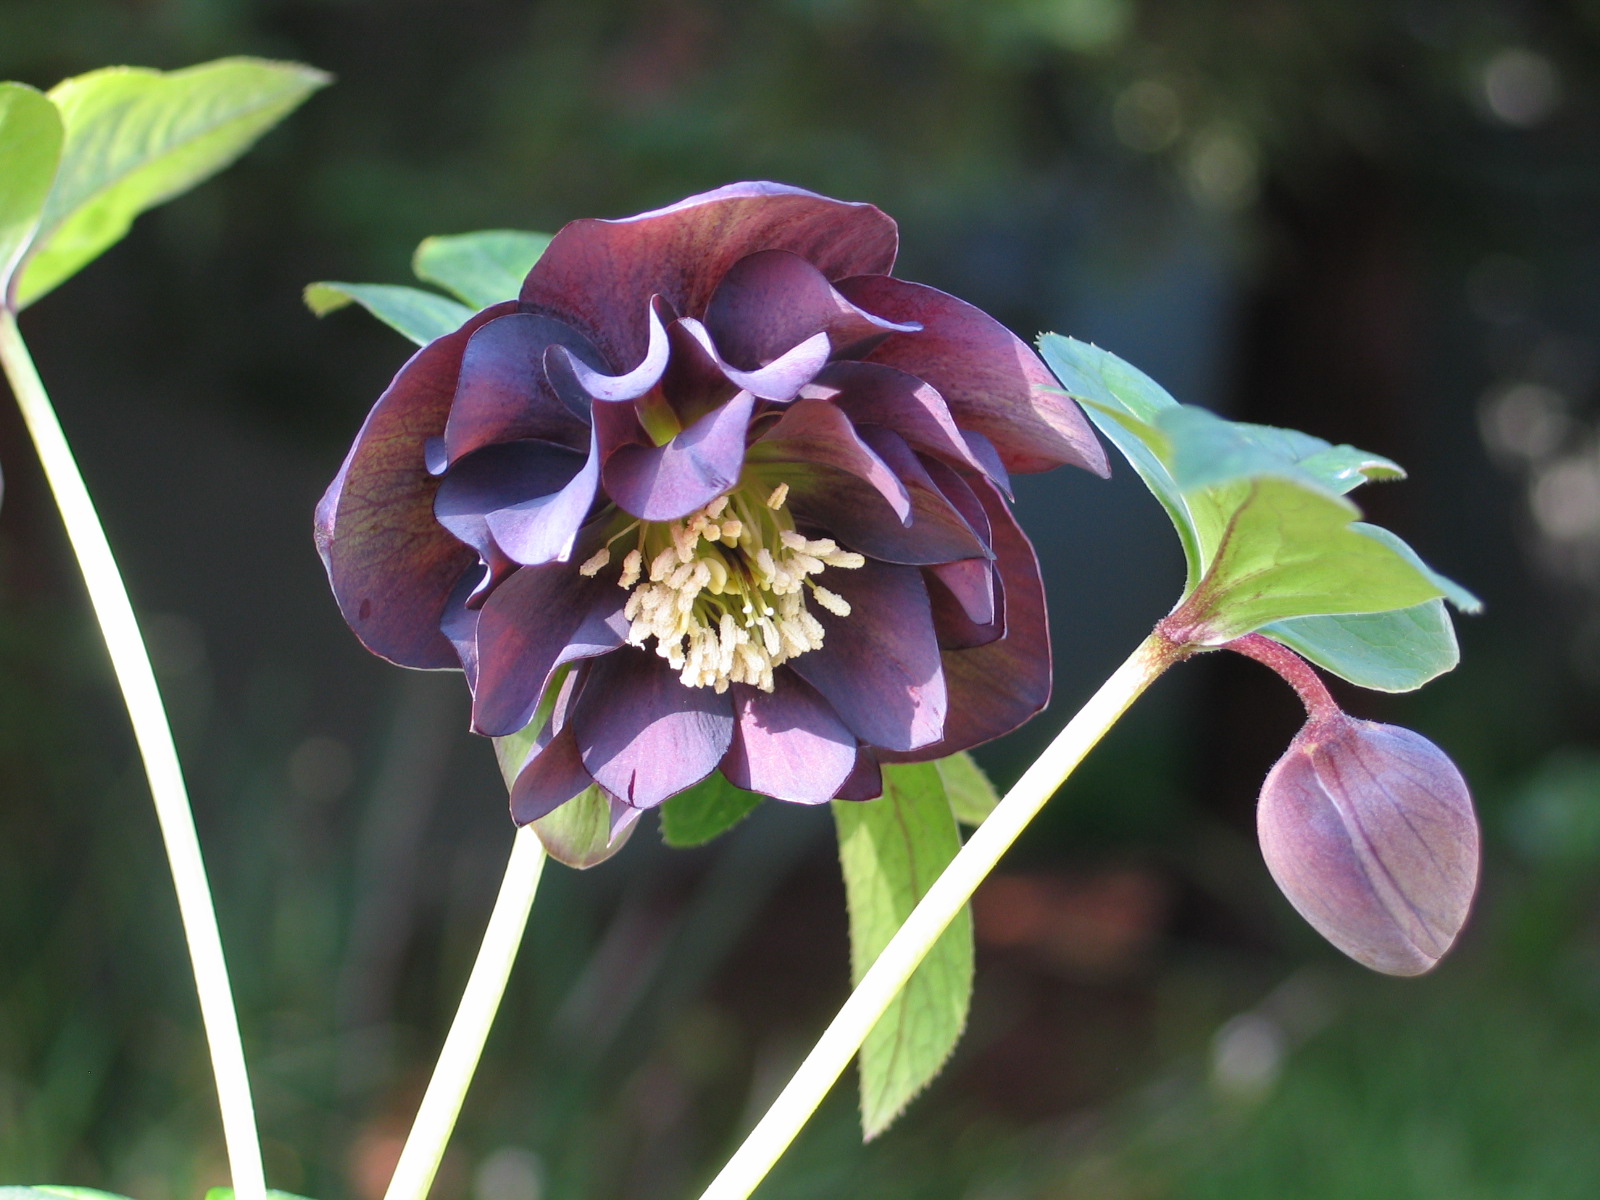 I find it important to photograph plants and flowers in the shade and the sun, and with different kinds of backgrounds and other things in the shot like ambiguous planty backgrounds and also my own hand. The camera automatically makes adjustments depending on what is in the picture - and then if I were to adjust the color in Photoshop, there are algorithms that make assumptions about what the color was supposed to be.For my design work, the internet serves as a great starting point and a place to see as many different images of the same plant as I possibly can. However, I've learned to mentally visualize colors of plants and flowers from web searches, and also to take into account the quality of the photos and the lighting.I try to grow as many different plants as I can at home (more on that later) so that I can have the best possible understanding of a plant's color and habit. I keep an extensive collection of photos that I've personally taken so I can track the same plant under as many light and growing conditions as possible, and so that I have a mind's eye recollection of each plant.My complaint, if you can really call it that, is that clients can find color-adjusted and completely unrealistic photos online, and expect that their plants will look just like that. Plants are amazing, gorgeous, living things.... but they're not always the supermodels (also usually photoshopped) that some catalogs would have us believe. Every once in a while, they become mere mortals like the rest of us. Beautiful in their own right, but not exactly as depicted.So please - don't be taken in by a great photo. Check them all. Consider before you fall in love if you're enamored with the image or the plant itself. We all deserve to be loved for who we are, sans photoshop.
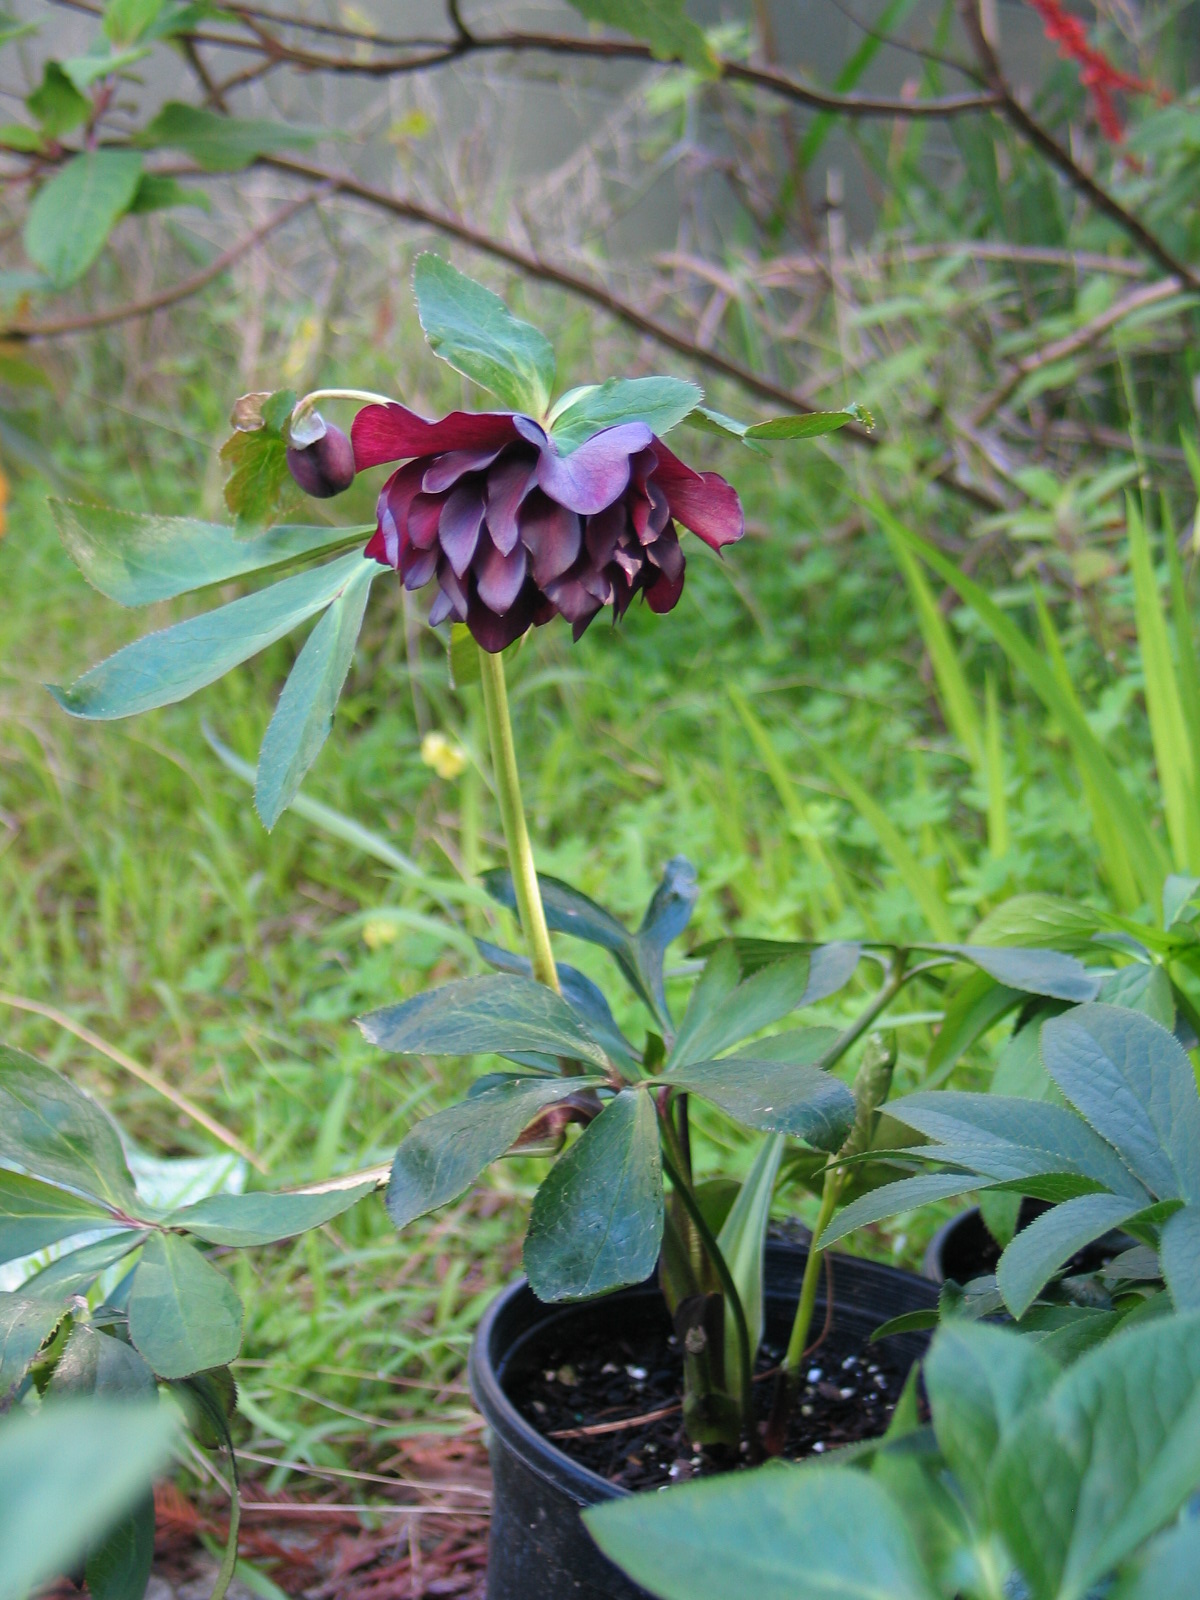
A Garden in Italy
2014 June
While I was away neglecting my modern web-presence-building duties, I enjoyed working on a particularly wonderful little project.... a Bed and Breakfast in Italy! I have never been to Italy, but when my good friend and talented architect Glenda Flaim showed me her work on Casa Incantata, I asked if I could take a stab at the planting design which had yet to be finalized. Neither of us had any idea what would happen. Come on, what do I know about plants in Italy?! Niente. The way we worked around that, and got the garden done was a genuinely collaborative effort involving Glenda, the Owners, their gardener, some dutch visitors, and me:First, Glenda sent me a photo of the site with notes (in green) on her thoughts for the planting:We chatted about the decisions on the photo - why the hedge, what is the lawn for, stuff like that. I studied snapshots of the building and tried to imagine what it would be like to be there in person. Glenda mentioned that the house had just won a national award for sustainable architecture, and was photographed soon after I started noodling with the design of the garden on paper. You can see pre-garden professional architectural photos here and here. She sent me a computer drafted file of the site and I gathered photos of plants that came to mind.I started the planting design in June 2012:I mapped out the planting design in areas with palettes. The areas got names: there was "lawn", "spicy", "meadow", and "hedge". I wrote a description of how each of these areas would be different from each other, what forms and colors I was trying to emphasize, and what colors I wanted to avoid entirely. I wrote out how these plants would change with the seasons and the desired effects. With lists of plants and their written intentions, the memos were translated into Italian and back into English through Glenda.The Owners and their gardener started looking for the plants and sent word back what was available and not, and we figured out plants that might work instead. More memos handling spacing and layout were translated back and forth, plant research was done on both continents. Plants were purchased and installed as they were found; this took a few seasons to finish. Some were purchased in Italy, some shipped from the U.S., and the last, elusive bulb was a gift from some visitors from Holland who learned of the missing bulb in discussions of the garden during their stay.Over the last 2 years, I've gotten a couple of photos a season so I could see how the garden was doing. They had wasted no time getting plants in the ground. Later that same year (fall 2012), the lawn (Hernaria glabra) which also extended between the pavers, was getting its start:By the following Spring (2013) it had filled-in very nicely!The other plants were coming along too:By that Summer, you could see the different zones expressing themselves:And just last month, I got another update:It is challenging to know how a garden will look when you're designing it, and there were many anxious moments when I knew they were investing in my advice and I could only hope that the Owners would like the results. I'm not sure it is possible to tell if the image in my head matches what the garden will become. I can't know ahead of time if the Owners will like what the garden will become, and yet it is dependent on them and everyone who takes care of it to continue to support the design's intention as the garden is maintained.I am finally able to share (two years later) how things are going here in this post. I can also share that the owners are very happy with their garden, and conveyed to me this sentiment:
Il giardino che ho sempre sognato!!!
(The garden I have always dreamed about!!!)
I couldn't have asked for more.
It's Been Too Long
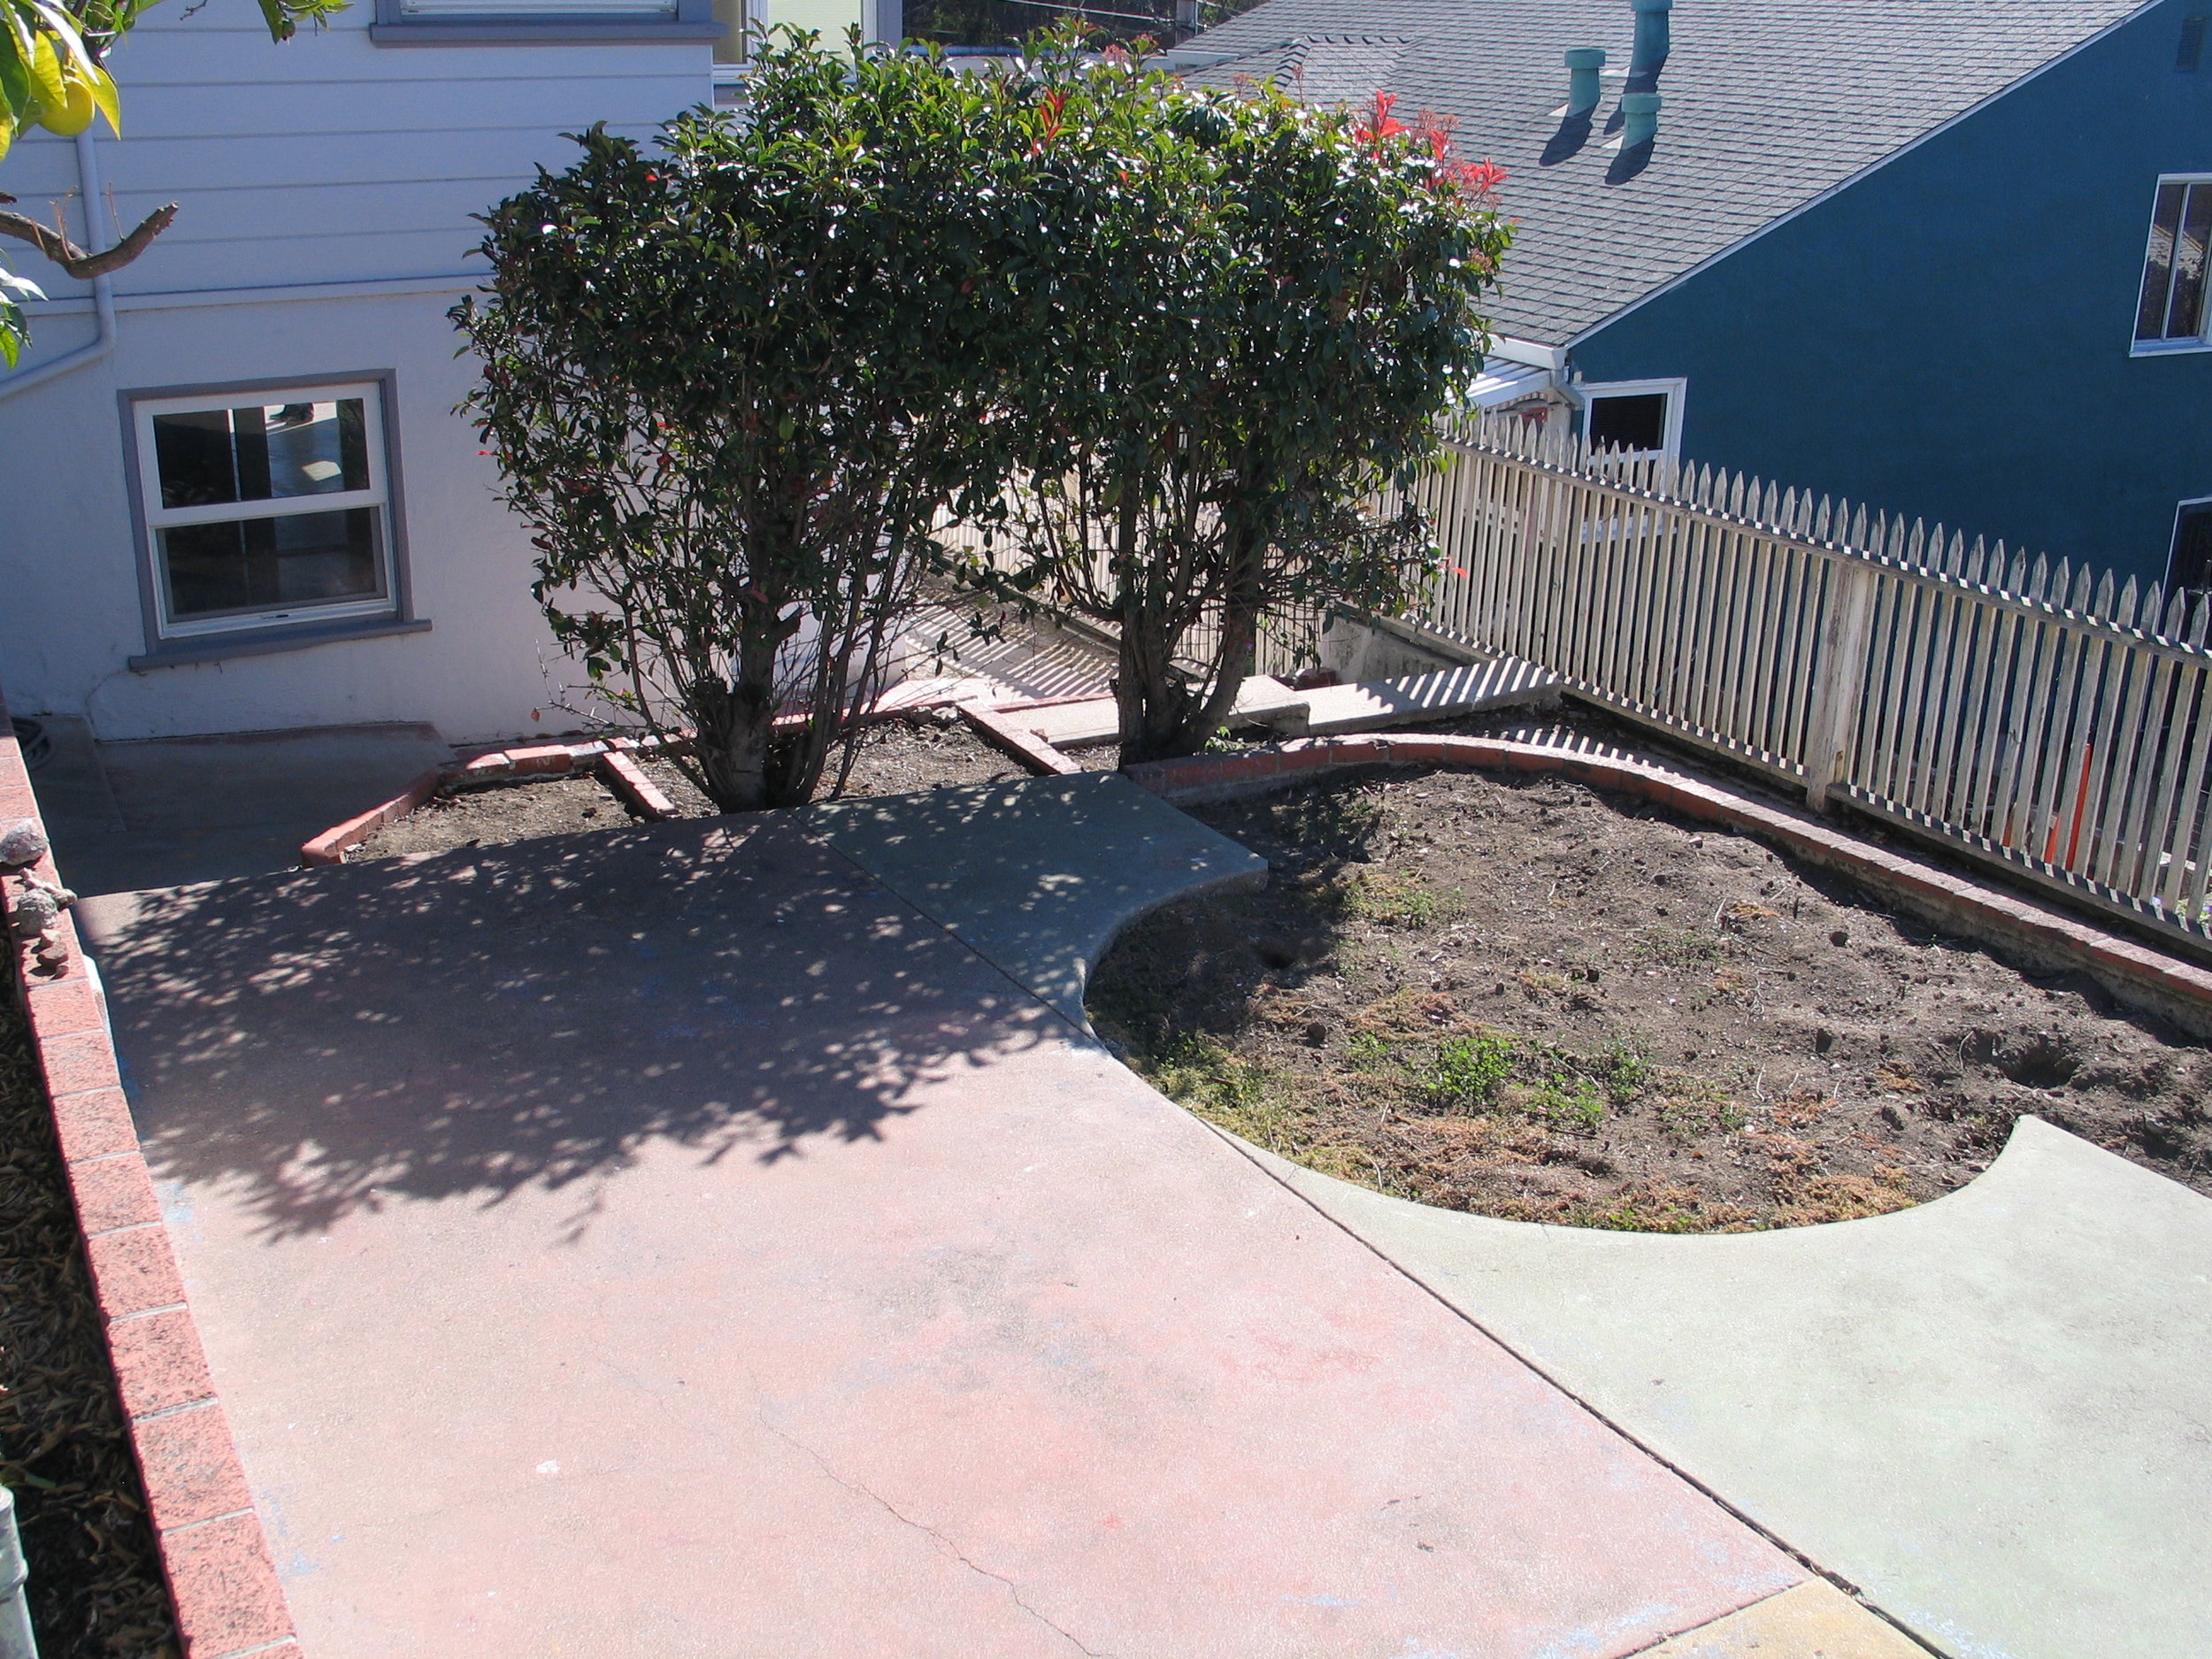
Hello there! I've been away from this blog far too long. Things have been quite busy with a whole mess of life and work changes.The big news is that I moved into a new place. I'm in the very beginning stages of designing the garden here, and wanted to share with you some of the challenges I am facing and what I'm doing to make this place as useful and responsive to my needs as possible. This could take me a while, but I'm game if you are:For starters, the previous occupants planted thorny Bougainvillea next to the gate to one of the side yards. You have to squeeze by it and hope there aren't any bad guys lurking behind it to get into the rear yard. Don't catch your sleeve on the sickly, not even fragrant, and incredibly thorny patio tree rose on the left as you go:If you look behind the Bougainvillea, you'll see a very typical fence which blocks visibility into the back yard (hello again, bad guys!). A friend commented to me that it seemed wrong to block views into what will hopefully become a beautiful side yard. I have to agree! Visibility issues aside, what you can't see is that this opaque fence is nailed to the once charming original fence:Way cuter, right?! yep, I thought so too. and next is that side yard that will eventually become beautiful. Here, what you can't see are all the weed seeds that germinated the moment I moved in keeping me busy indefinitely: If you follow the side yard, you come to the back where there's some lovely painted concrete in reggae colors with teensy tiny meaningless lawns and very old, well established Photinia (one of my least favorite shrubs EVER!). How snazzy is that bit of solid fencing there? I love how it gracefully blocks the view of the neighbor's solid wall. Equally enjoyable is the brick cap on the concrete retaining walls. No lack of design consideration here:Which brings me to the shed. I love love love the shed. It has holes in the roof and sides from what appear to be buckshot so that rain drips directly on the shelf and is rotting the framing. I have no idea what that railing is for, nor why there's a flagpole footing in front of the little railing surrounded platform. I call it the pulpit. The pulpit's days are numbered; same goes for the flagpole footing and little concrete pad in front of it.In the front is an unreasonable amount of purple Lantana and this thing, probably Yucca elephantipes. It will get way too big for that little retaining wall and will break it and start all kinds of trouble in the next couple of years if I don't remove it. Sorry, Yucca, you gotta go.The good thing is that when I go to the shed and look out past the festive reggae concrete, Photinias, and strange tiny lawns, I can enjoy sunsets every night.Here's to resolving the design issues and playing in the yard!
What's in a name?
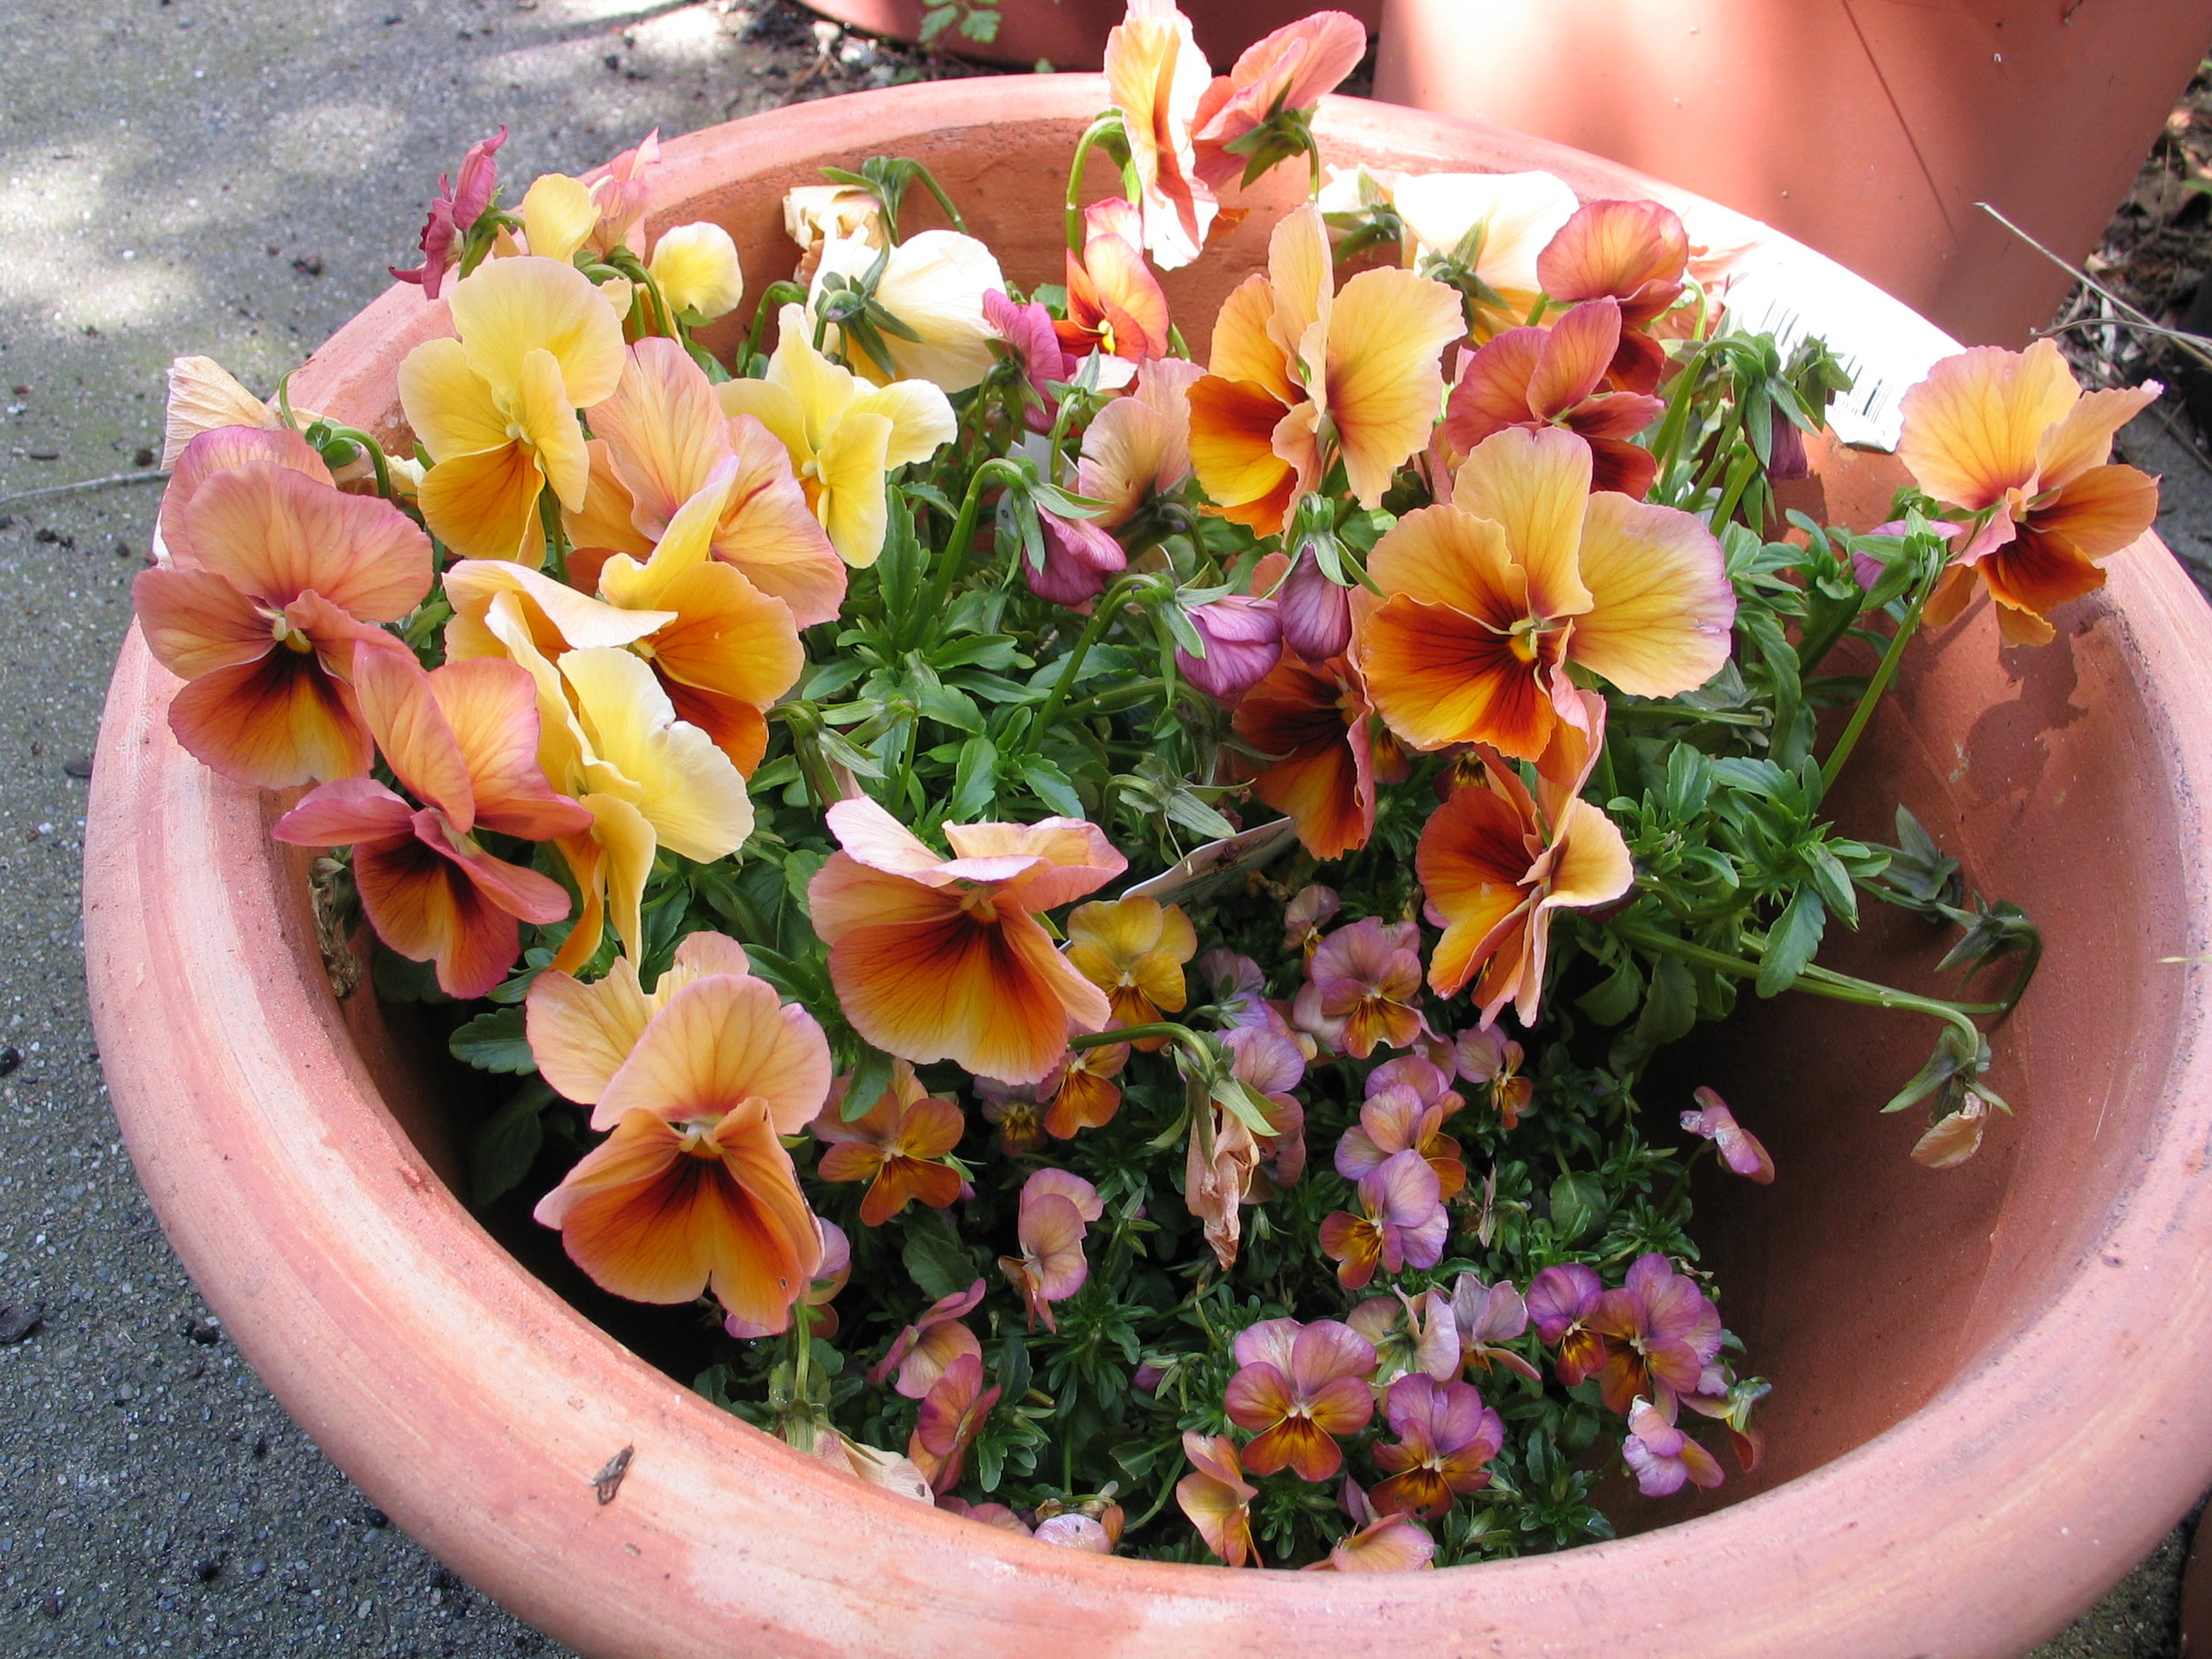
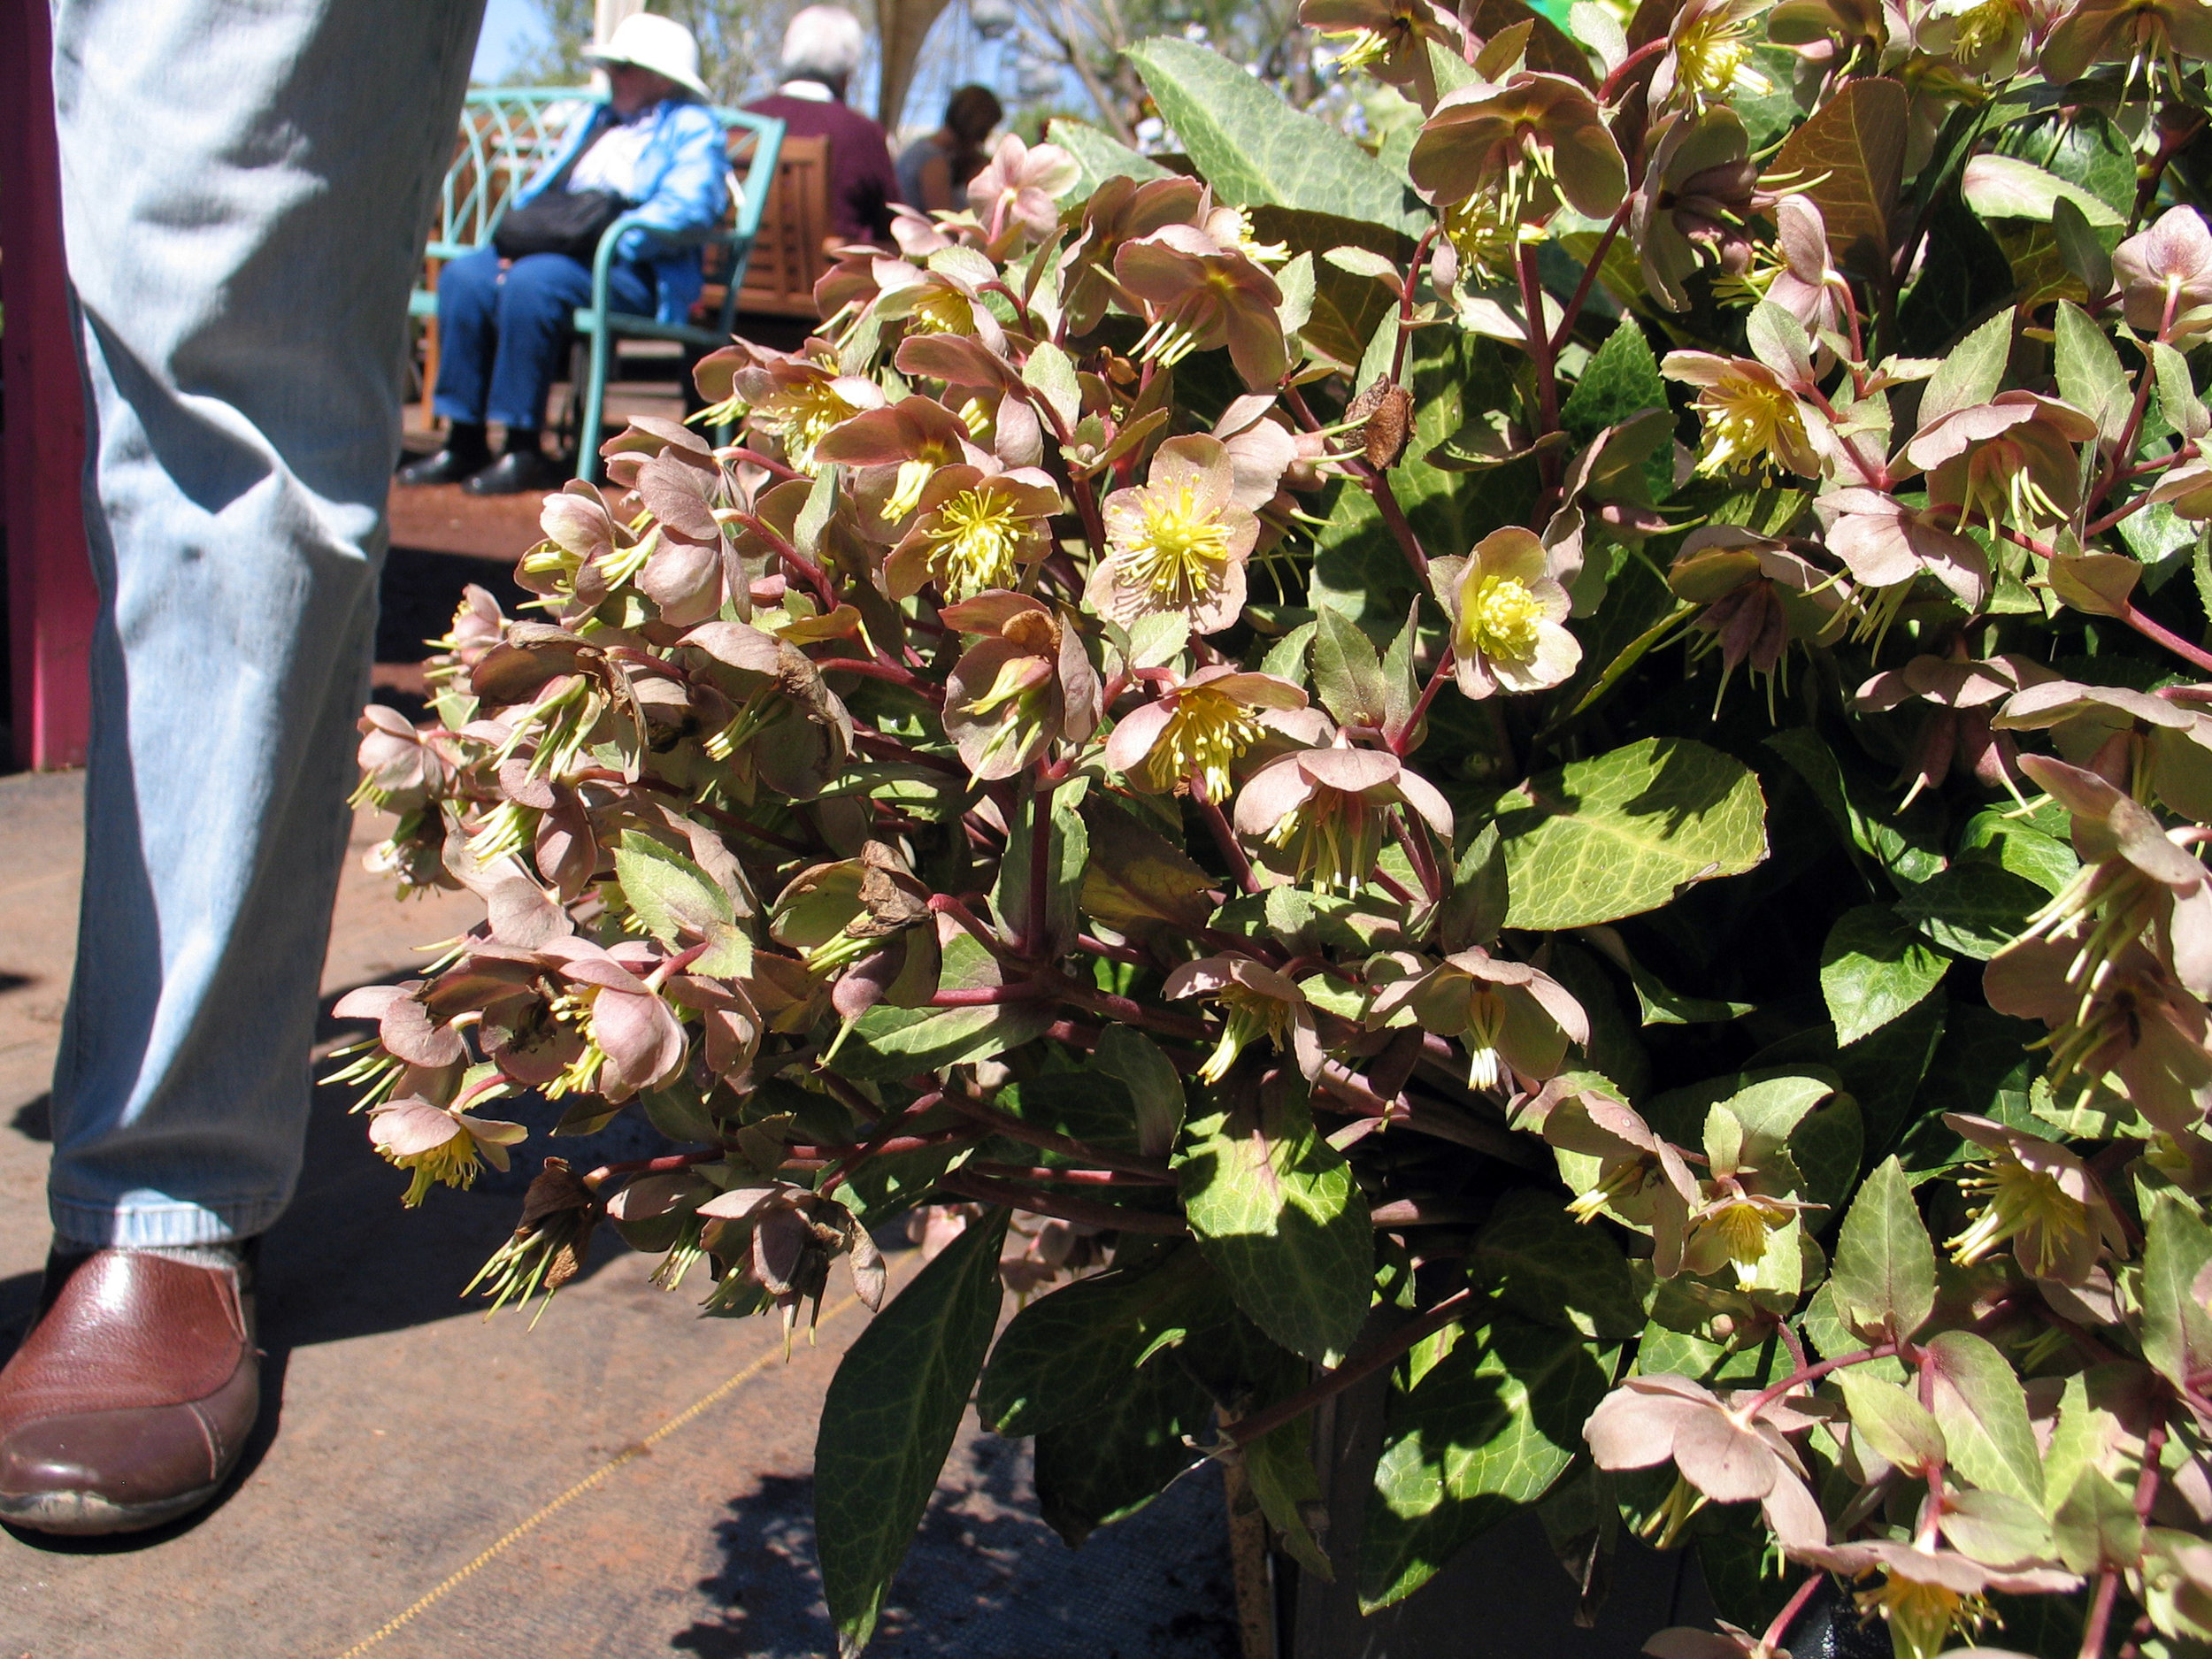
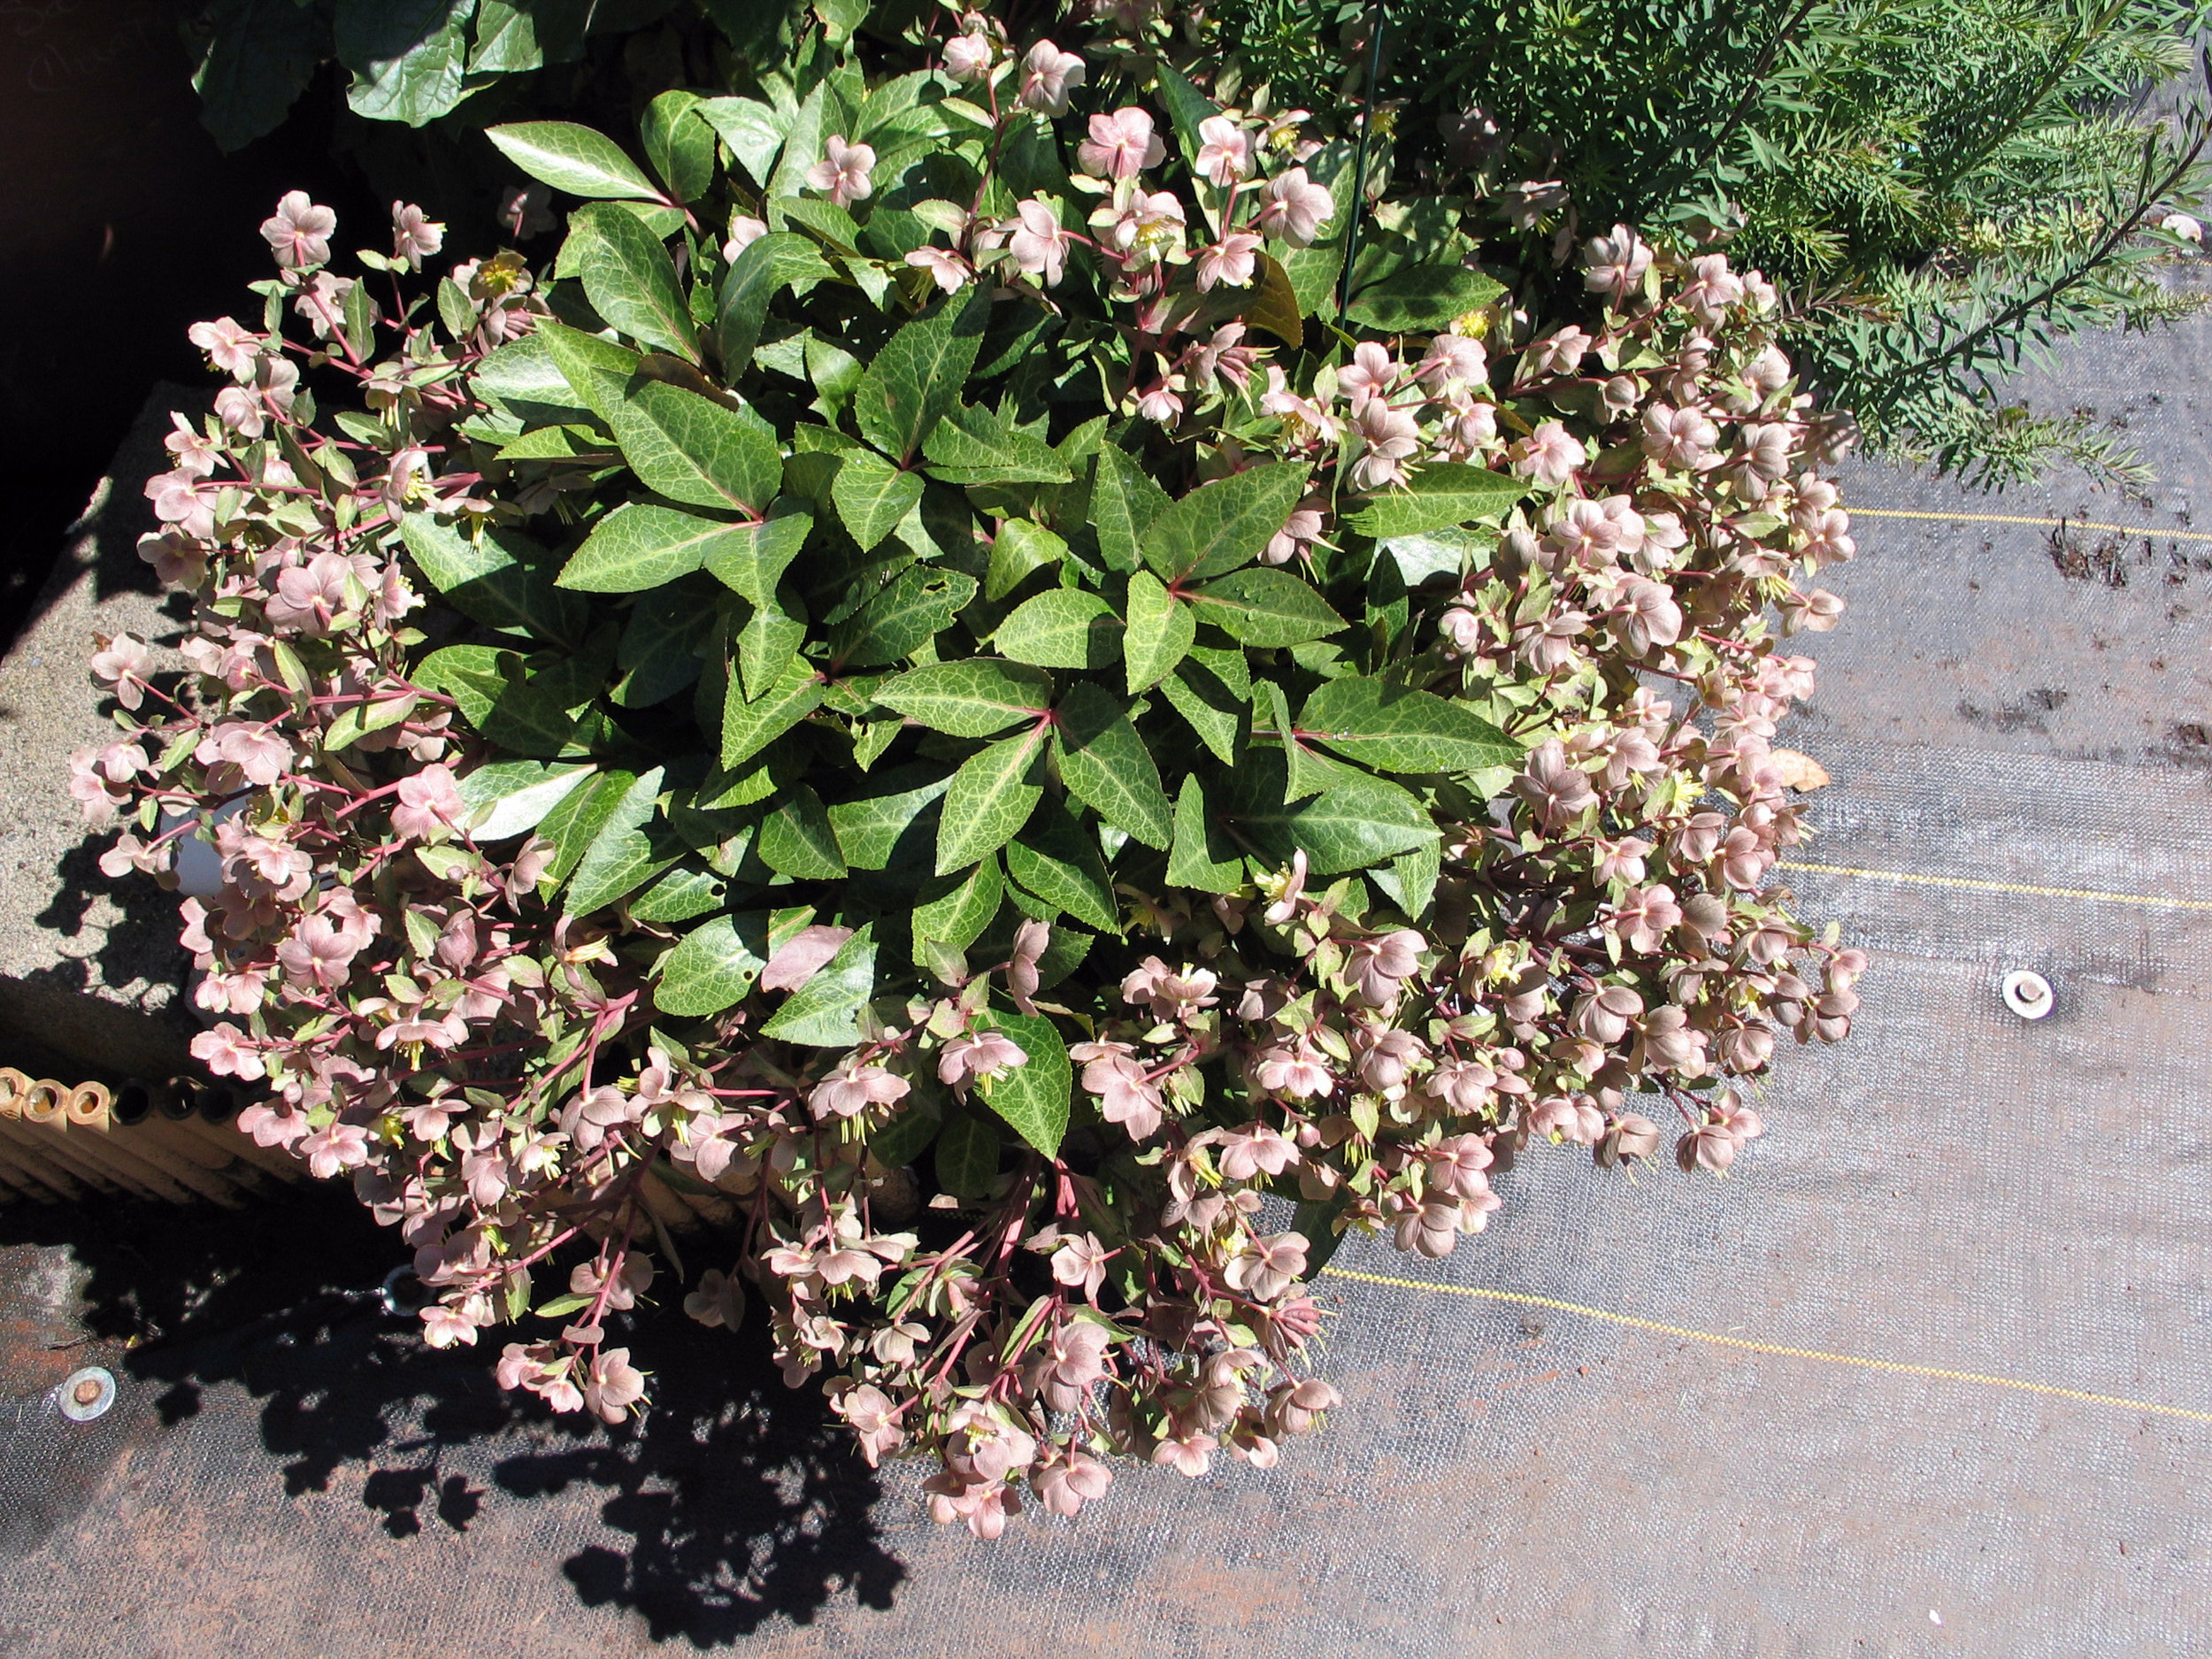
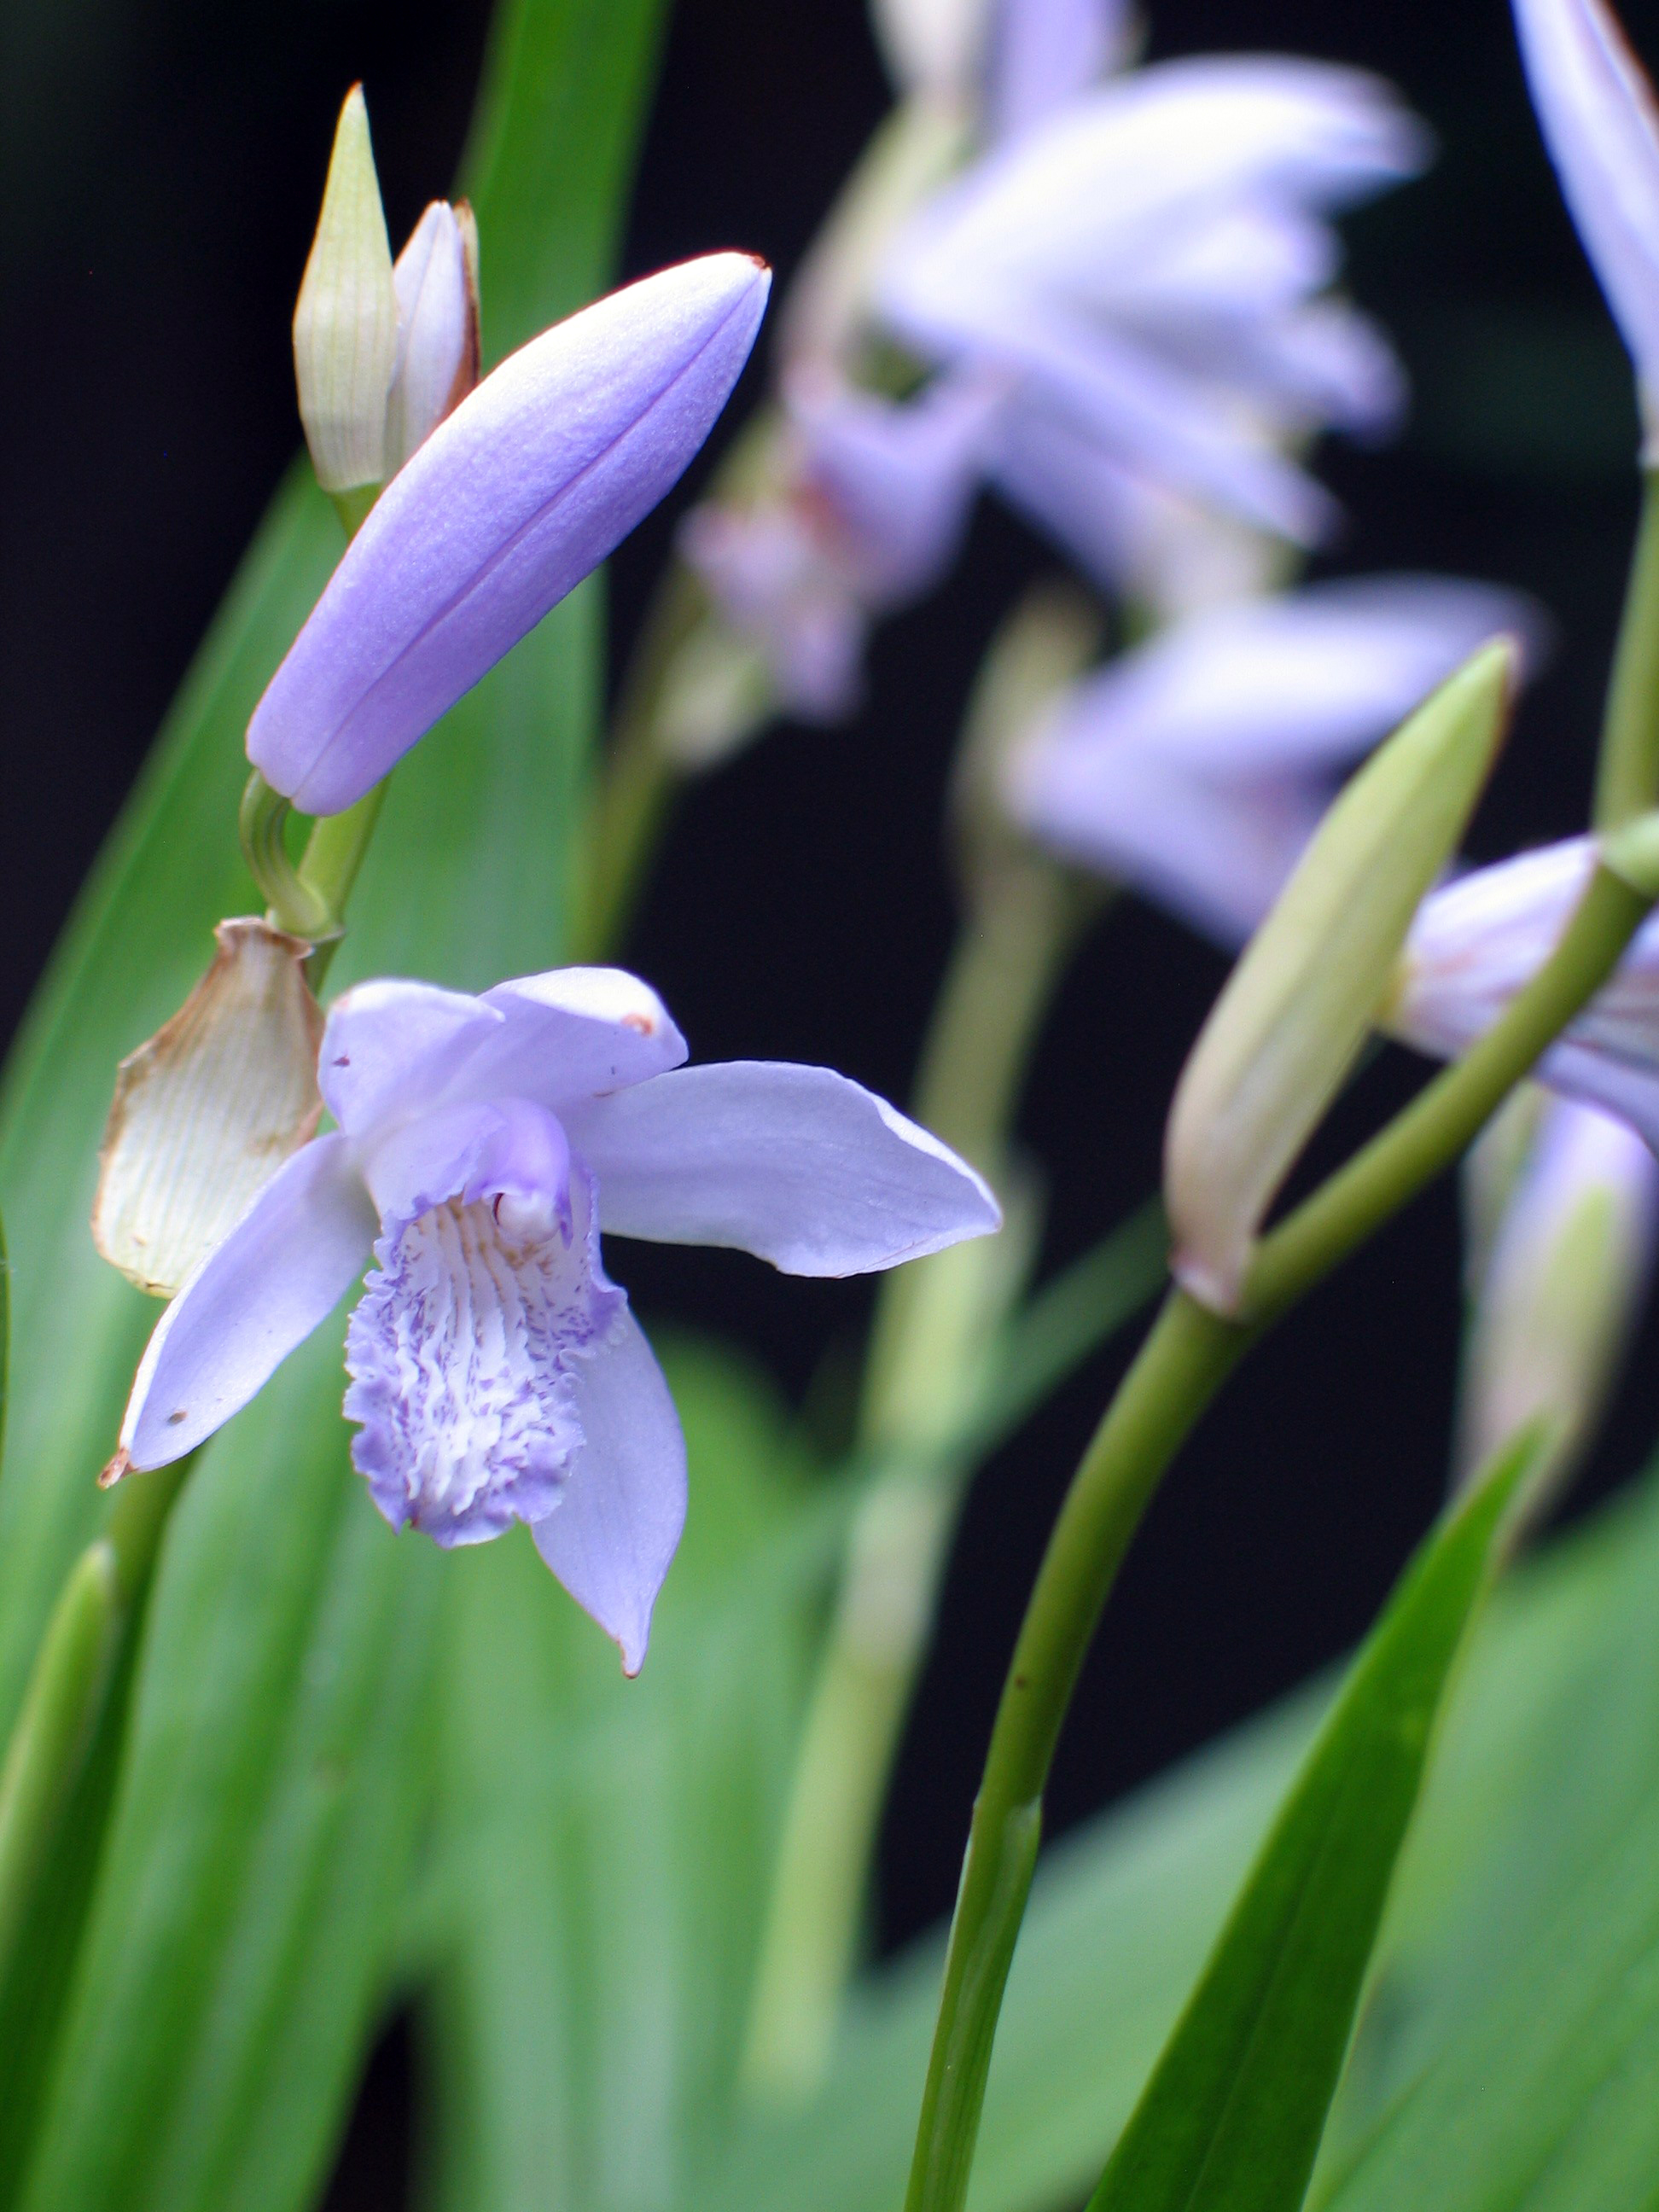
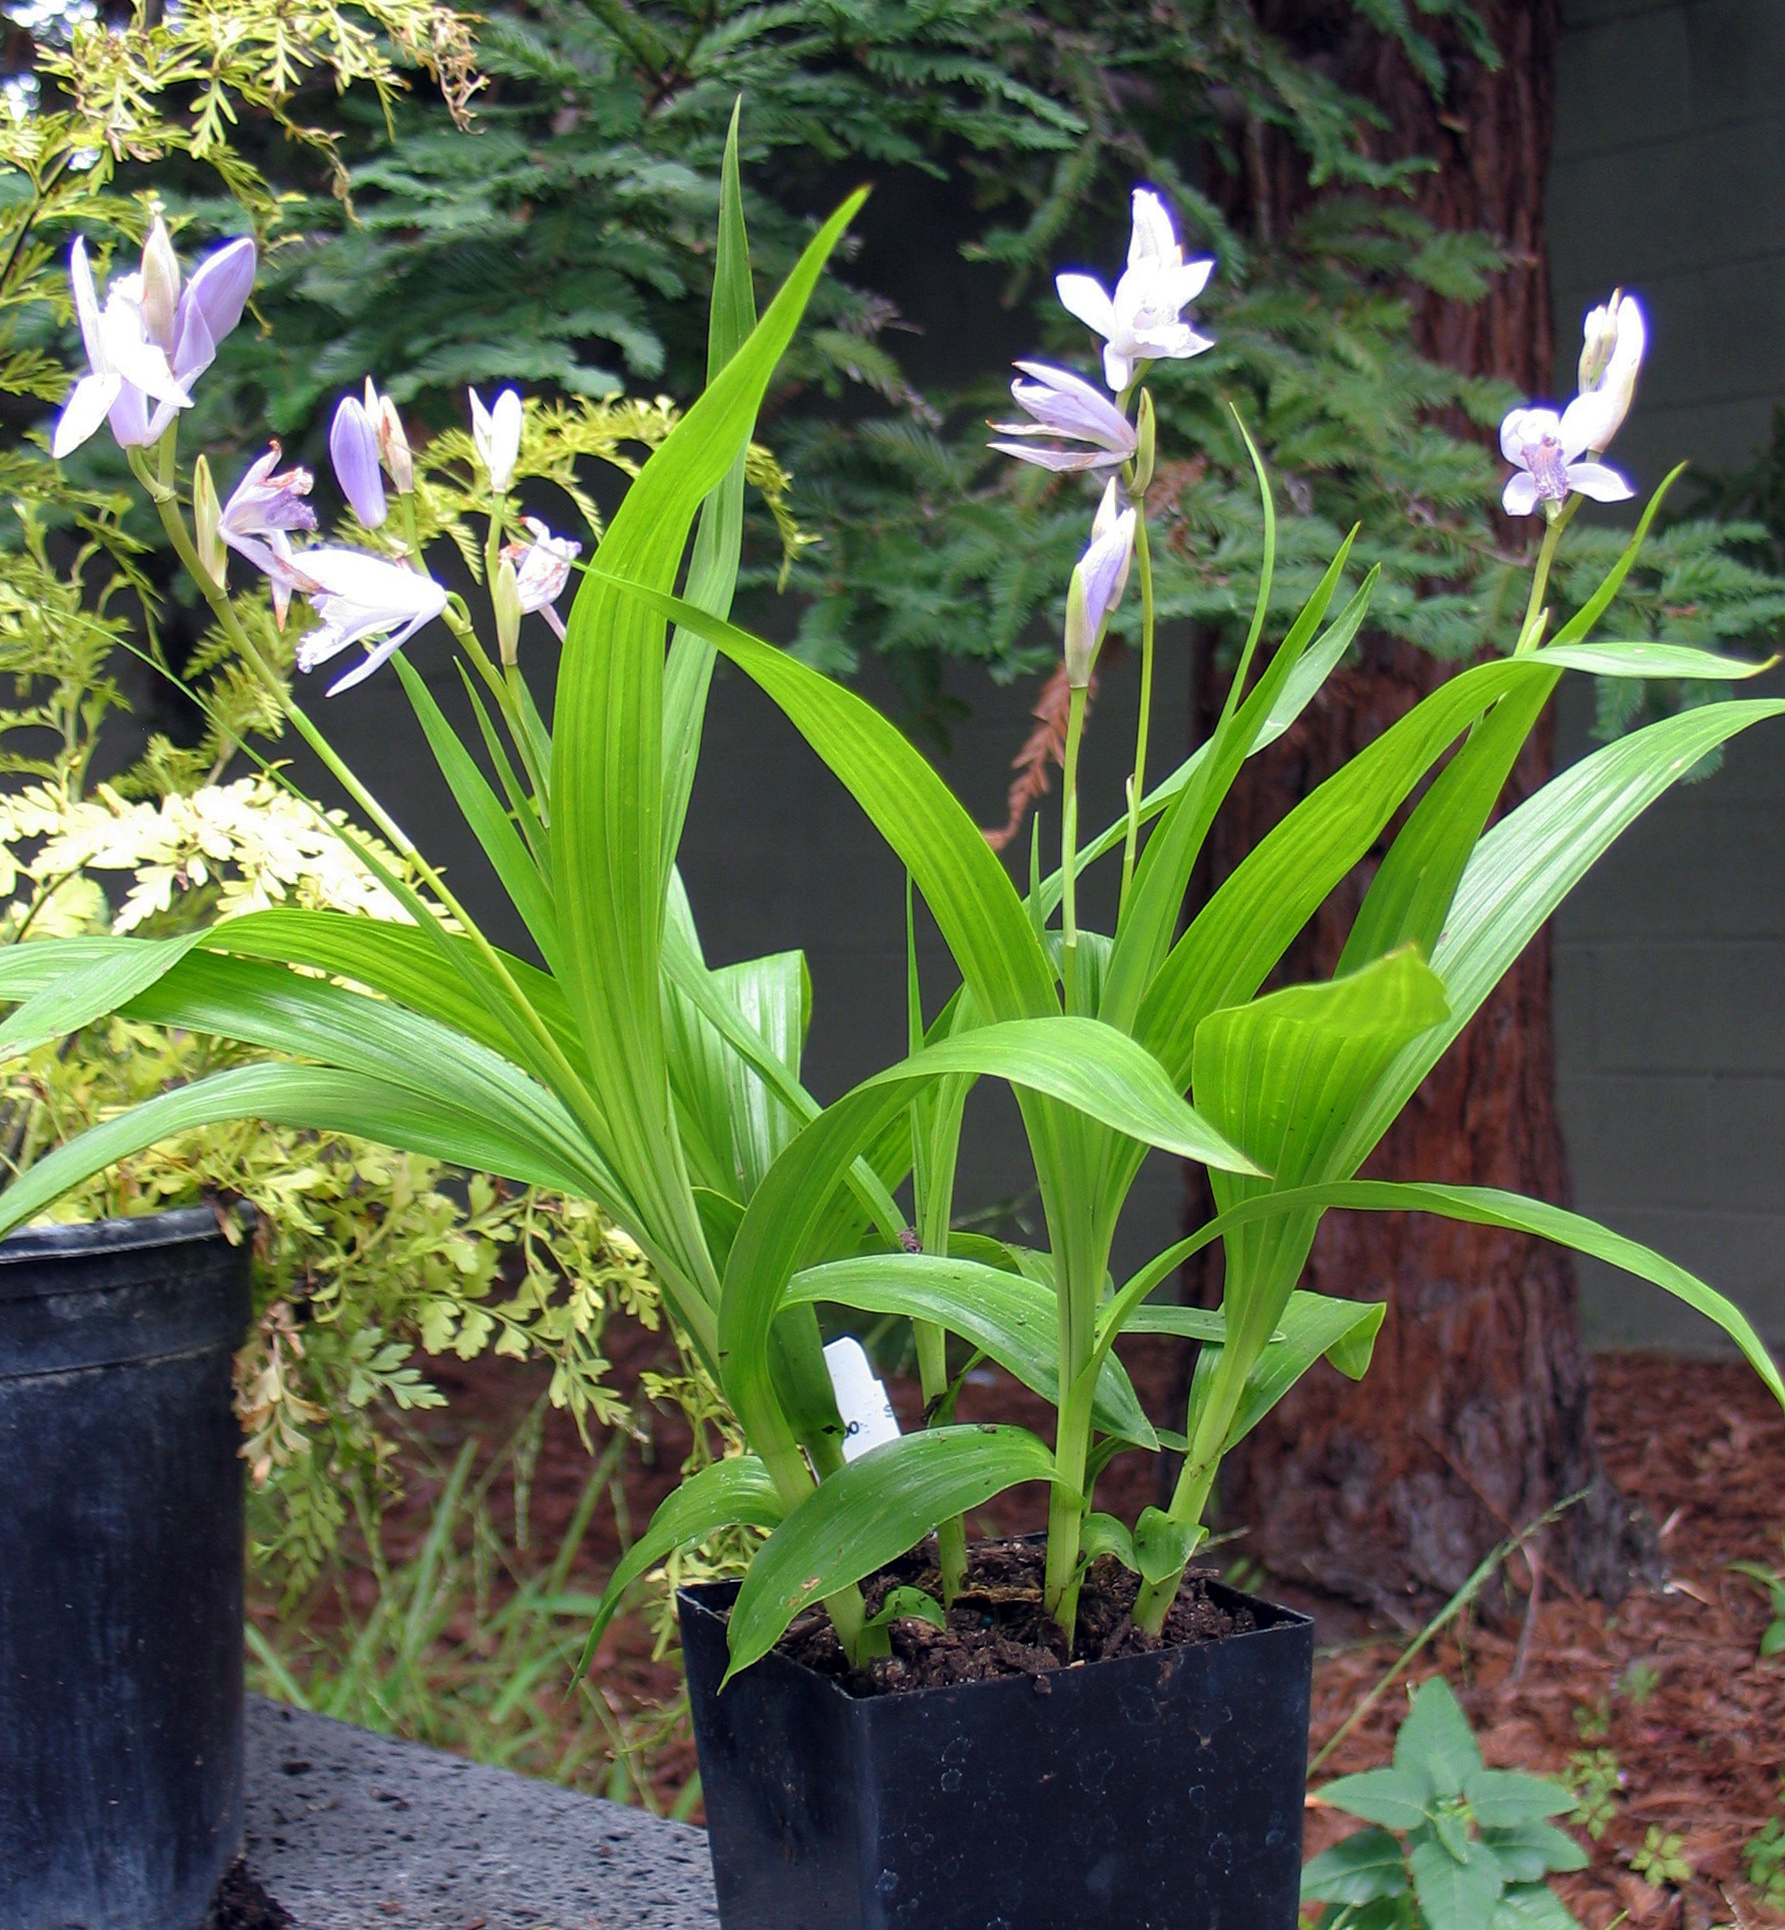
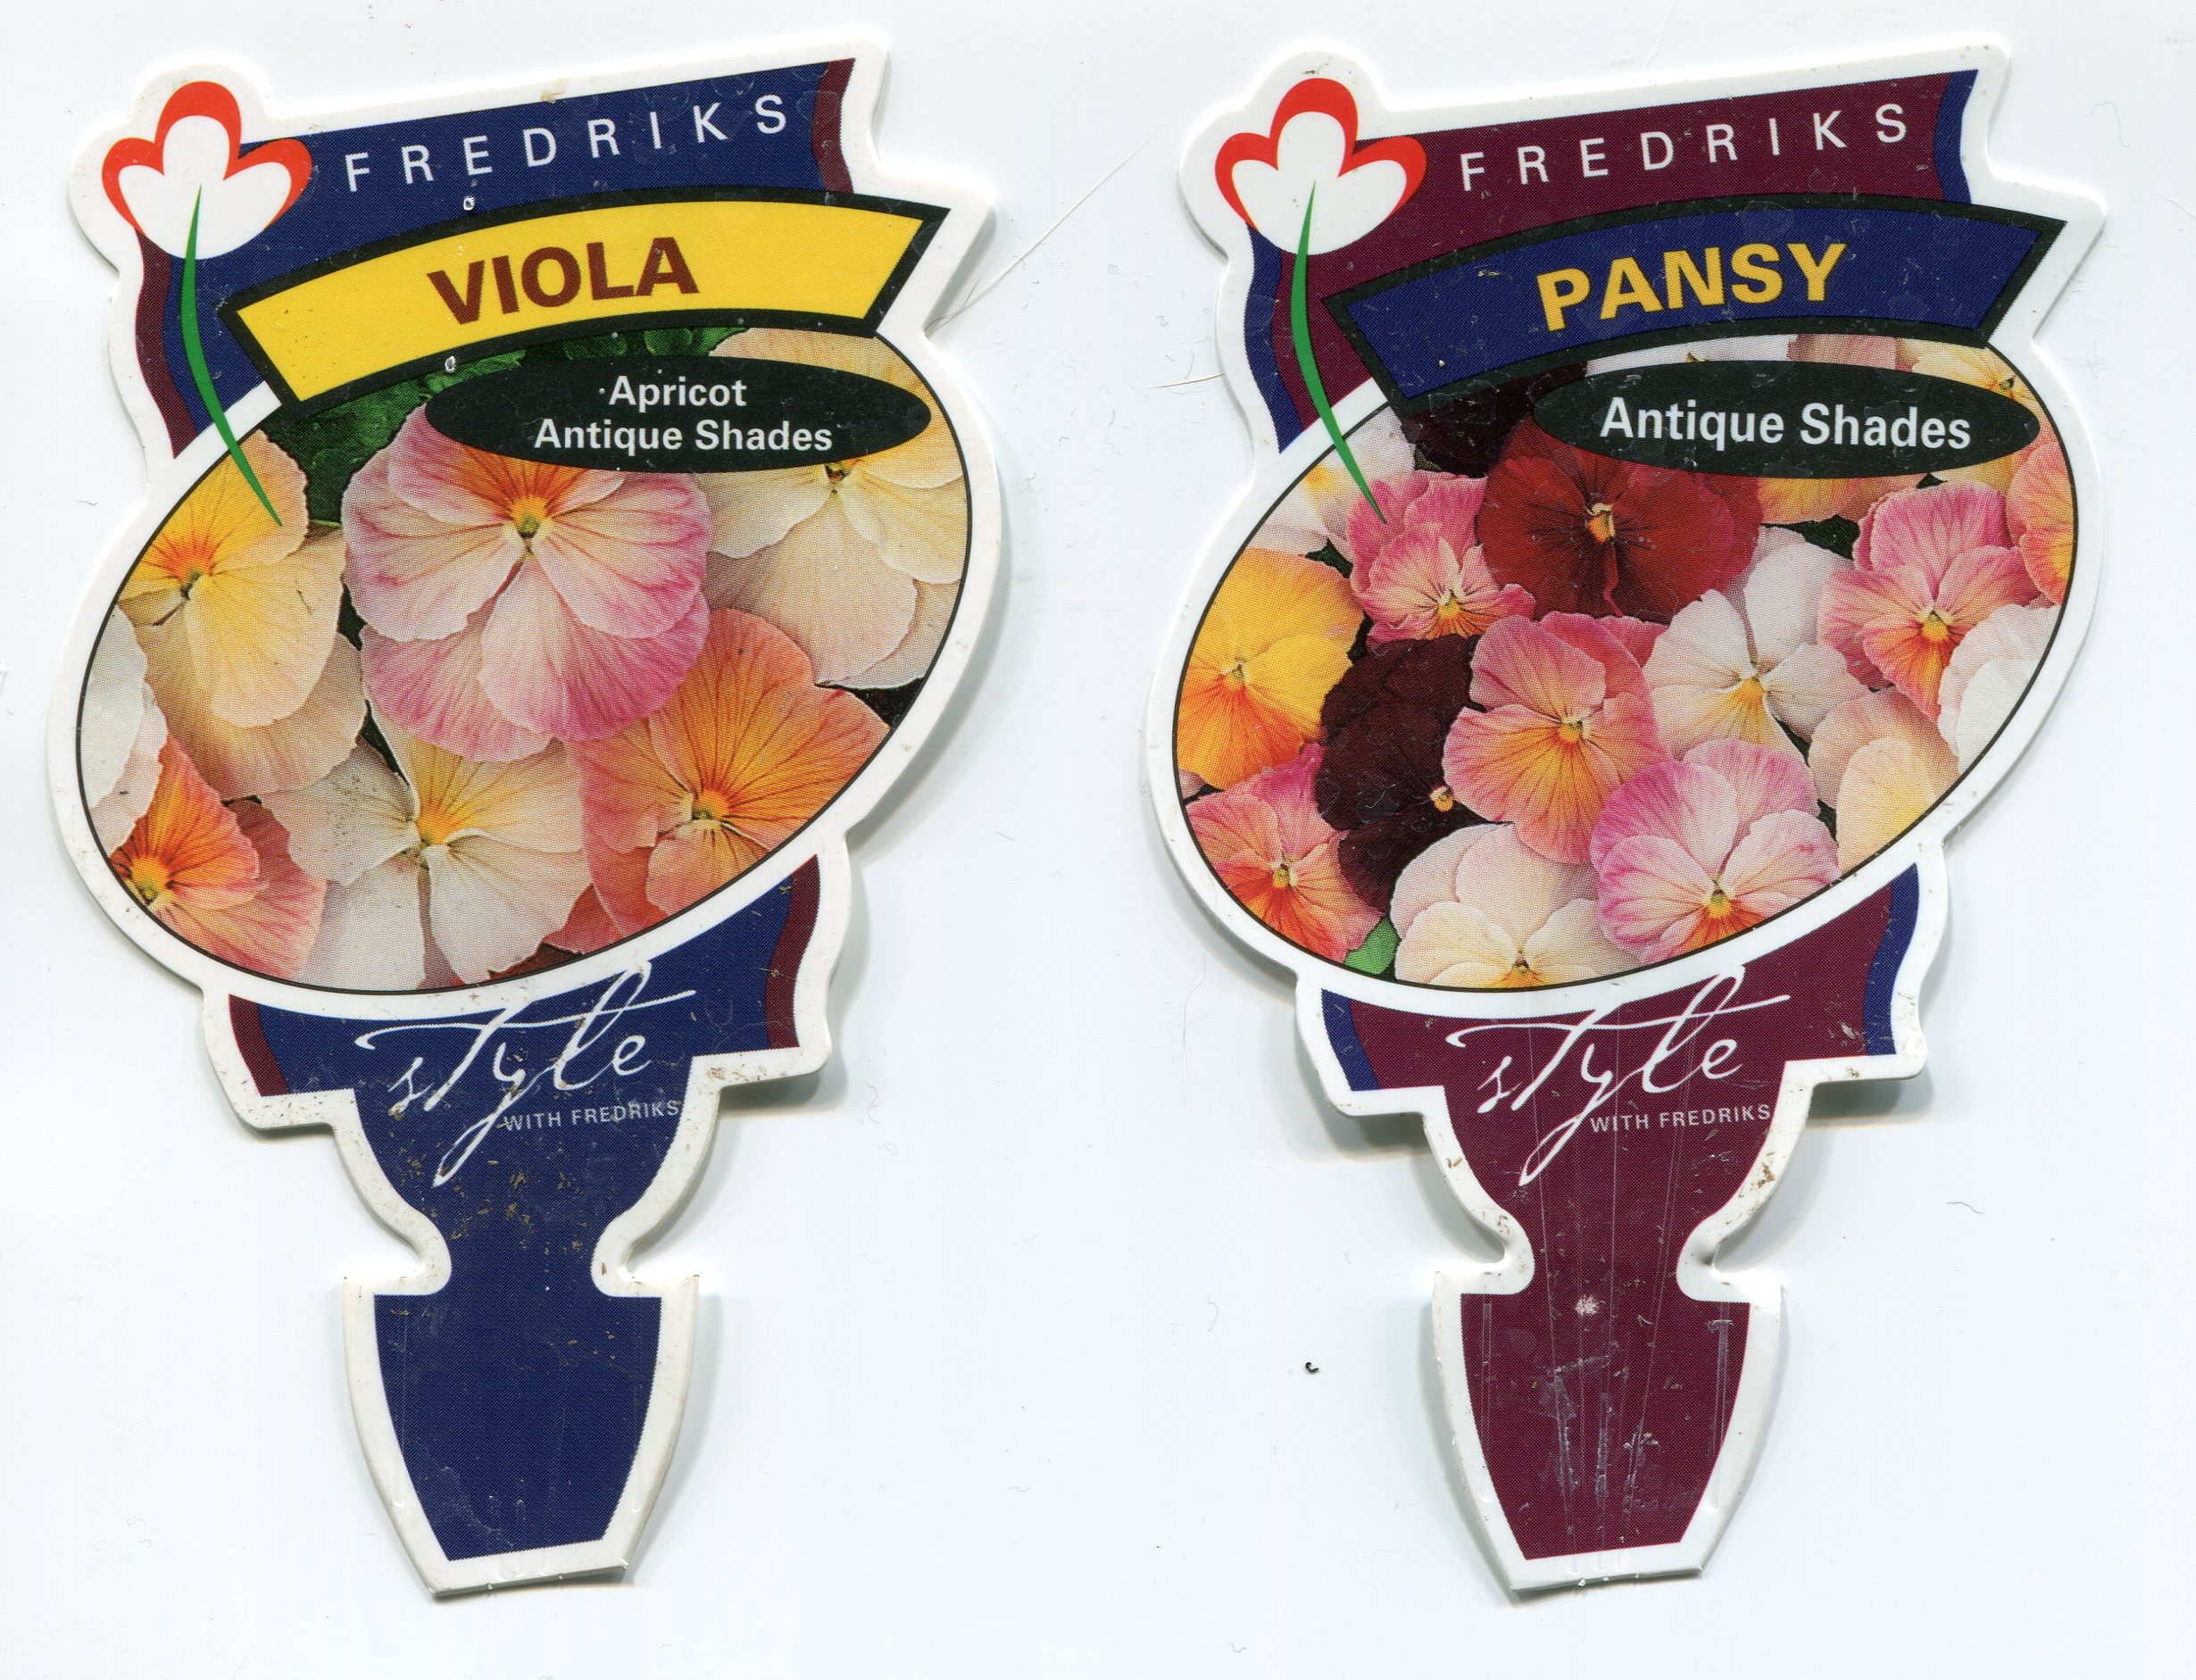
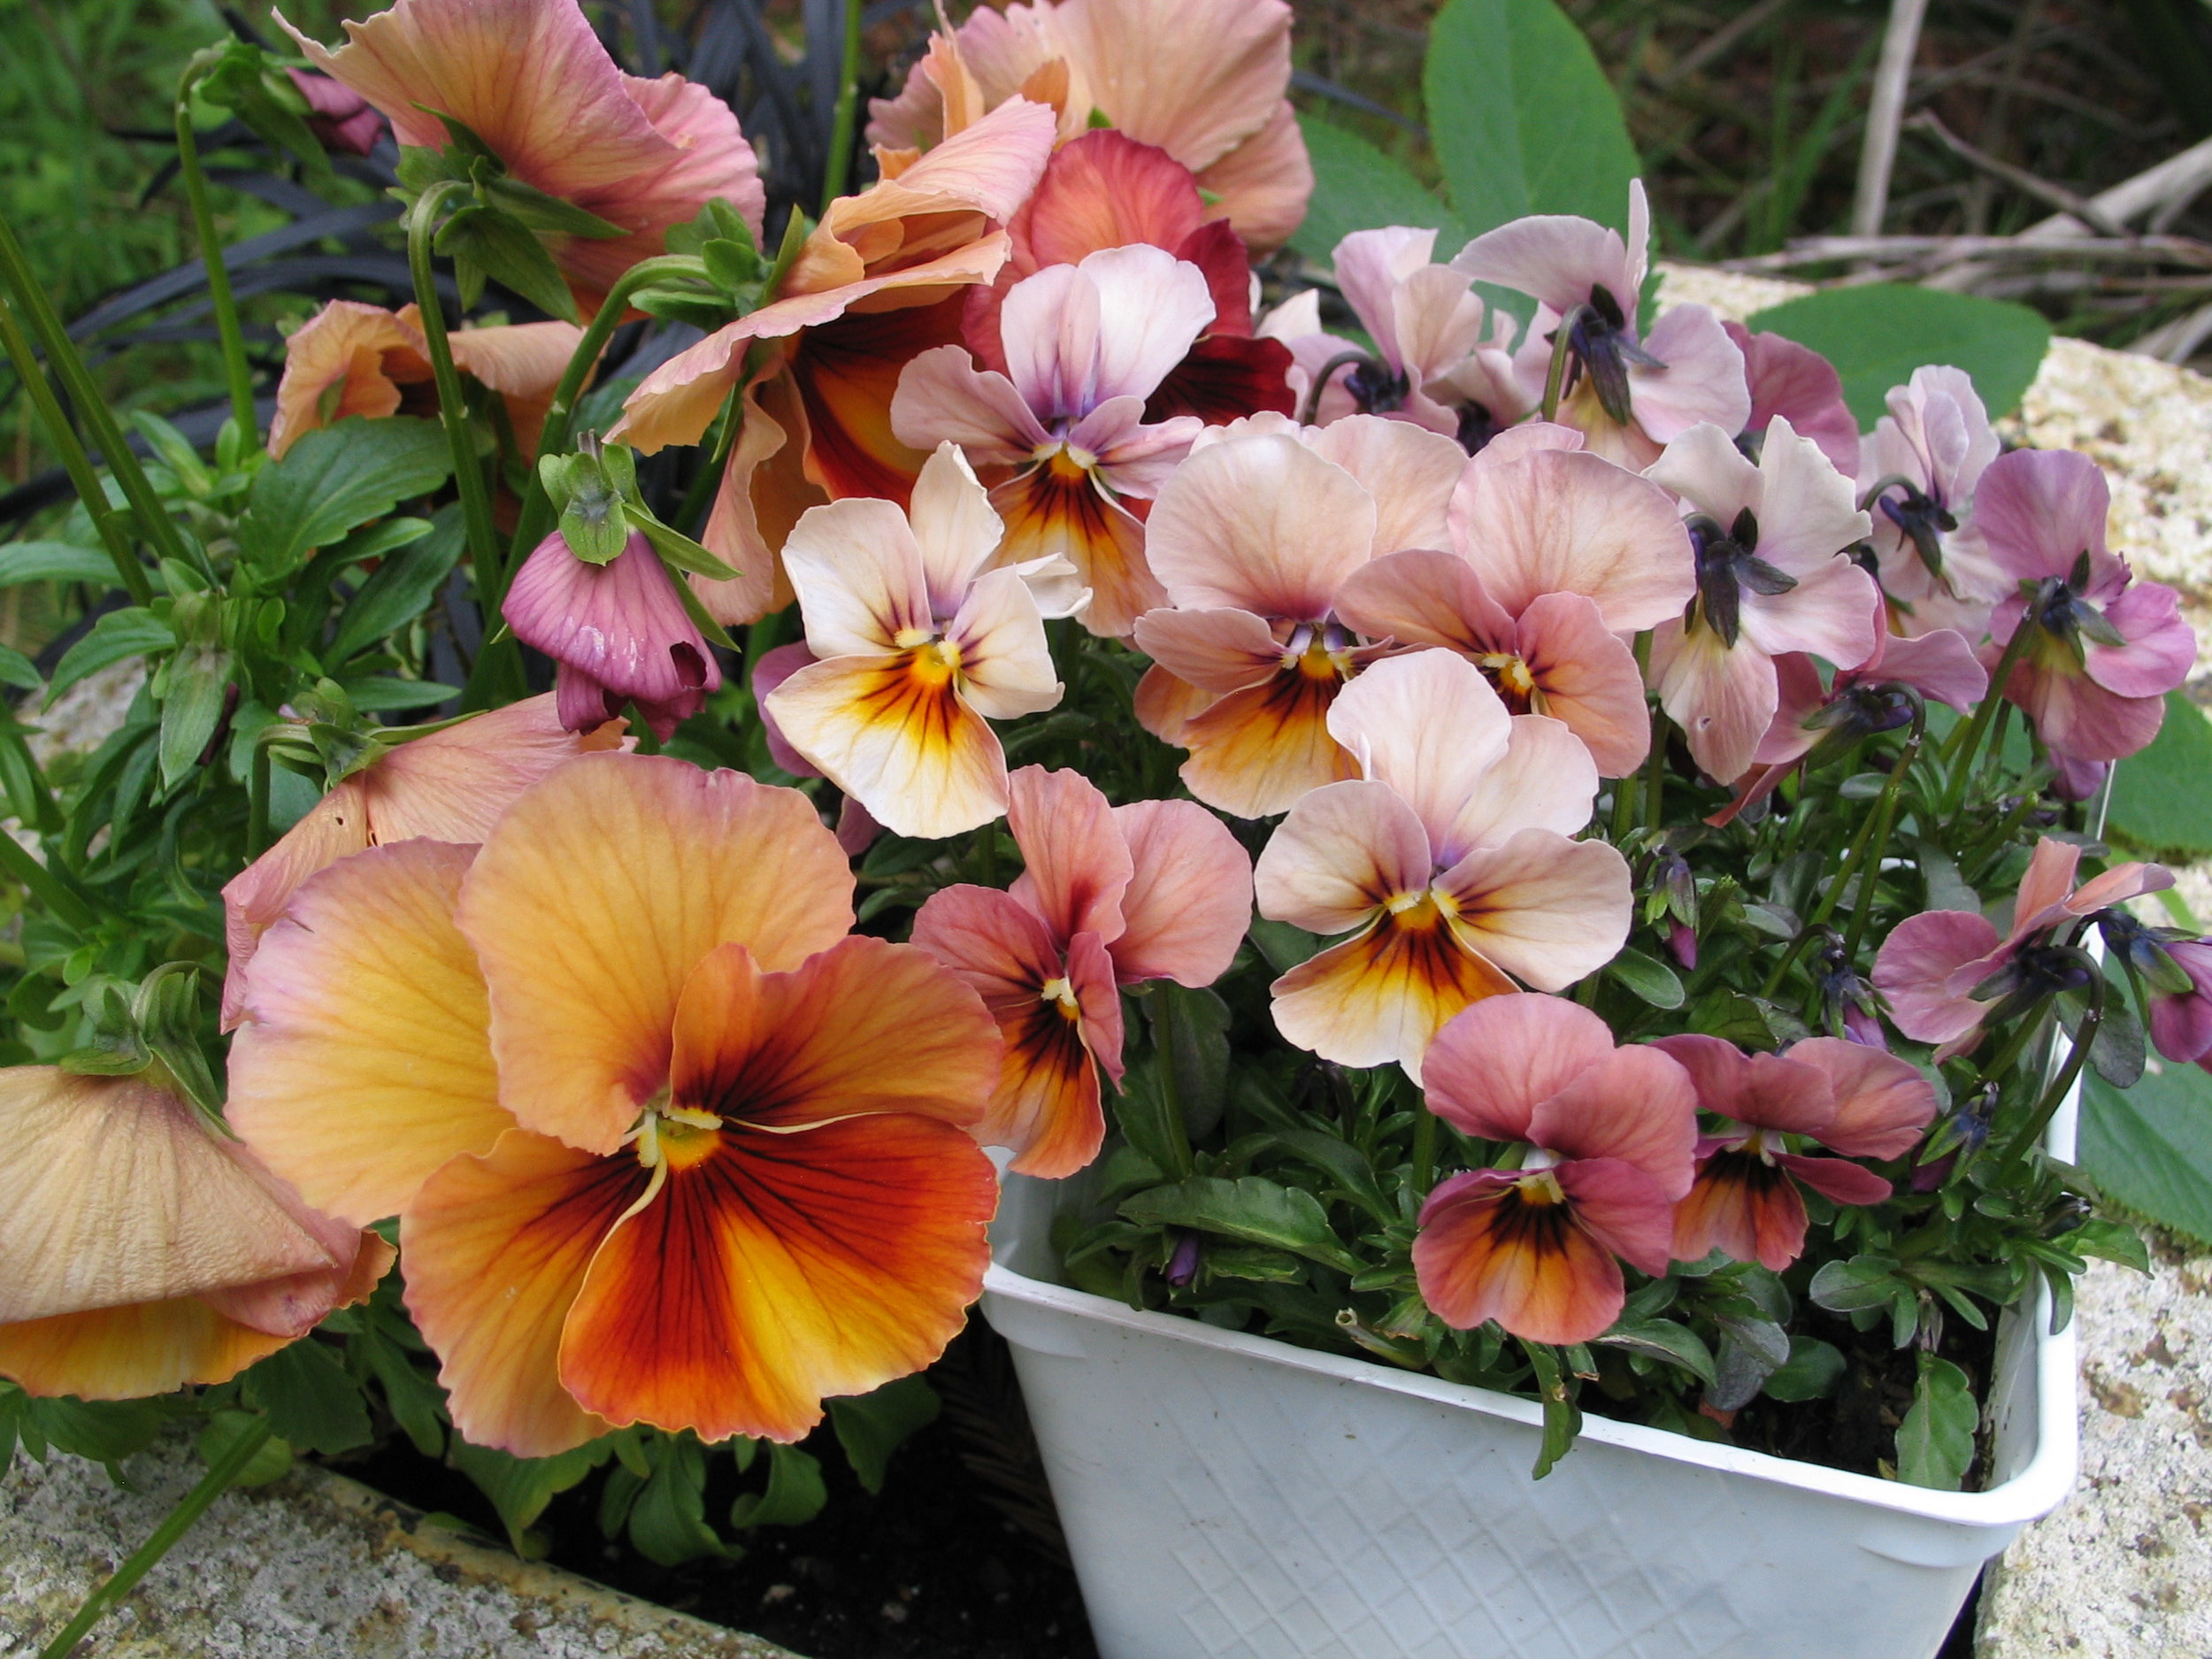
In my professional practice and in conversations outside the office, I avoid using common names for plants like the plague. It is common practice to put both scientific name and common name on a plant list, and this is so that the contractor can verify that the plant they think you're talking about is the one they've gotten for the project. Why would a contractor not be able to use scientific name and require common names as well?! As far as I can tell, the only confusion that might occur would happen when a plant has been re-classified by the trade to have a different name. For example, Ligularia changed to Farfugium years ago, but most people know it as "Leopard Plant" (regardless of the cultivar or absence of spots). Sadly, I suspect that the real reason we put common names on plant lists is because contractors don't recognize or know all the plants we might use belonging to those scientific names and they appreciate the extra hint. Residential clients often find scientific names too technical and feel more comfortable with the common names, but using common names can be very mis-leading as you'll see in the last few photos.Taking my own photos of plants is a huge benefit to me as a designer. Not only do I have the physical action of taking and naming photos to help my brain keep the connection, but I also follow some practices that help me understand the plants better for when I am designing with them in mind. Here are a couple of the things I do:Photo taking: When I am in a garden or at a nursery, I take a picture of the plant, leaf, flower (or whatever) first, then the plant tag. Plant, tag, plant, tag, plant, tag. With my trusty old digital camera, I can smash 300+ photos on one memory card at a time, and I have two memory cards. Once the plant photos are labelled with the correct scientific name, I delete the images of the plant tag. I also (usually in my own garden) take photos from different angles - a close-up of a low-growing plant from ground-level tells you nothing about what it would look like from above. A great example of this is this gorgeous specimen of Hellebore 'Pink Marble' I saw at the Annie's Annuals 2012 Summer Garden Party last weekend:Cute, huh? I am glad this person walked by at the right moment, because you can see how the plant relates to an upright person, and understand that I am sitting on the ground to take this. Now see how different it looks from above, the way you would see it in a garden (without sitting on the ground):Image file naming: I have a naming convention for the photos, too: Scientific name, then descriptive abbreviations (from my own list), followed by the abbreviation for the grower or source of the plant. For example, photos of this little Bletilla I got at Plant Delights Nursery last year are labeled "Bletilla 15in FL pdn" and Bletilla 'Murasaki Shikibu 15in FO pdn" (15in = 15 inches tall, FL = flower, FO = Form, pdn = Plant Delights Nursery):See how different the close up and the form photo look in color?! I'll take several photos of my plants because the way the camera processes color can vary a lot from image to image and depends on lighting, context, and where on the subject the camera focused. Because of this, I include other things in the picture when I can. I also use these images for inspiration for plant combinations in the future and keep copies of images in a separate "combos" folder for just that purpose. Here's a shot of the same Bletilla but with Asplenum bulbiferum (a.k.a. "Mother Fern", but you didn't hear that common name from me) in the background:Be Specific! I've already explained how I label my images, but here's a lesson from a purchase two weeks ago that I hope illustrates the need to use the whole name including the species even when it seems obvious. Take these two Violas:They look pretty similar. Both are Violas (Pansies are Violas too), both from the same grower. The big difference seems to be the name "Pansy" or "Viola" on the tag, and you might ignore this since that information is a common name thing, not scientific. The cultivar name is similar too, 'Apricot Antique Shades' vs. 'Antique Shades'. I could swear I see some of the same flowers in both photos, just turned upside down and enlarged on the Pansy tag (which is complete baloney as you'll see below). Now, flip those over and read carefully:Check that out! The Pansy's scientific name is Viola wittrockiana 'Antique Shades' and the other Viola's name is Viola cornuta 'Apricot Antique Shades. What neither of these tags tells you is how very different these two plants are in real life. The Pansy has much more orange and yellow in real life, and the smaller Viola is far pinker overall. The photo at the top of this post shows these little dudes the day I brought them home, and below I will leave you with a photo of them together in my patio while I was planting things. Thanks so much for reading, and HAPPY SPRING!So the lesson here is to not rely on catalog photos for your garden planning, take your own. Light, color, and real life differences are not always evident on plant tags or in catalogs. Designer beware!
Dahlias
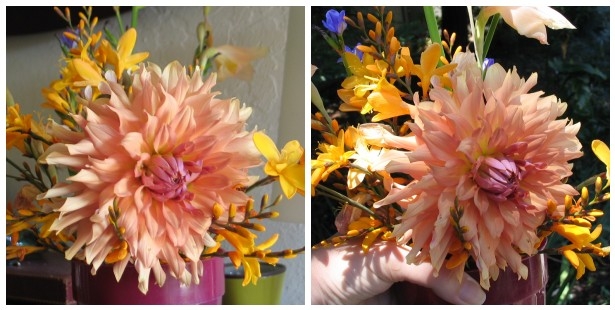 My poor Dahlia of unknown cultivar (above) died. My mom gave it to me, she said it would be easy to grow. I put it in a pot and it grew, then I thought it might like more consistent watering, so I planted it in the ground thinking 'hey, all plants prefer the ground to pots!'. Wrong-o. I have to admit, this is one plant that even I won't argue is "low maintenance".Rot. I learned how I killed my Dahlia when I went to Flora Grubb Gardens over the weekend to hear a talk given by the gregarious Mike Schelp of The Dahlia Farm (cut flower grower) in Half Moon Bay. What follows are my notes, posted here to help keep more Dahlias safe from harm:Climate and lifting: In colder parts of the country, Dahlias need to be lifted because they are frost tender. Where frost isn't a problem, they should still be lifted and divided because their tubers are both incredibly prolific and prone to rot. They don't like too much heat, either, so mild coastal climates are really great for them.Sun Exposure: Since they're not keen on very high temperatures, if you live in a warmer area, consider protecting them from full sun (or at least afternoon hot sun). The color of the flowers can be "bleached out" by strong sun exposure, so if a normally deeply colored cultivar is not living up to your expectations, this might be the culprit (or it could be any number of other things as they can be pretty variable).Soil: Dahlias like a light, slightly acidic soil that is well drained (so raised beds, containers, or in a well drained location). Containers should be at least a 5 gal. size.Water: Dahlias like moderate water when they are actively growing, but will rot out easily. In the container, mine had pretty good drainage, but one wet spring in the ground was enough to kill it. Mr. Schelp grows his in semi-raised beds for this reason, and he usually does his dividing in January (so they get lifted and divided EVERY year!). Be aware that if you grow yours in a container, that moisture can collect at the bottom, causing (you guessed it)....rot.Pests: They're susceptible to all the bad bugs and also to mildew. There was a lively discussion of mildew which I won't bore you with, but let's just say it can be a serious problem for some cultivars and any affected leaves should be removed immediately. The tubers are gopher candy, so he recommends that if you have gophers, plant the tubers in a wire mesh "cage" about 15" diameter with an un-attached bottom for easy lifting.Air Circulation: oh my! Mildew can be such a problem that he recommends a few things to keep the air flowing. Pinch off leaves in the bottom 6" of the plant to allow air to flow at the base. Take away stems or leaves that make the plant too bushy for air to circulate. Plant tubers 30 inches apart to keep the air flowing between individual plants.Feeding: This is one place where I did not entirely agree with the presenter. He is a cut flower grower, so his needs are different from mine. He uses chemical fertilizers (which kill good microbes in the soil). I wrote down that he recommends a high Nitrogen fertilizer beginning when the plants start coming up. That application should be applied, diluted, throughout the season, not at once, and taper off towards the end of the season or the Nitrogen will rot your tubers. He also switches to a higher Phosphorous fertilizer when the plants are starting to bloom. I will be experimenting with not doing this, opting instead for an organic approach (coffee grounds, anyone?). Dahlias are surface feeders, so apply nutrients accordingly, but be careful not to use too much to avoid scorching them chemically.Propagation: Dahlias can be propagated by several methods, too many to go into detail here. So I found someone else who covered this information HERE. A happy Dahlia tuber can multiply ten fold in one growing season, provided you don't rot it. Plant tubers 2-6" deep, but DO NOT let the "neck" break. A tuber with a broken neck is toast.Availability: Most garden centers sell Dahlias as tubers between winter and spring or as green plants during the summer. You can find them by mail order between (give or take) December and March, tubers should be back in the ground around April.Cut flowers: If you are still brave enough to grow them, you can keep cut flowers for about a week. I was impressed that his cut flowers are delivered to a local florist no more than two hours after being cut on the farm. I only wish he had said what florist! Here's how you can do it: cut the stem and dip immediately in hot water for about an hour (hot so you could wash your hands in it, but not boil an egg). Re-cut the stem at least every other day and place in tepid water (doesn't have to be hot anymore). Remove browning petals as flowers fade, keep flowers away from produce (ethylene gas from ripening produce speeds the aging of the flowers!). Keep your flowers in a cool room, away from direct sun. If you are cutting flowers for general enjoyment in a vase, cut them when the bud has begun to open but the center is still tight - an unopened bud will not open in the vase. If you are cutting for a specific event, wait until the flowers are at their peak before cutting. They won't last as long, but they will be gorgeous.Still not dissuaded from wanting to grow Dahlias? Me neither. This fall I plan to order a Dahlia tuber or two and try again, this time in a bigger pot with better drainage and more understanding. To find my new green friend, I will attend the 2011 American Dahlia Society show at the Santa Clara Convention Center this August. Show admission is free to the public on the 20th and 21st. I will write down the names of the cultivars I like and use the Colorado Dahlia Society's "Big List" to find a supplier for my favorites.At the end of the discussion, Mr. Schelp added what seemed to be a very personal note. He asked the audience to give away their extra plants and flowers. If grown well, you are bound to have extra and sharing is the best way to pass around some good vibes. He asked that we give our flowers to hospice centers and old folks homes, friends and neighbors. His voice quavered just enough that I could hear it in the front row, and I believe that this was a very personally meaningful message he was trying to send, so I repeat it here. I plan to do the same with my new Dahlias and I urge you to do the same.
Plant Delights Nursery Open House
I was delighted to have had the opportunity to visit Plant Delights Nursery and their Juniper Level Botanical Garden last week. There is SO much to love, but sadly very few decent photos. You see, that day was the first day of their Open House, but my last day in the area. I had only two hours before I had to leave for my flight, and a measly 36 image slots left on my camera's memory card (not nearly enough!). I didn't want to skip shopping, so I had to keep moving....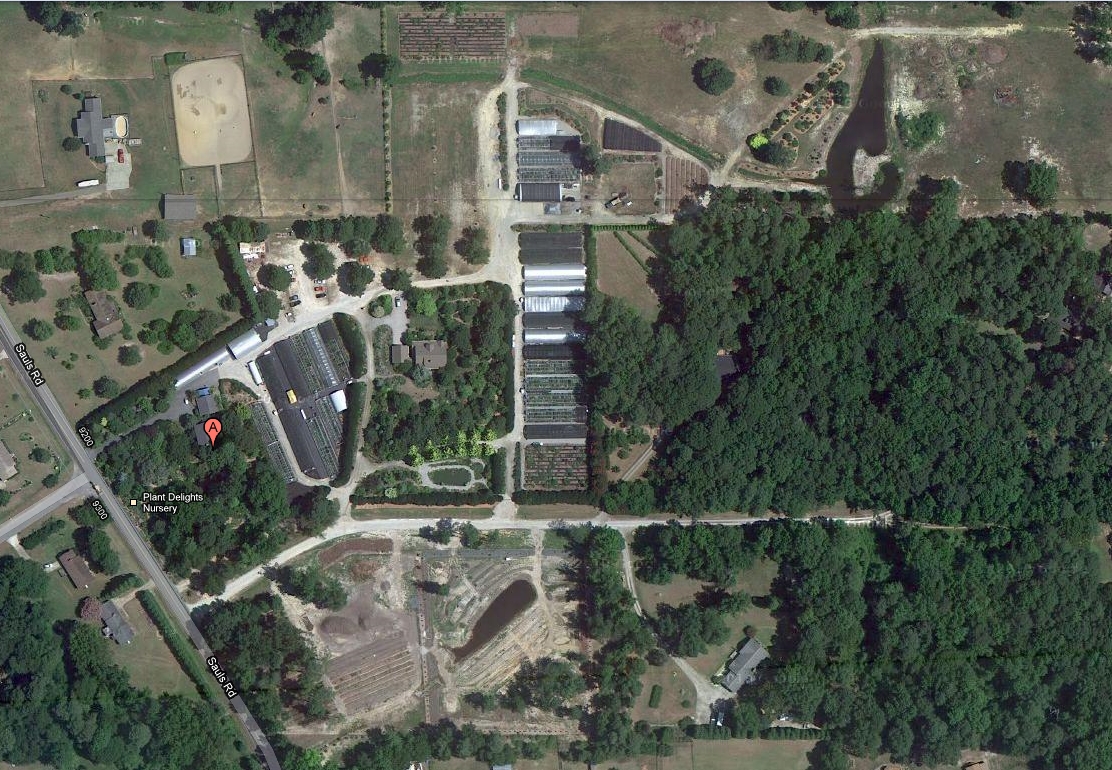 Let me start here: I've been reading Tony Avent's (the proprietor) e-mail newsletter and ordering from his mail order catalog for years. I read his book in college, and meeting him was (for doofy plant geek me) akin to meeting a movie star. Let me tell you - HE KNOWS HIS STUFF. Even though he lives in North Carolina, that dude is up to speed on Bay Area nurseries and gardens (including news items I wouldn't know about if I wasn't a member of the HALS North CA chapter). Despite having hundreds (think I'm kidding? you should've seen the big tour busses) of people wandering about, he spent a nice chunk of time chatting with me about gardens and nurseries in the Bay Area.
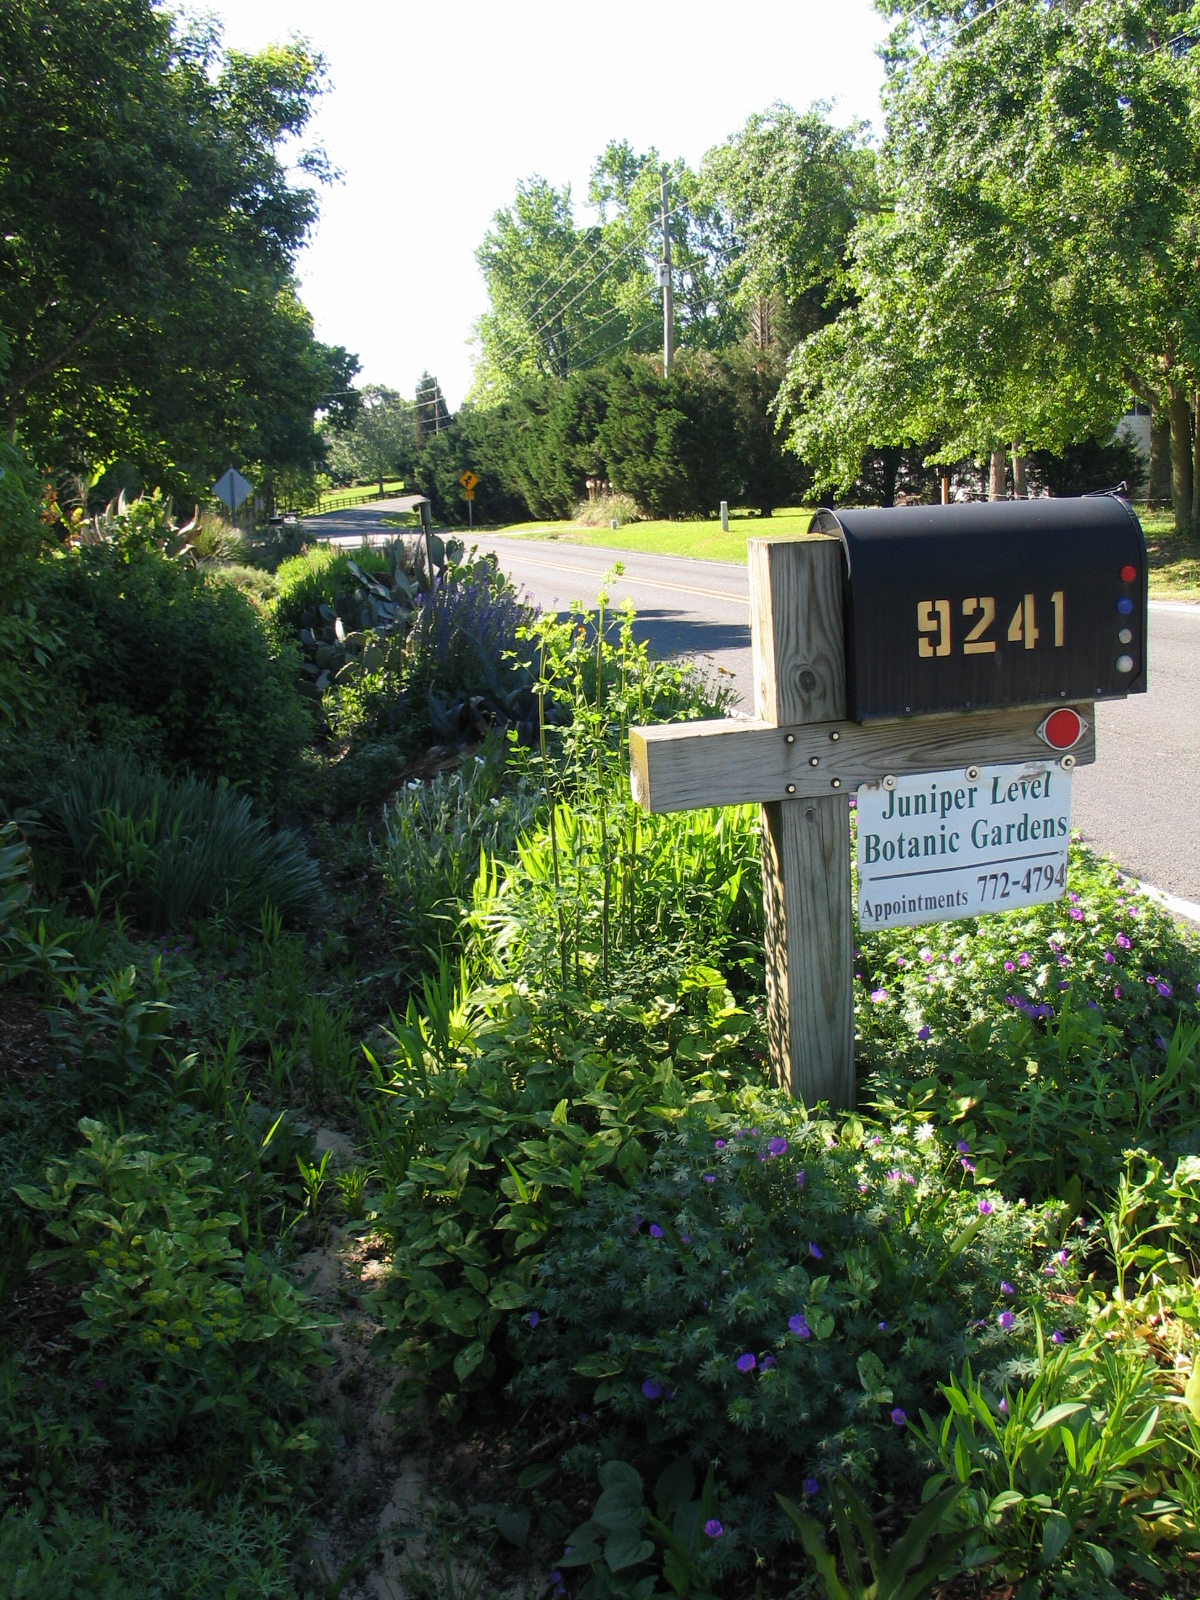 His staff were equally accommodating, and this is the main reason I am posting about the trip. I cannot emphasize enough how remarkable the staff is. I met/talked to no less than six people, each of them asked me if it was my first time at the gardens, and where was I visiting from. When I saw that person again, they made sure to make eye contact, wave, smile, or otherwise say something like "hey, you still here?", "what plant are you getting now?" or "have a safe flight!". I bought only THREE plants, all in 4" containers, so it wasn't like I was being recognized for pigging out on the greenery. I bought an Arisaema (I've never grown this before, so we'll see if Tony was right and it likes my patio) that had been rooted in the pot next to it, so when they were picked up, each had exposed roots. I went to pay for it, and the nice man who wrote up my sales ticket directed me into one of their holding/shipping greenhouses so he could nest the 4" pot into a 2 gal pot with potting soil to protect those roots until I could get it home and safely re-potted. There was no extra charge for this, but it sure illustrates how much they care about the plants and what they'll do to make sure they aren't compromised.
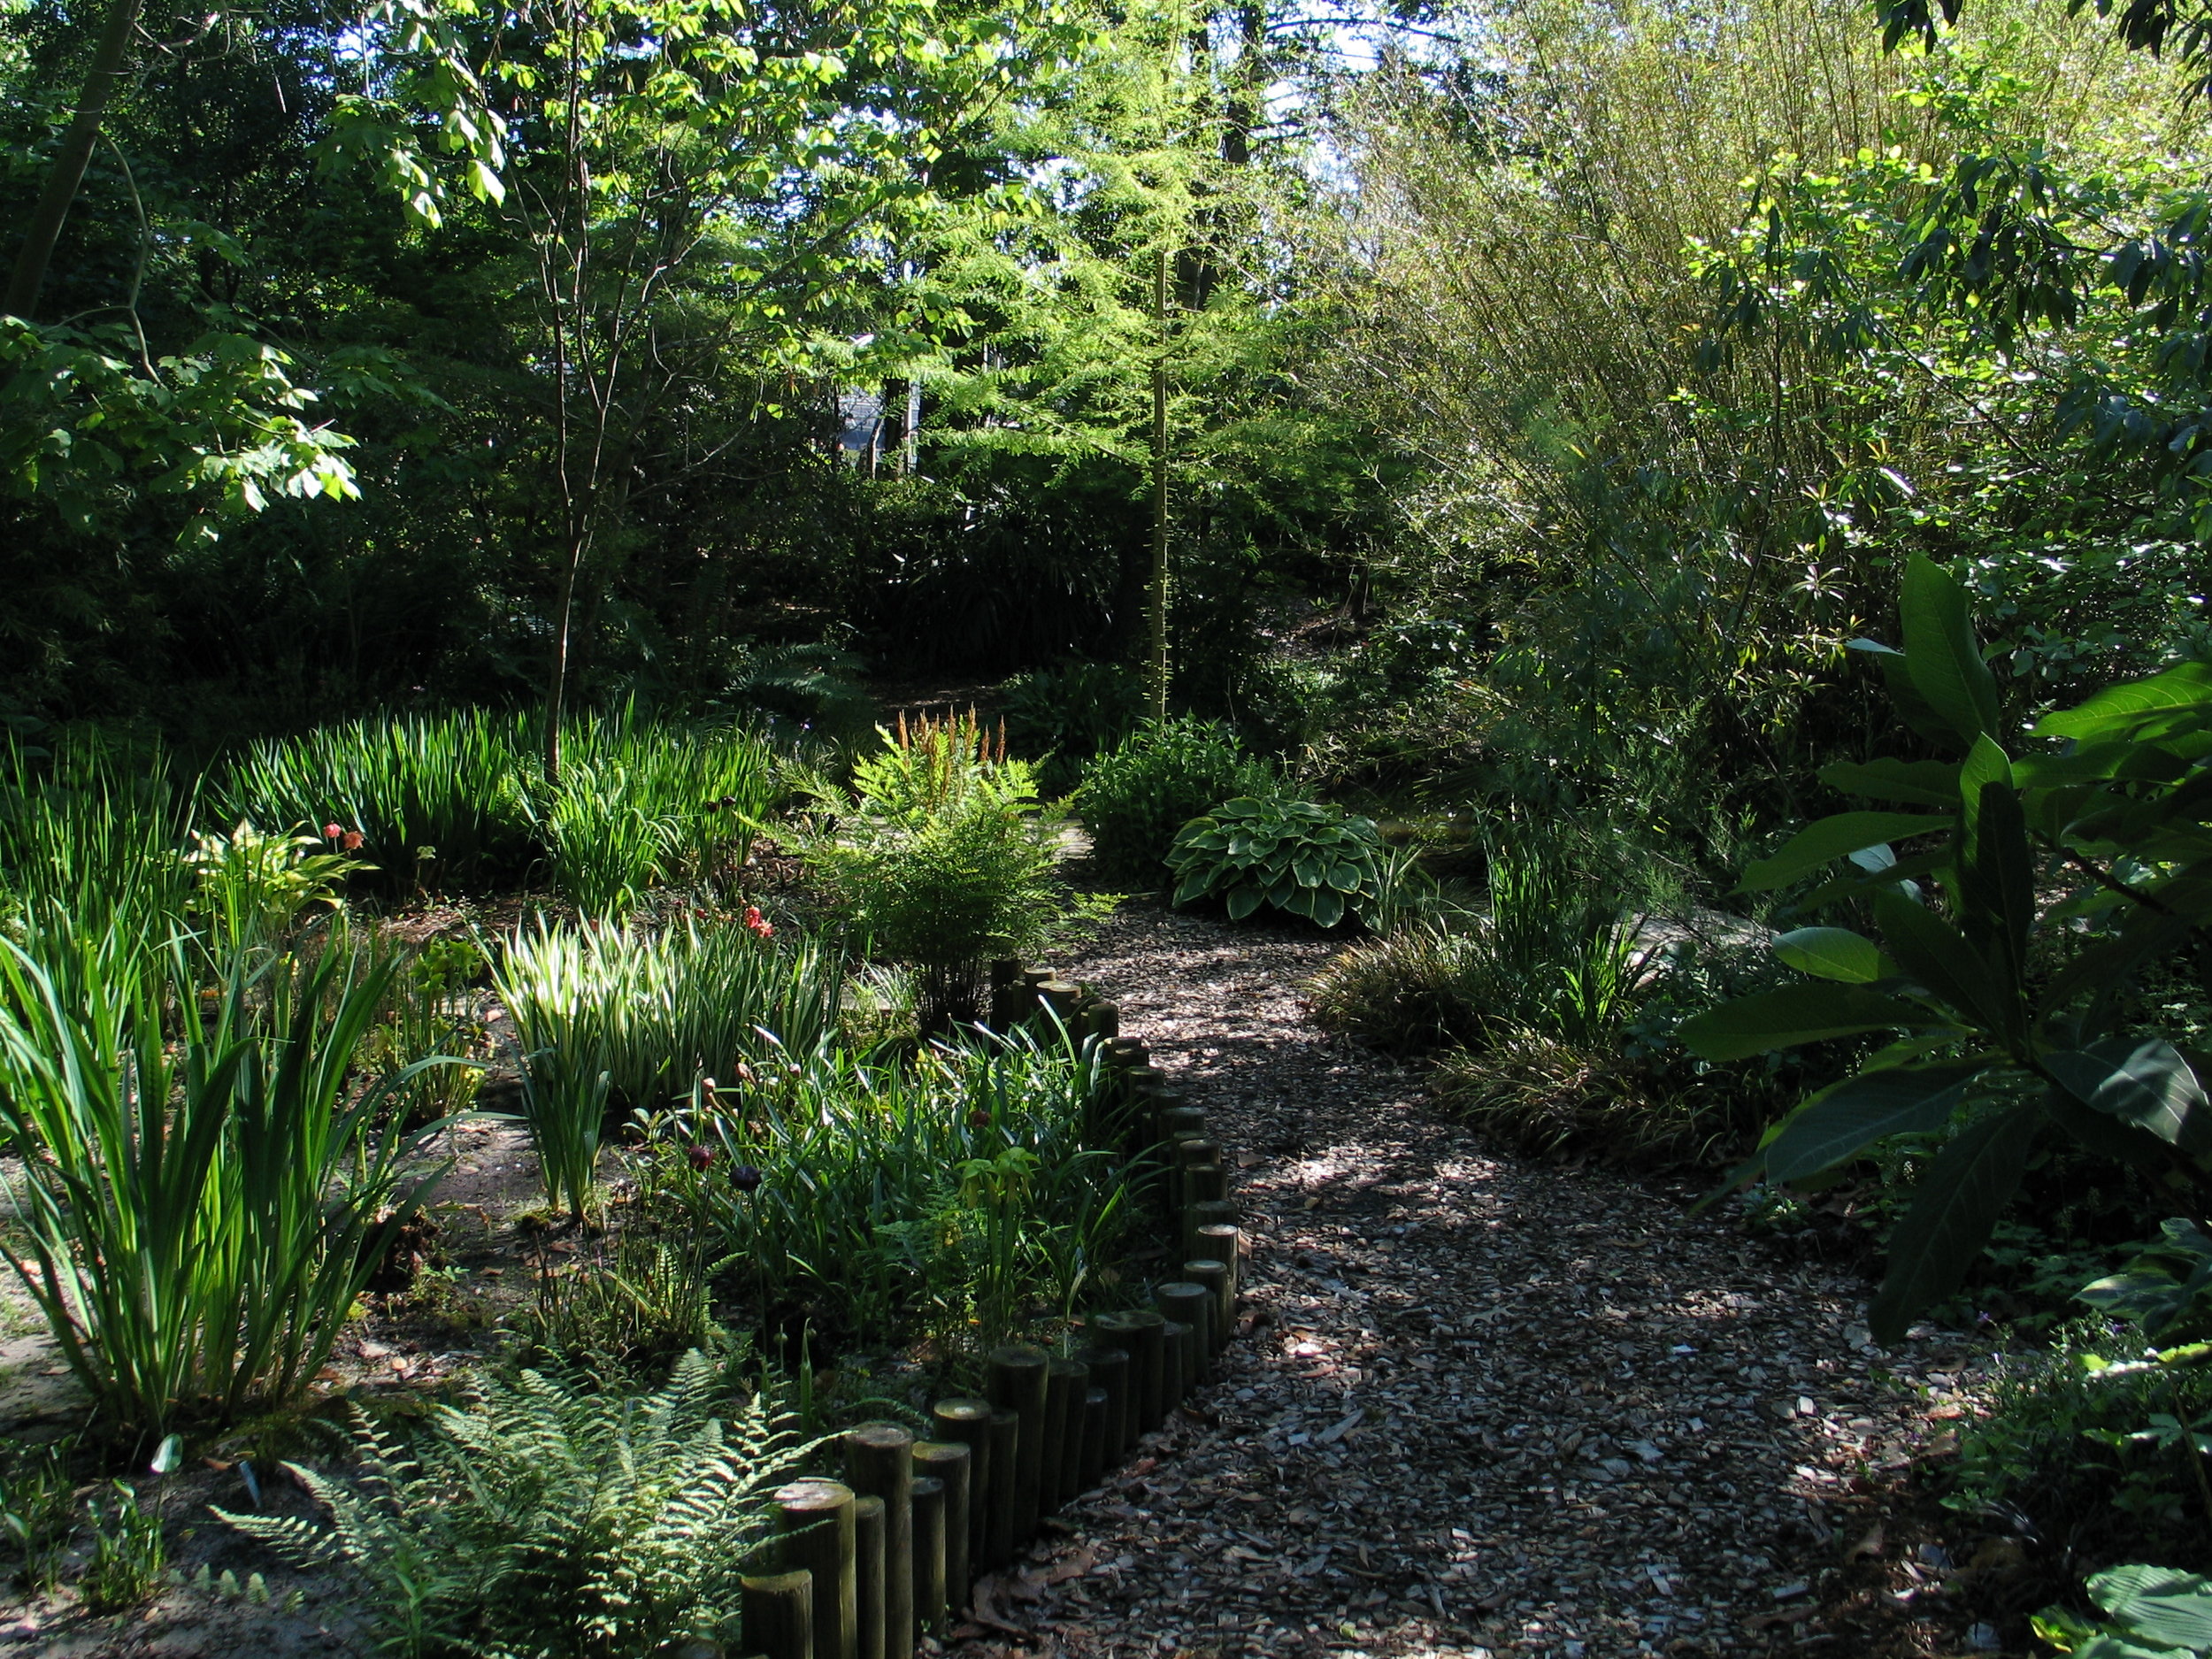 Plant Delights specializes in some very cool stuff, making their own introductions as well as cultivating rare and unusual plants from all over the world (responsibly, too!). They've got the most Zephyranthes cultivars I've ever seen in one place (and mine are doing well, I've had them a few years now). I don't personally grow Hosta, but check out one part of their Hosta seed trials below:
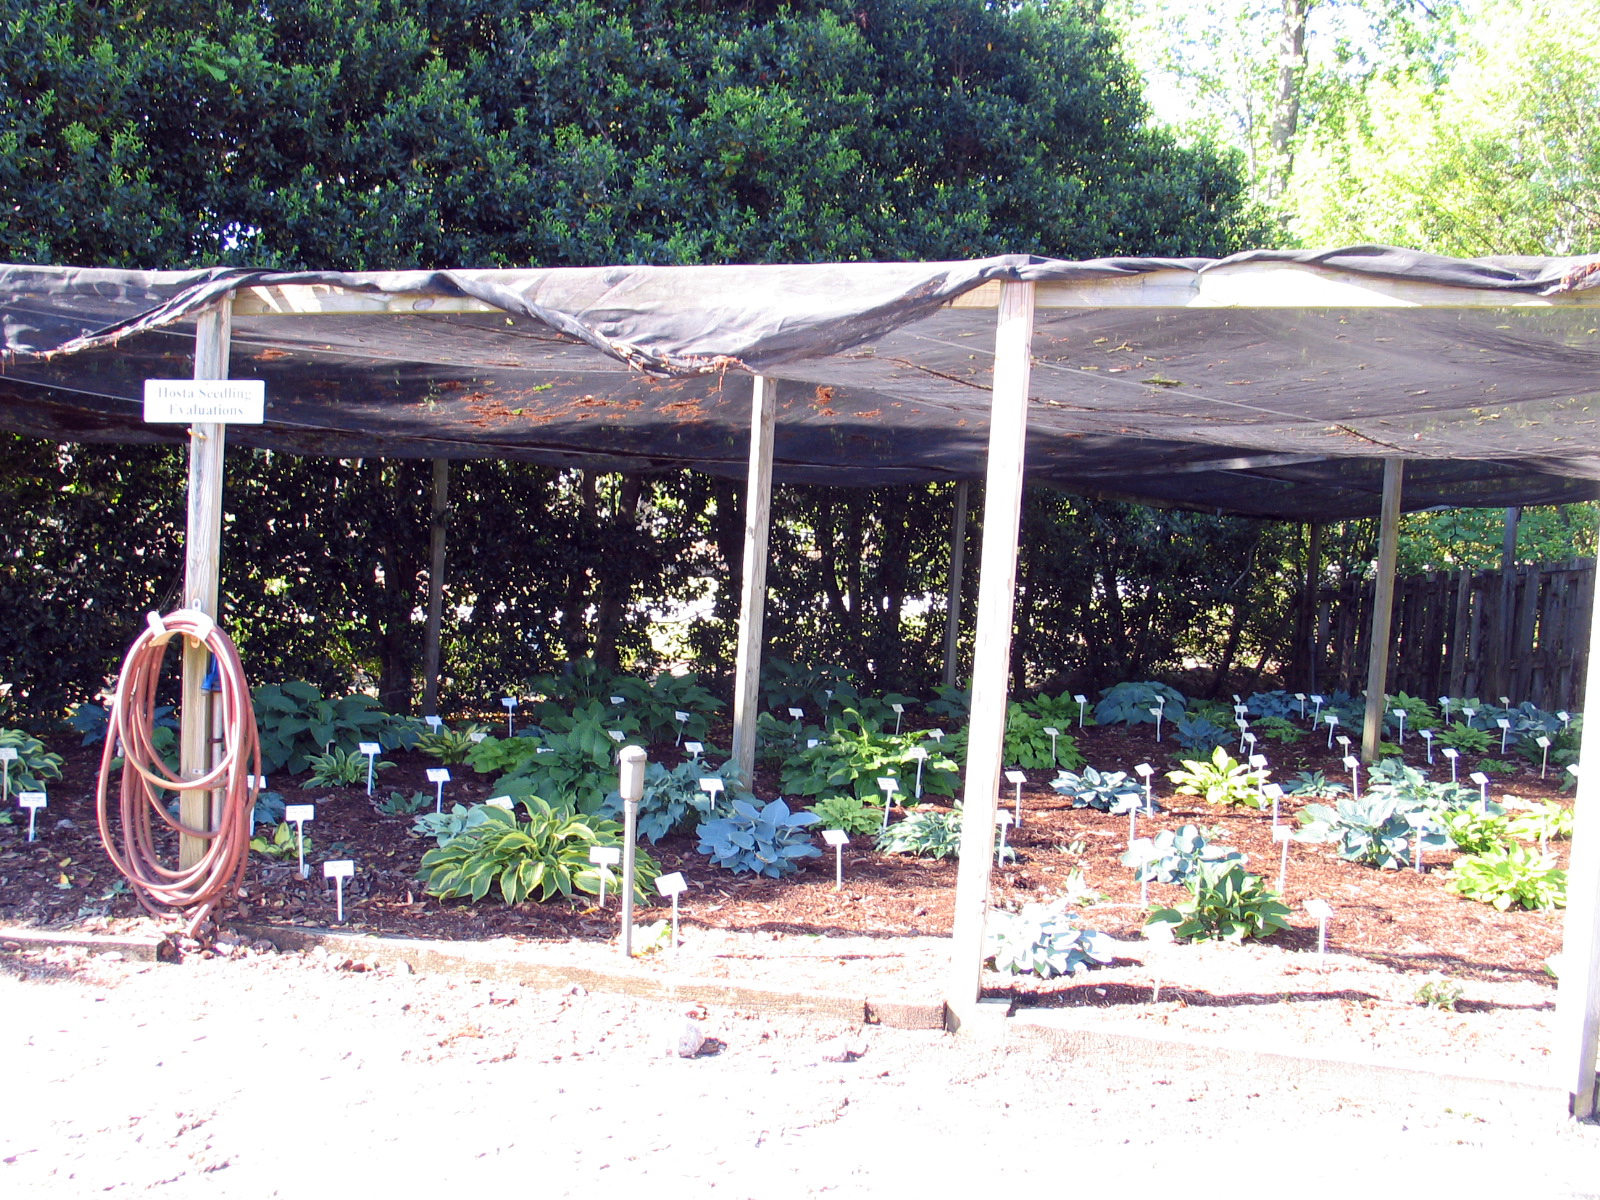 The people there know about their plants and soils, and they sure as heck care. I overheard an impromptu lecture on soils and the evils of commercial fertilizer (organic is the way to go, no matter what you read anywhere else), and I learned that even they get their soils tested annually. They take good care of everything, and to get plants of this quality from people of this quality....well....I have no need to go to Home Depot anytime soon.
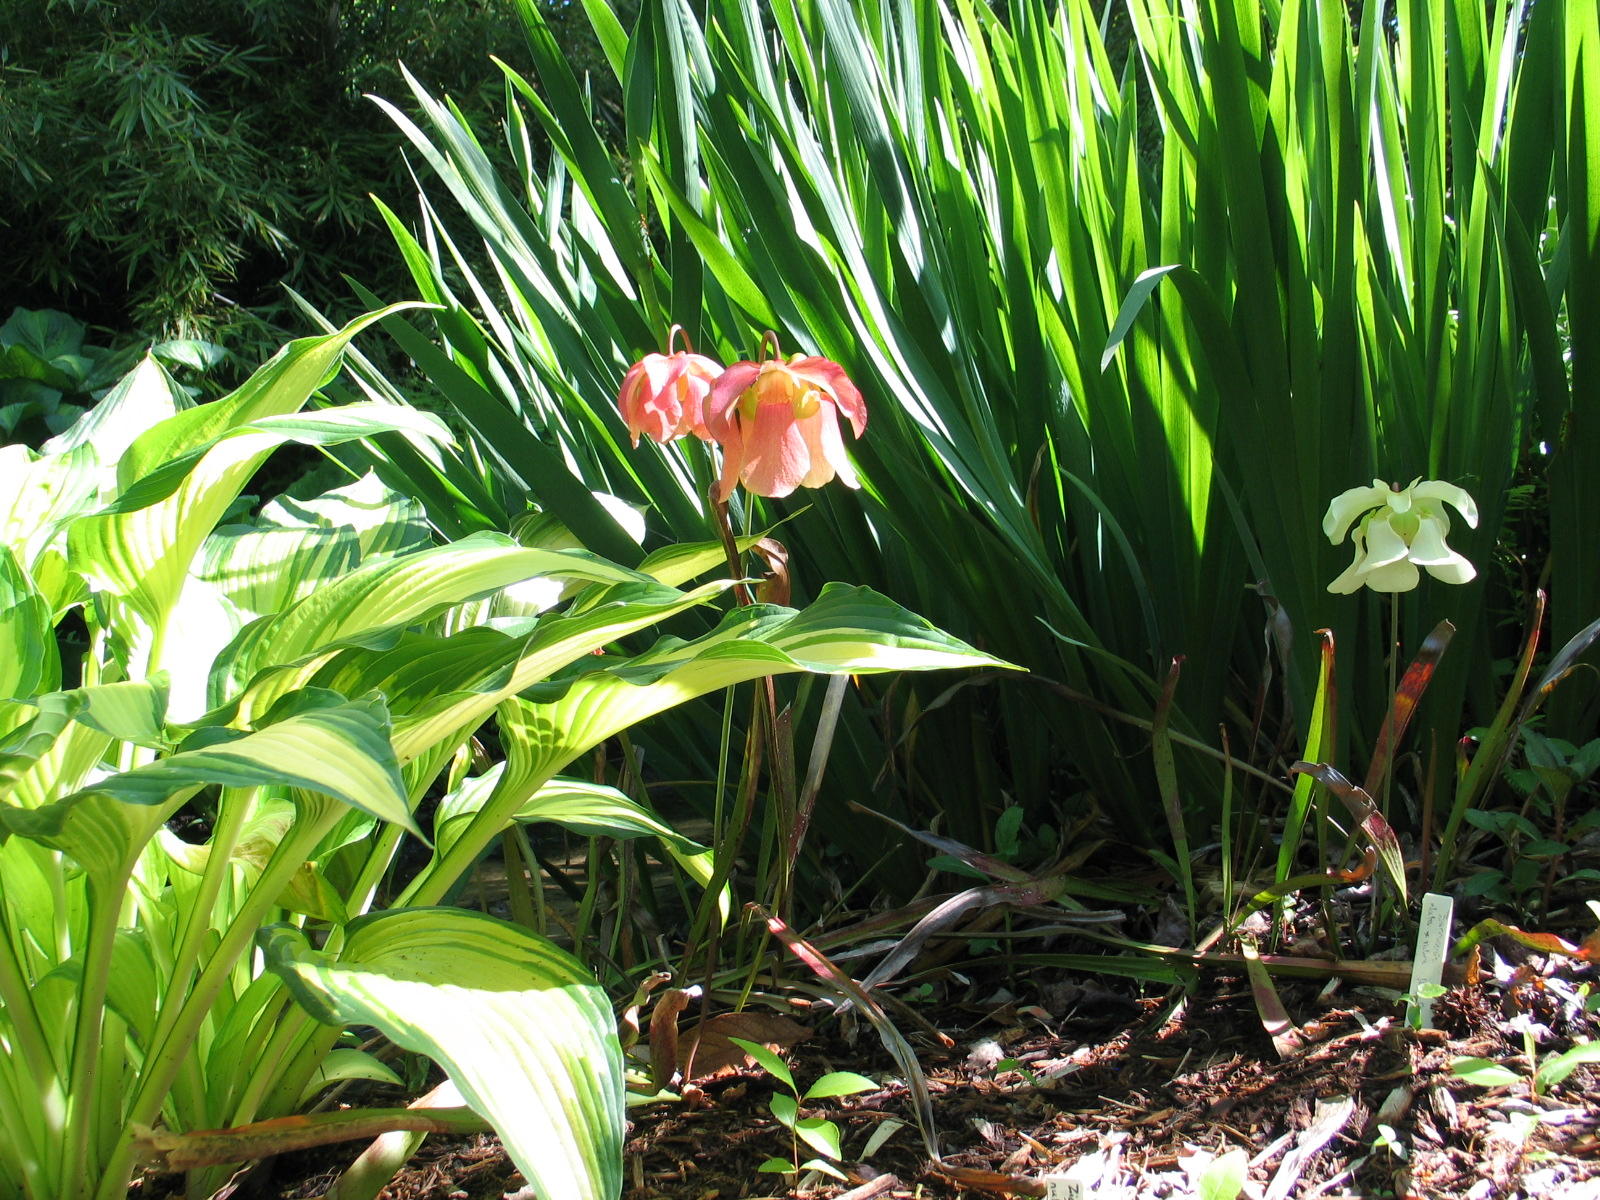
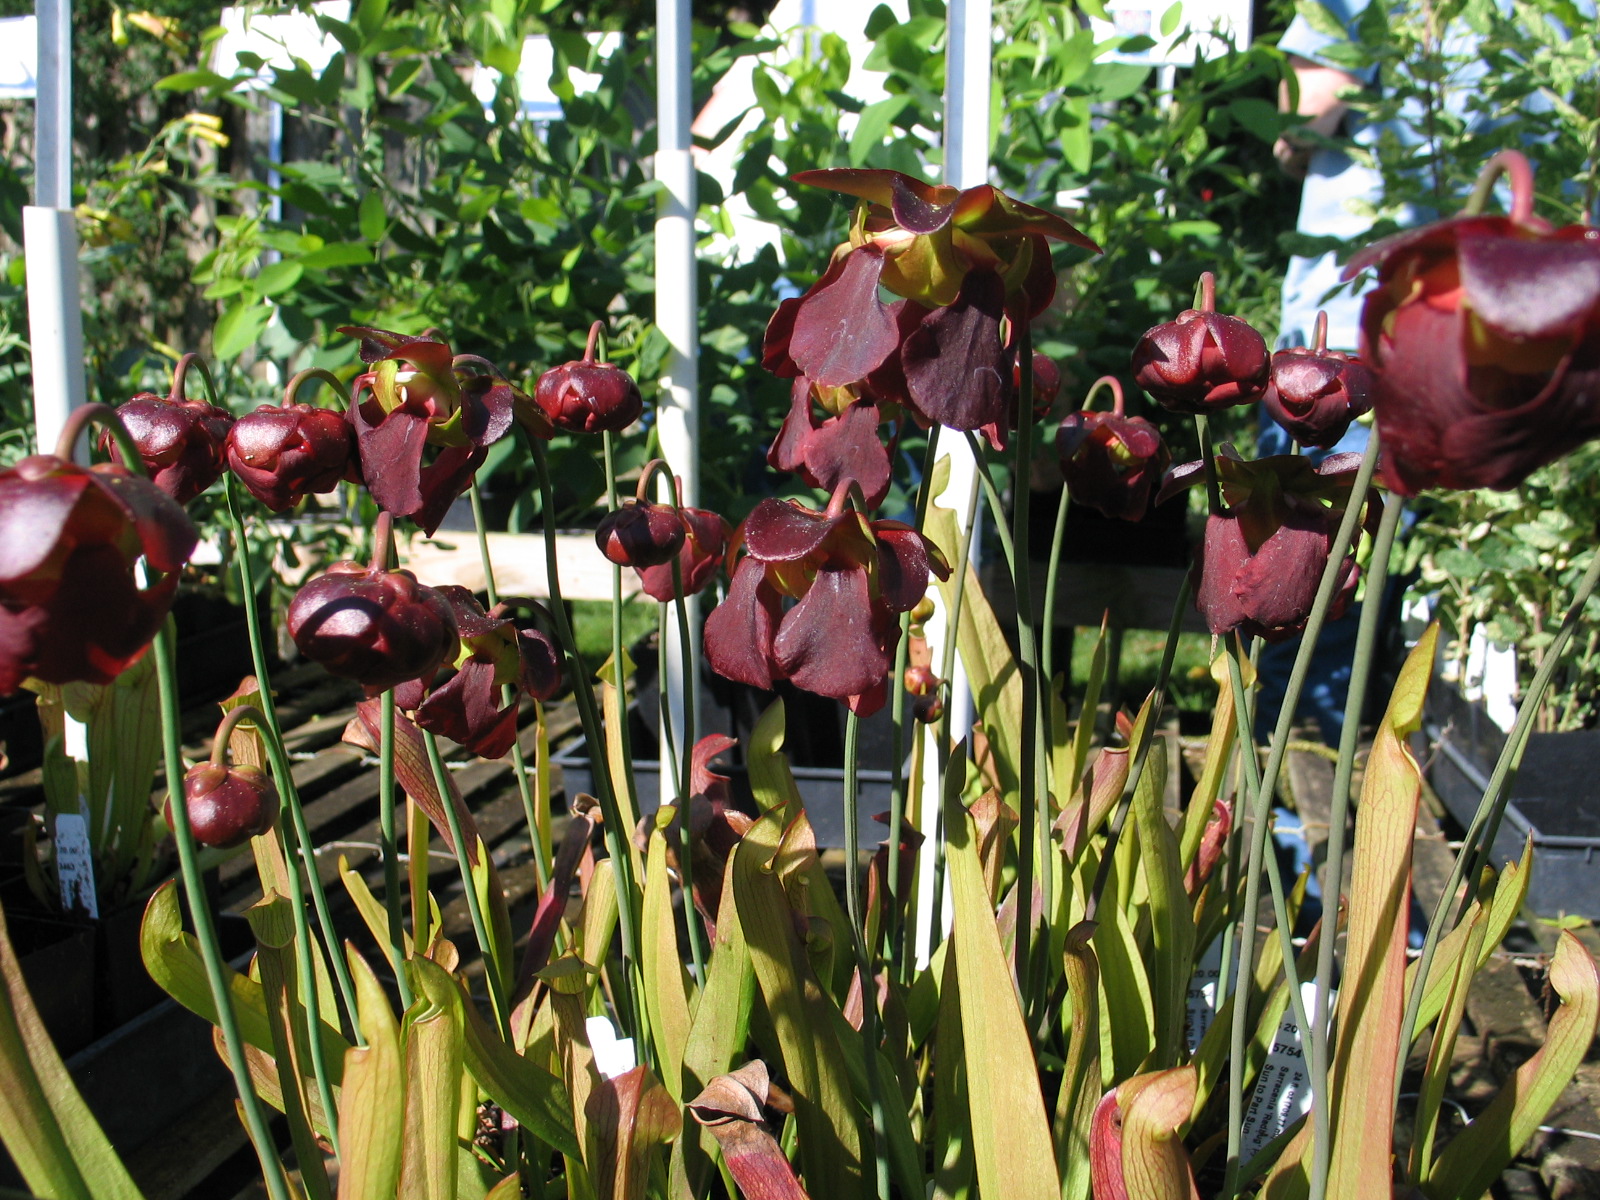 Maybe someday I will try Pitcher plants again....I love how they look in bloom and with other plants (above).
 Thank you, Plant Delights Nursery!OH - and what did I carry home in my carry-on bag? Bletilla striata 'Murasaki Skikibu', Arisaema costatum, and Lycoris x 'Elsiae'.
My Client's Plants, pt. 2
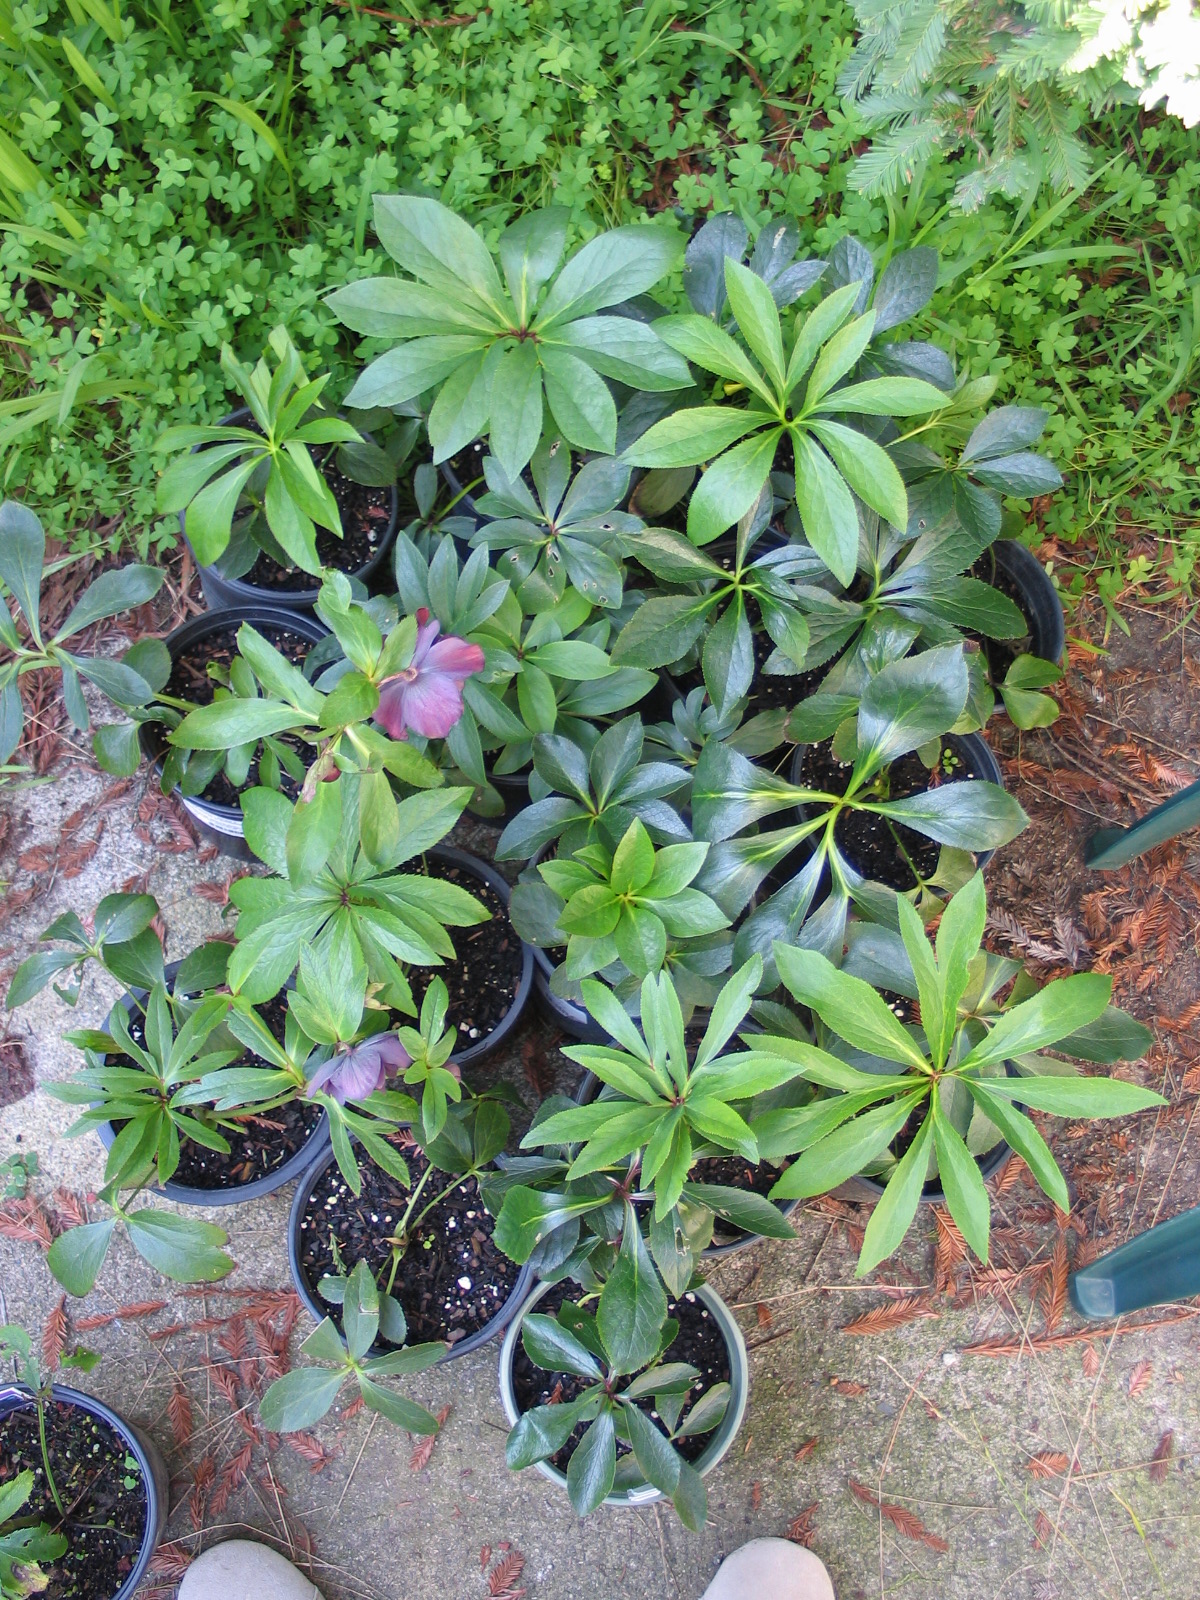
In plant materials, sometimes you really do get what you pay for.The Hellebores' stay here is nearly at an end. I have enjoyed having these little beauties here since the day I posted about their arrival just over 3 months ago in November 2010. Since they arrived, they've done nothing but amaze me. Their quality is outstanding, far superior than what was available locally. These green friends illustrated beautifully that sometimes it is well worth it to pay more for something that on the surface seems like the same thing.You see, the same week that I received that box of beauties from Fraser's Thimble Farms, I got a little green myself and drove over to a well regarded retail nursery in the East Bay. I paid $20. for a single 1 gallon plant of the exact same cultivar. My client's plants cost $39. each, not counting shipping and inspection certificates (so actually, they cost quite a bit more than that). I potted them on arrival because they had been bare-rooted for the trip, and soon they'll be installed in their new home's garden. In the photo below, that scrappy little guy in the front is mine.
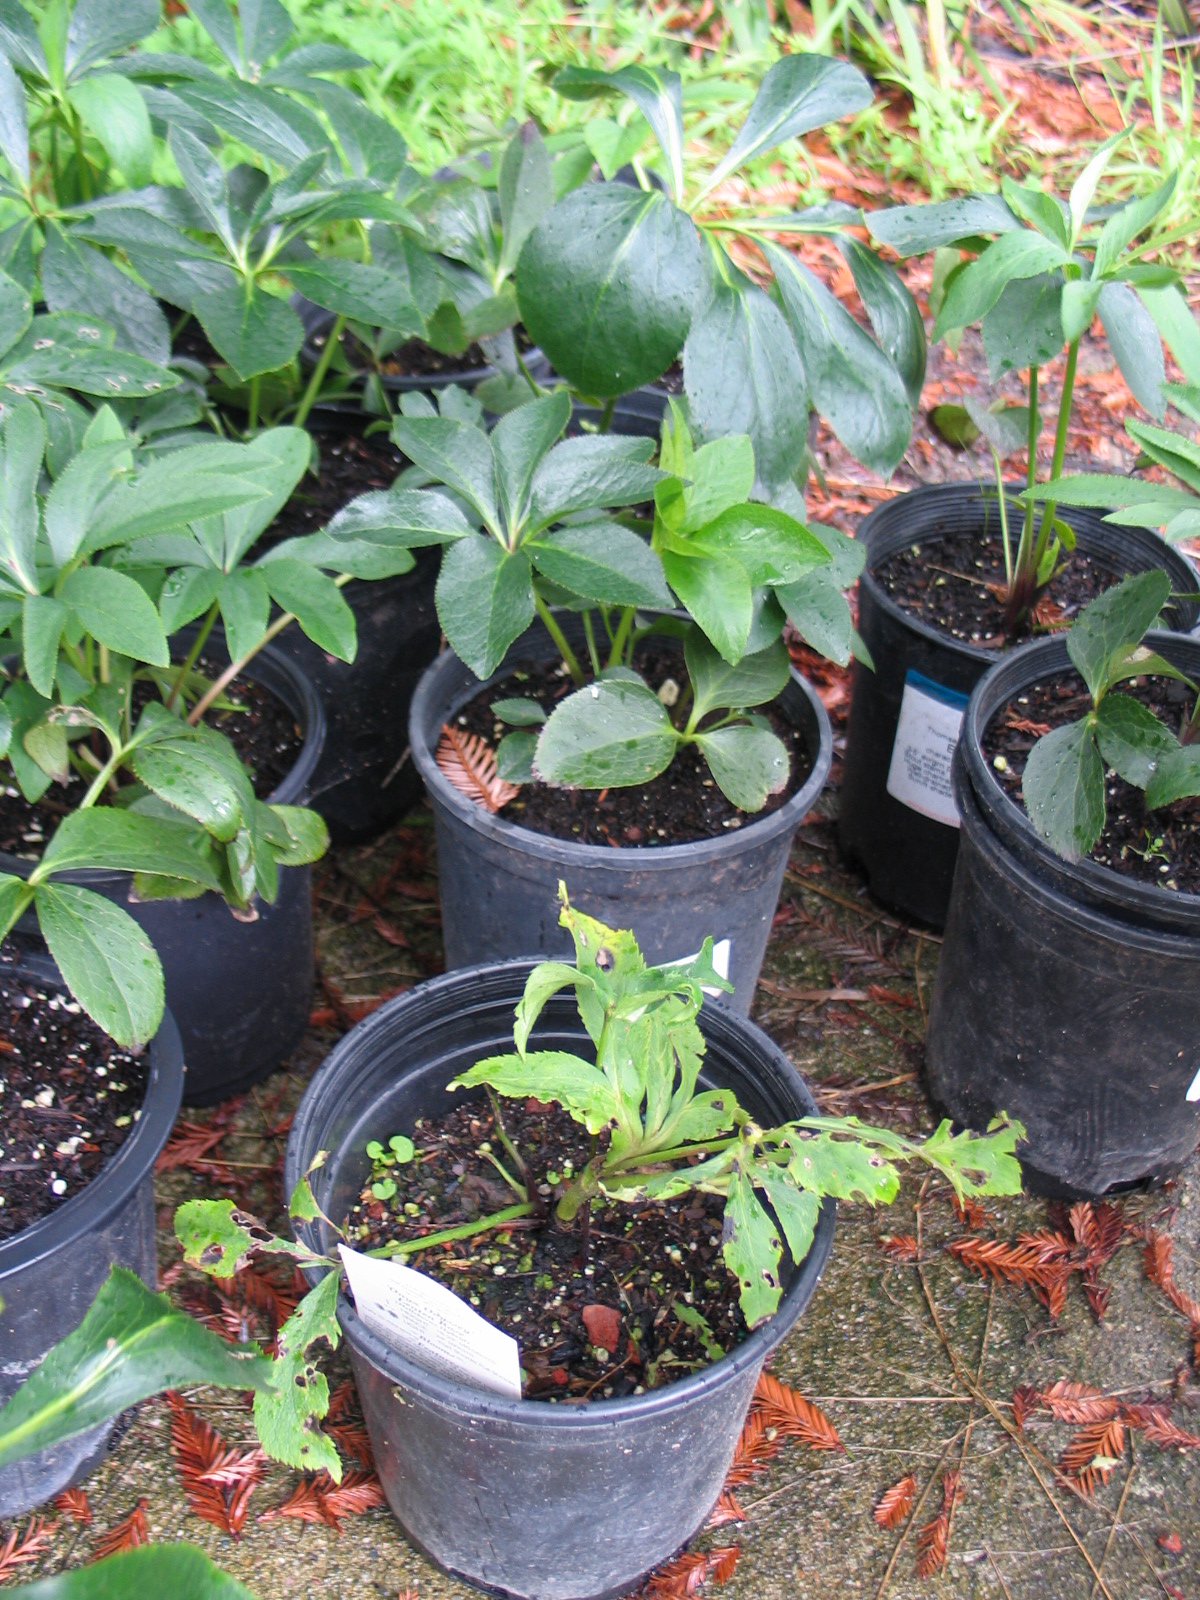 Unfortunately, my plant looks exactly as it did the day I got it, where my client's plants are considerably nicer. The ones from Fraser's are known to be about 4 years old. In conversations with their staff, I learned that Hellebores need to be a few years old before they are mature enough to bloom, so perhaps this is the problem with my little one....OR perhaps the difference is that mine was grown without personal attention at a commercial grower where the ones from Fraser's were grown with care by a knowledgeable bunch of people. Either way, it was well worth the extra money for quality plant materials.
 I'm looking forward to seeing if mine grows into a nice specimen now that I'm in charge, and to seeing how well the ones going to my clients' garden will perform over time under the care of his gardener. I will be very interested to watch them all, even though I'm sad to see these beauties leave my patio.
Container Garden Inspiration
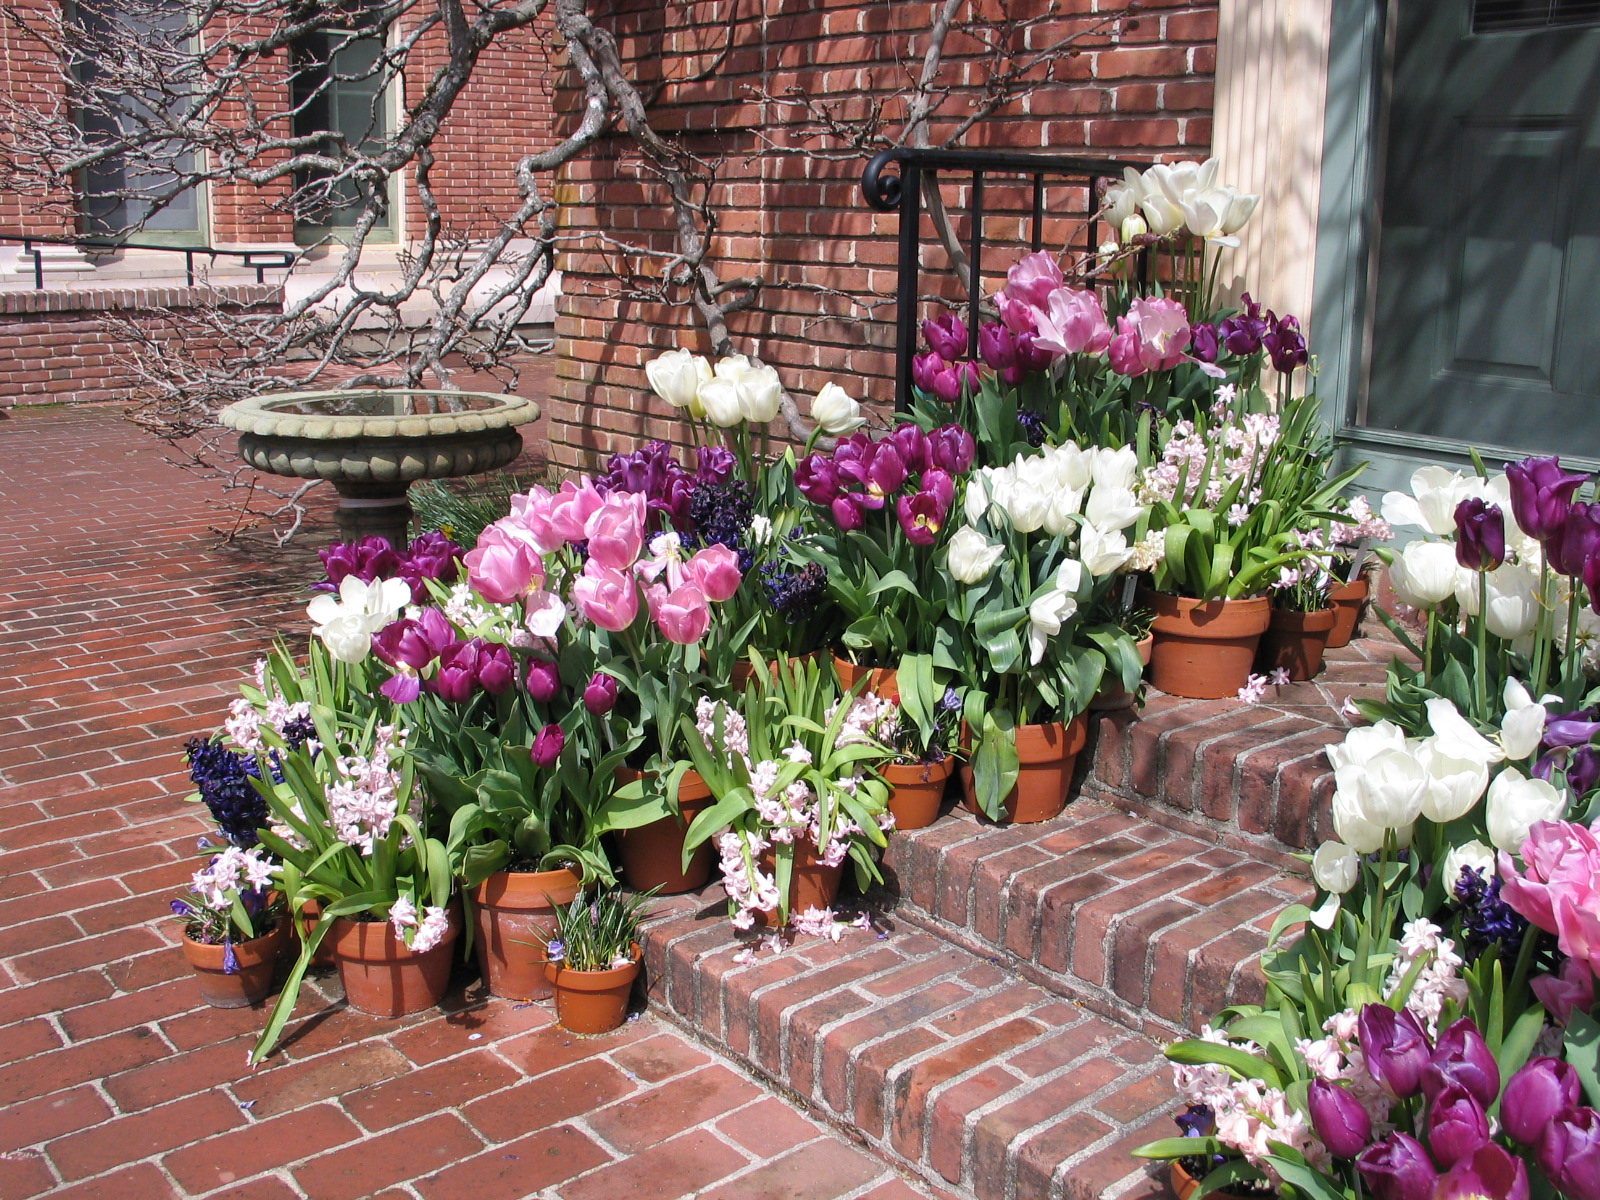
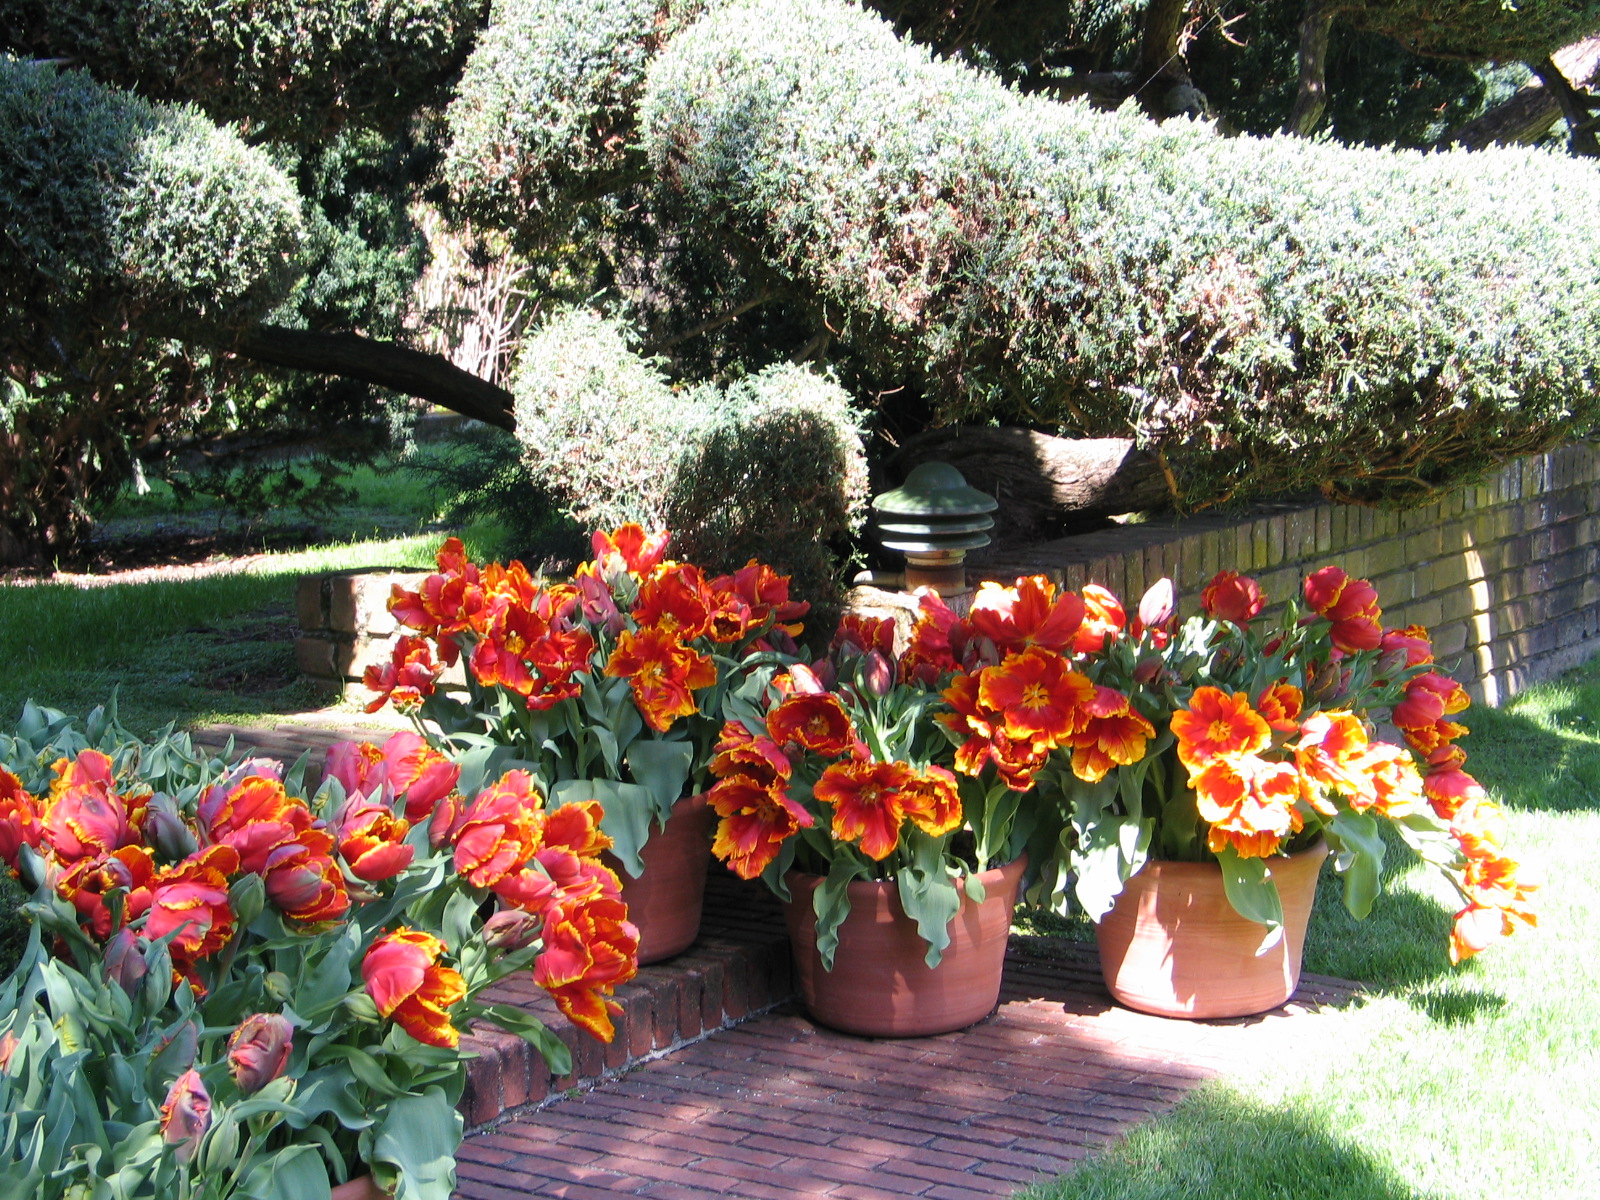 I love container gardening! Love it. I garden both in the ground and in containers at home, I can't keep from filling pretty much everything with soil and something growing.
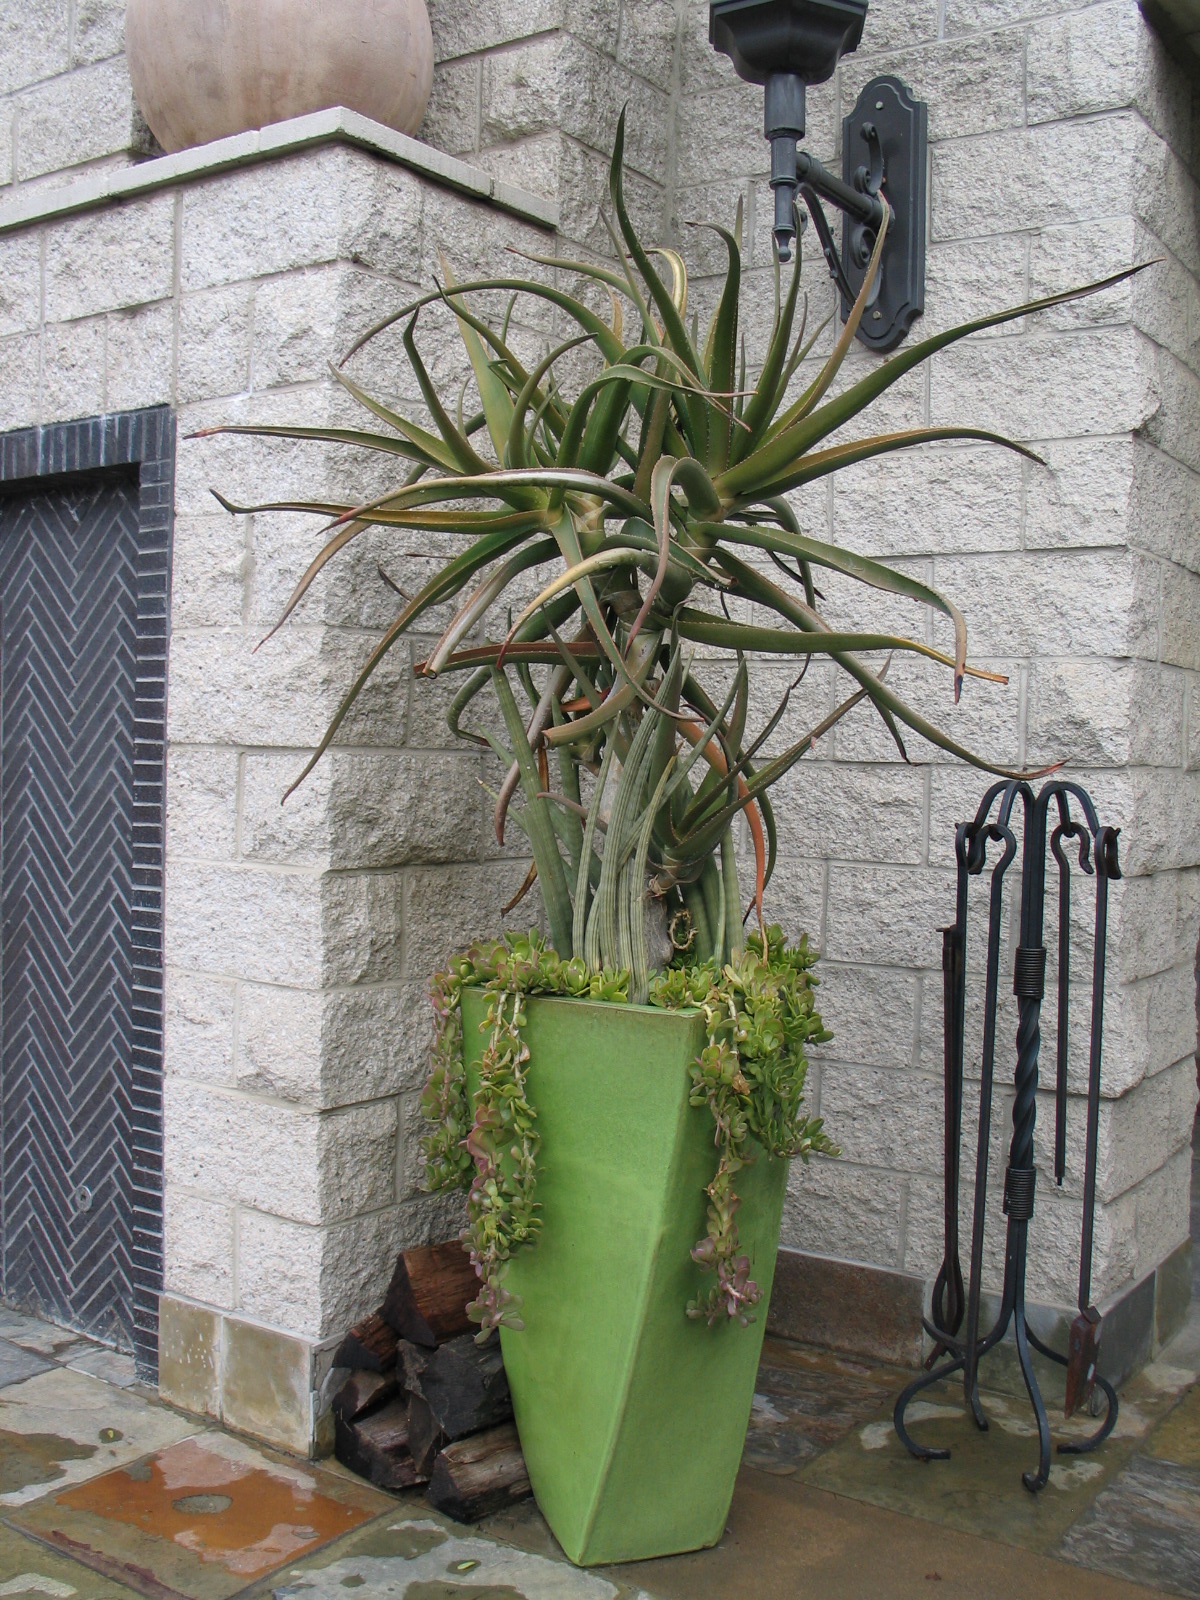
I wanted to post this because not every pot looks good with every plant, some look truly wonderful together, and some just awful. I design for clients very differently than I treat my own container garden. I choose containers for clients that go with the architecture, the plants, and so forth.
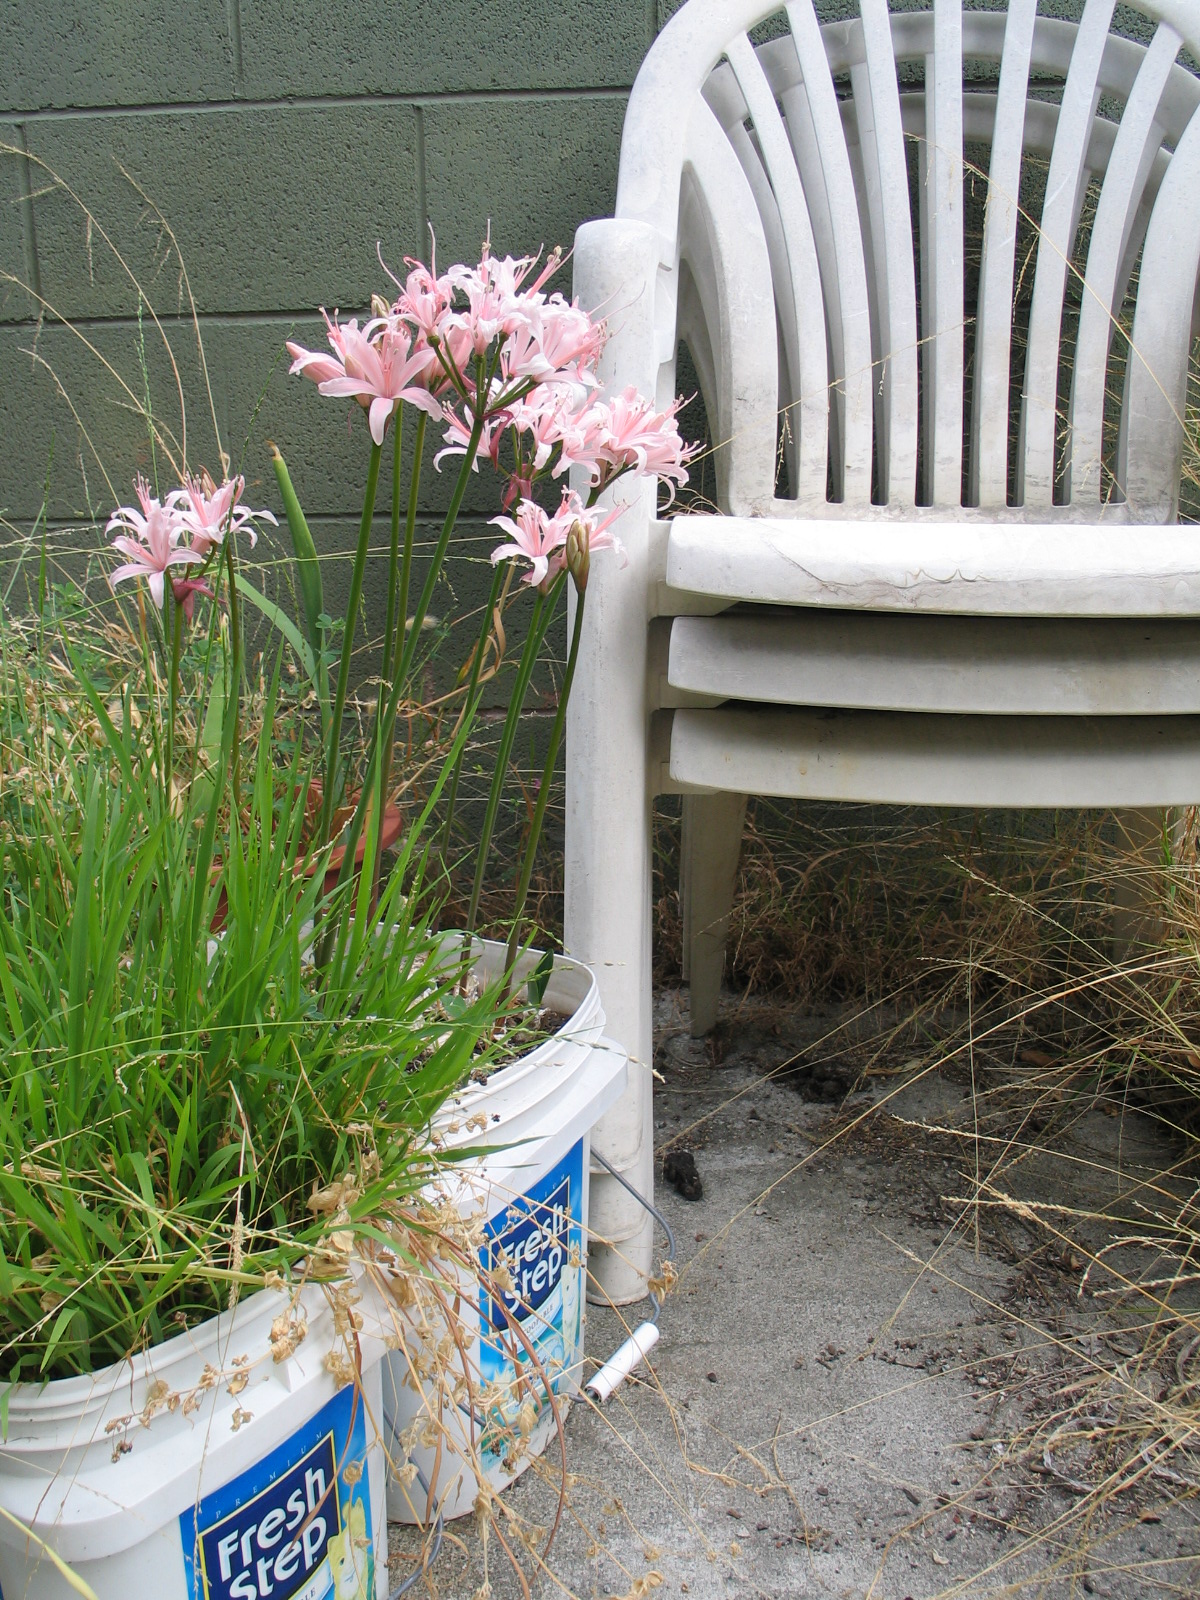
In my own garden, however, the containers can be almost anything - kitty litter buckets with holes drilled in the bottom, nursery liners, and a random assortment of impulse purchases and gifts. 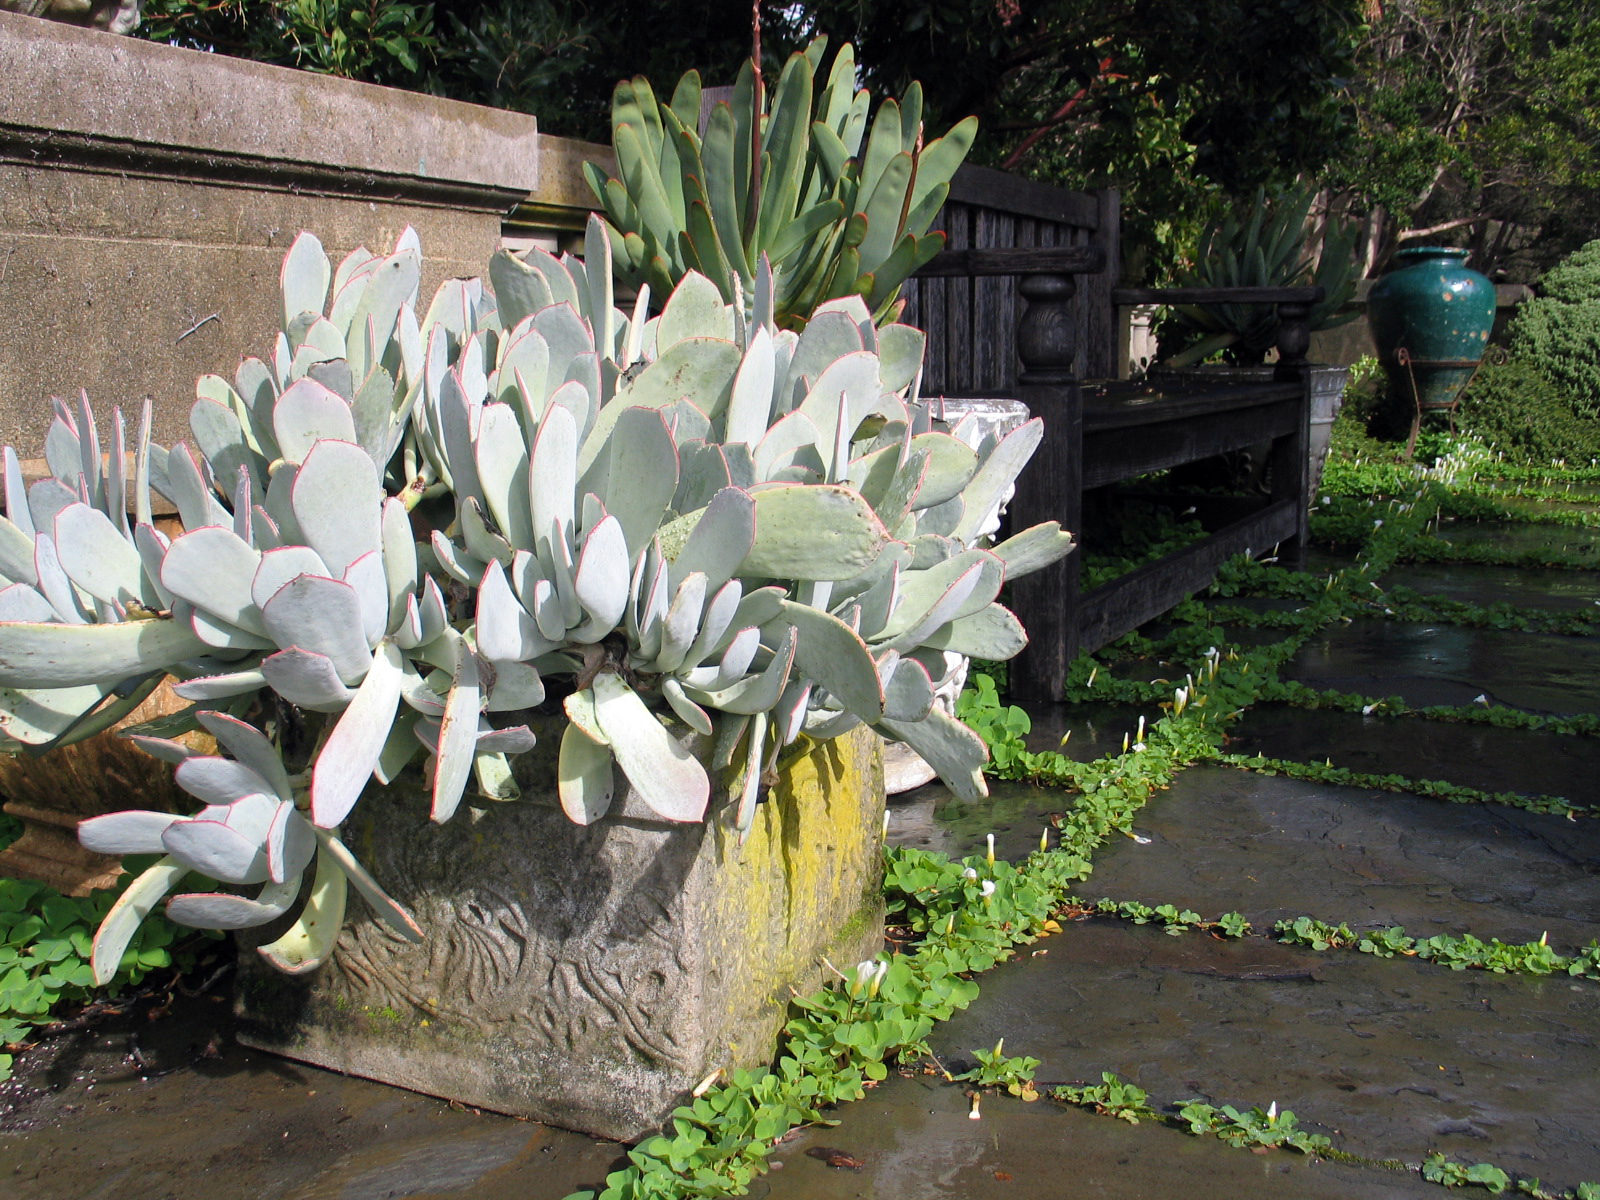
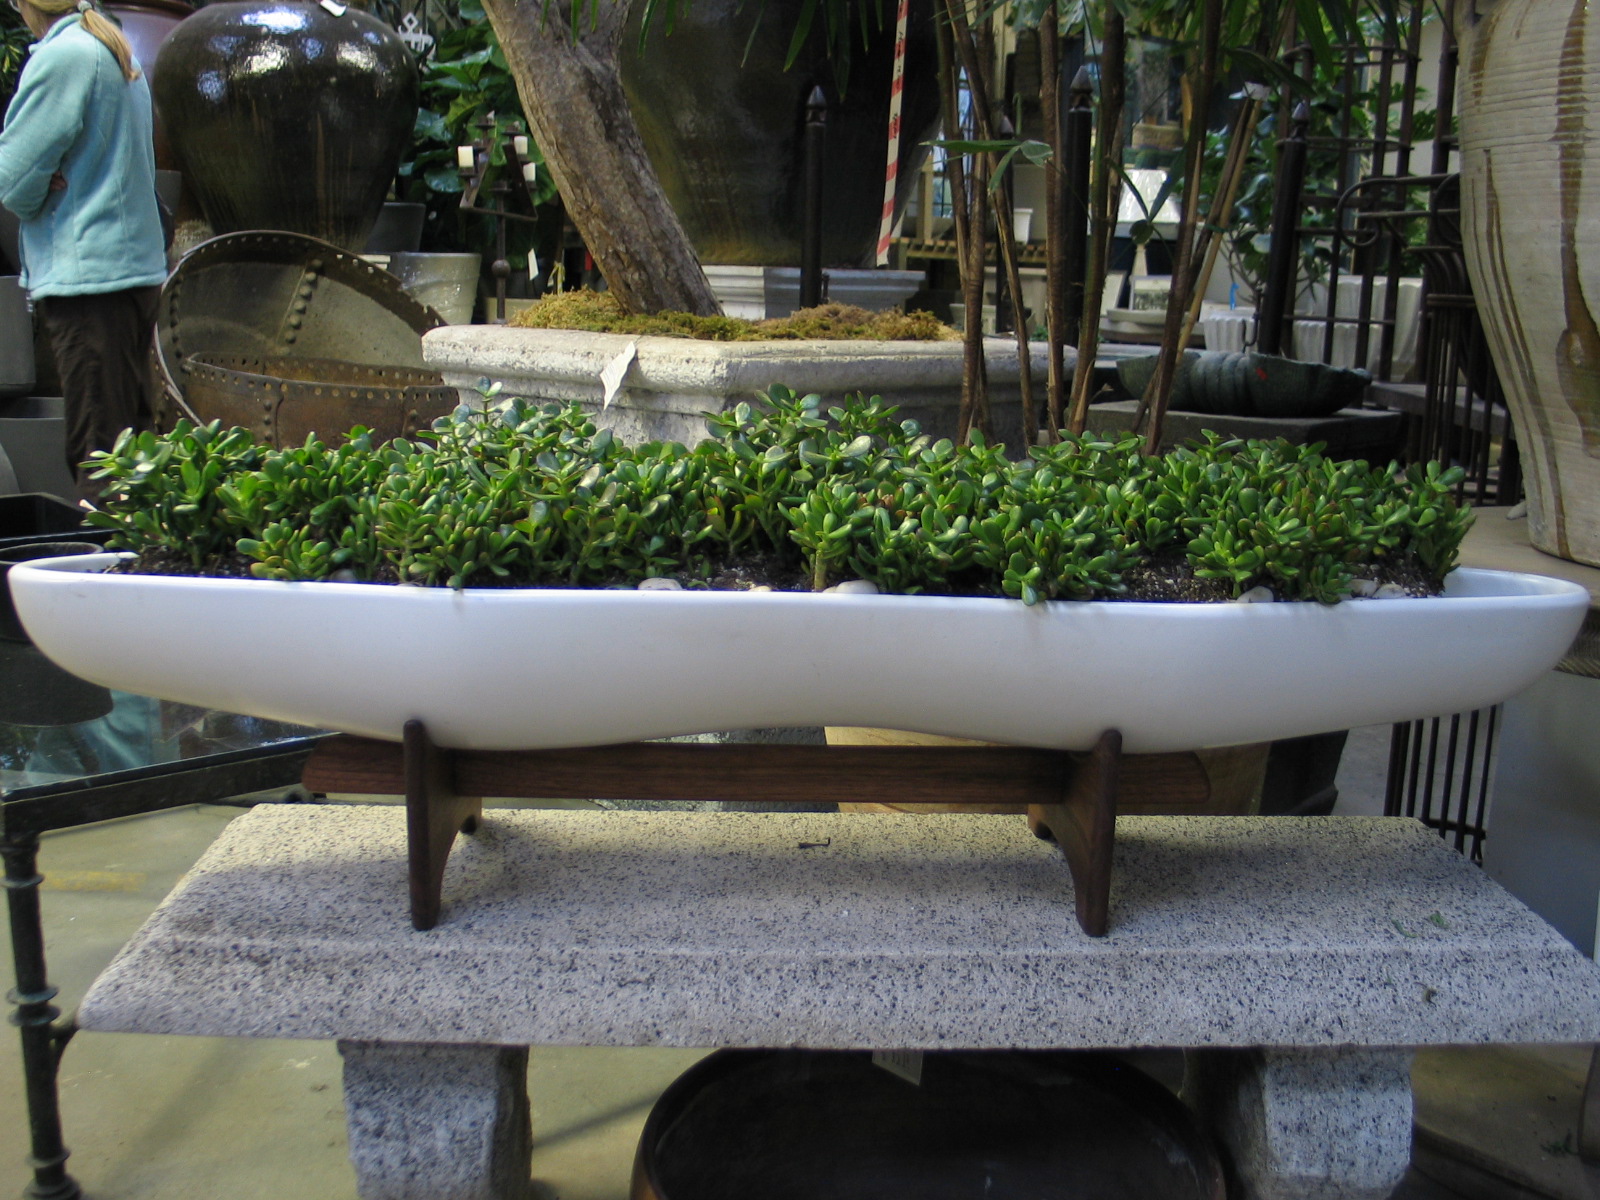
I think that the most important thing when putting together a container garden is deciding what you are showcasing; the plant or the pot?
Which plant looks good in a particular pot can be surprising. I have found that it is important to see them together if the purchase is an important one. If you're like me, and buy plants and pots on impulse, don't sweat it. But, if the container and the plant will be important focal pieces of your design, then it is worth it to take either the pot (or a small sample with the same finish) or the plants that will be used (at least a bouquet of the leaves and a good imagination) around with you when shopping.
My Client's Plants
I am working on the design of a garden in San Francisco and was pleasantly surprised today by the delivery of the Hellebores that were ordered from Canada. While I was potting them for protection during their wait to be installed at the site, it occurred to me that this shipment of plants represented some thoughts on customer service and the design/construction processes.Most Landscape Architecture firms would not be able to accept delivery of plants for a client and care for those plants until they could be installed. They might rely instead on either using only the plants that are seasonally available or contract growing (with someone else) to care for those plants that must be received before the site is ready. There are issues of liability (what if they die?!), space, and materials for the task. What results can be either a prohibitively complicated and expensive ordeal, a garden that is skewed to one particular season, or having to ask the client to be patient and wait while plants become available in the future (not always acceptable by some clients). 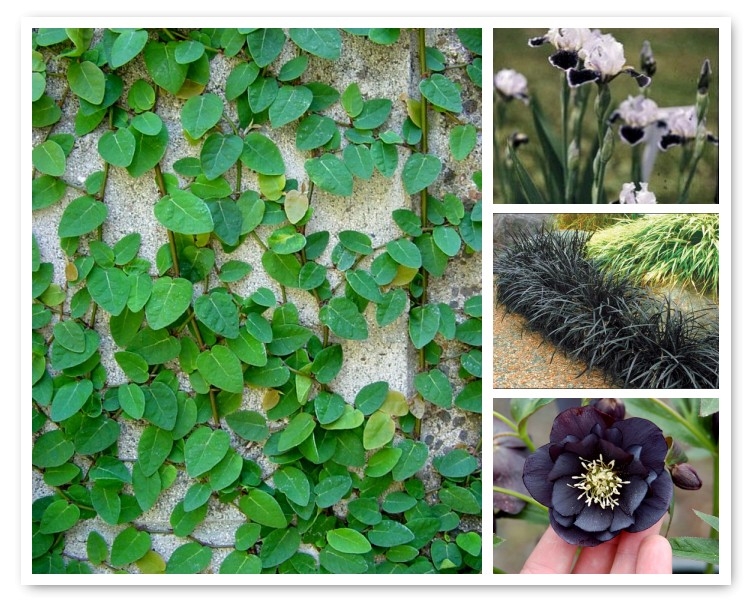 Included in this particular project there will be a discrete courtyard featuring a statue. We are using four different plants; Ficus pumila (Creeping Fig), Ophiopogon nigrescens (Black Mondograss), Helleborous 'Onyx Odyssea' (a double black flowering Lenten Rose), and Iris 'Frosted Velvet' (a "miniature tall" form Bearded Iris). The Ficus and Ophiopogon are evergreen and will form the main planting to show off the sculpture, then the Iris will be in bloom in the Spring with leaves from late Winter through Summer, and the Hellebores will be in bloom in Winter with leaves holding on through Spring. I don't expect to have both Irises and Hellebores flower at the same time, though it is possible that this could occur depending on weather conditions and temperatures (especially in the Bay Area). While the Irises prefer more sun and the Hellebores more shade, the site location and orientation make it possible to use both in the same small area.I presented the palette (above) to the client earlier this month. Before doing presenting, I learned that the Iris were not going to be shipped until next July, and that our local growers who carried the Hellebores had already sold out for the year. I explained to the client that we would be ordering the Iris for delivery nine months in the future and that the Hellebores would need to be ordered immediately from Canada before the grower's shipping season closed. He accepted the planting concept, so I had the plants ordered with delivery to my home. I did this for a couple of reasons:1. I wanted to inspect the plants before anyone else saw them to make sure there were no problems (and I work from home). Having them shipped to my home also meant that I could accept delivery at any time (they arrived today - the Saturday after Thanksgiving) regardless of holidays, weekends, and business hours.2. The plants would be shipped bare root and would need immediate attention by someone who knew what to do and had the time.3. The landscape contractor had not yet been formally retained.4. This also made me feel that I was giving my client the best service I could by personally protecting his investment in them and, by extension, his trust in me.It is my habit to order plants from all over the world. Because of this, I knew ahead of time that both mail order companies were reputable and that the plants would likely be in great shape. I was not disappointed! Fraser's Thimble Farms worked with me to hold the plants until the payment arrived. I took their advice to pay for air priority shipping. The plants also required a Phytosanitary Certificate (they were inspected by the Canadian Food Inspection Agency) before coming into the U.S. The shipment was also opened and inspected by U.S. Customs upon arrival.Below are some photos from this morning's potting:
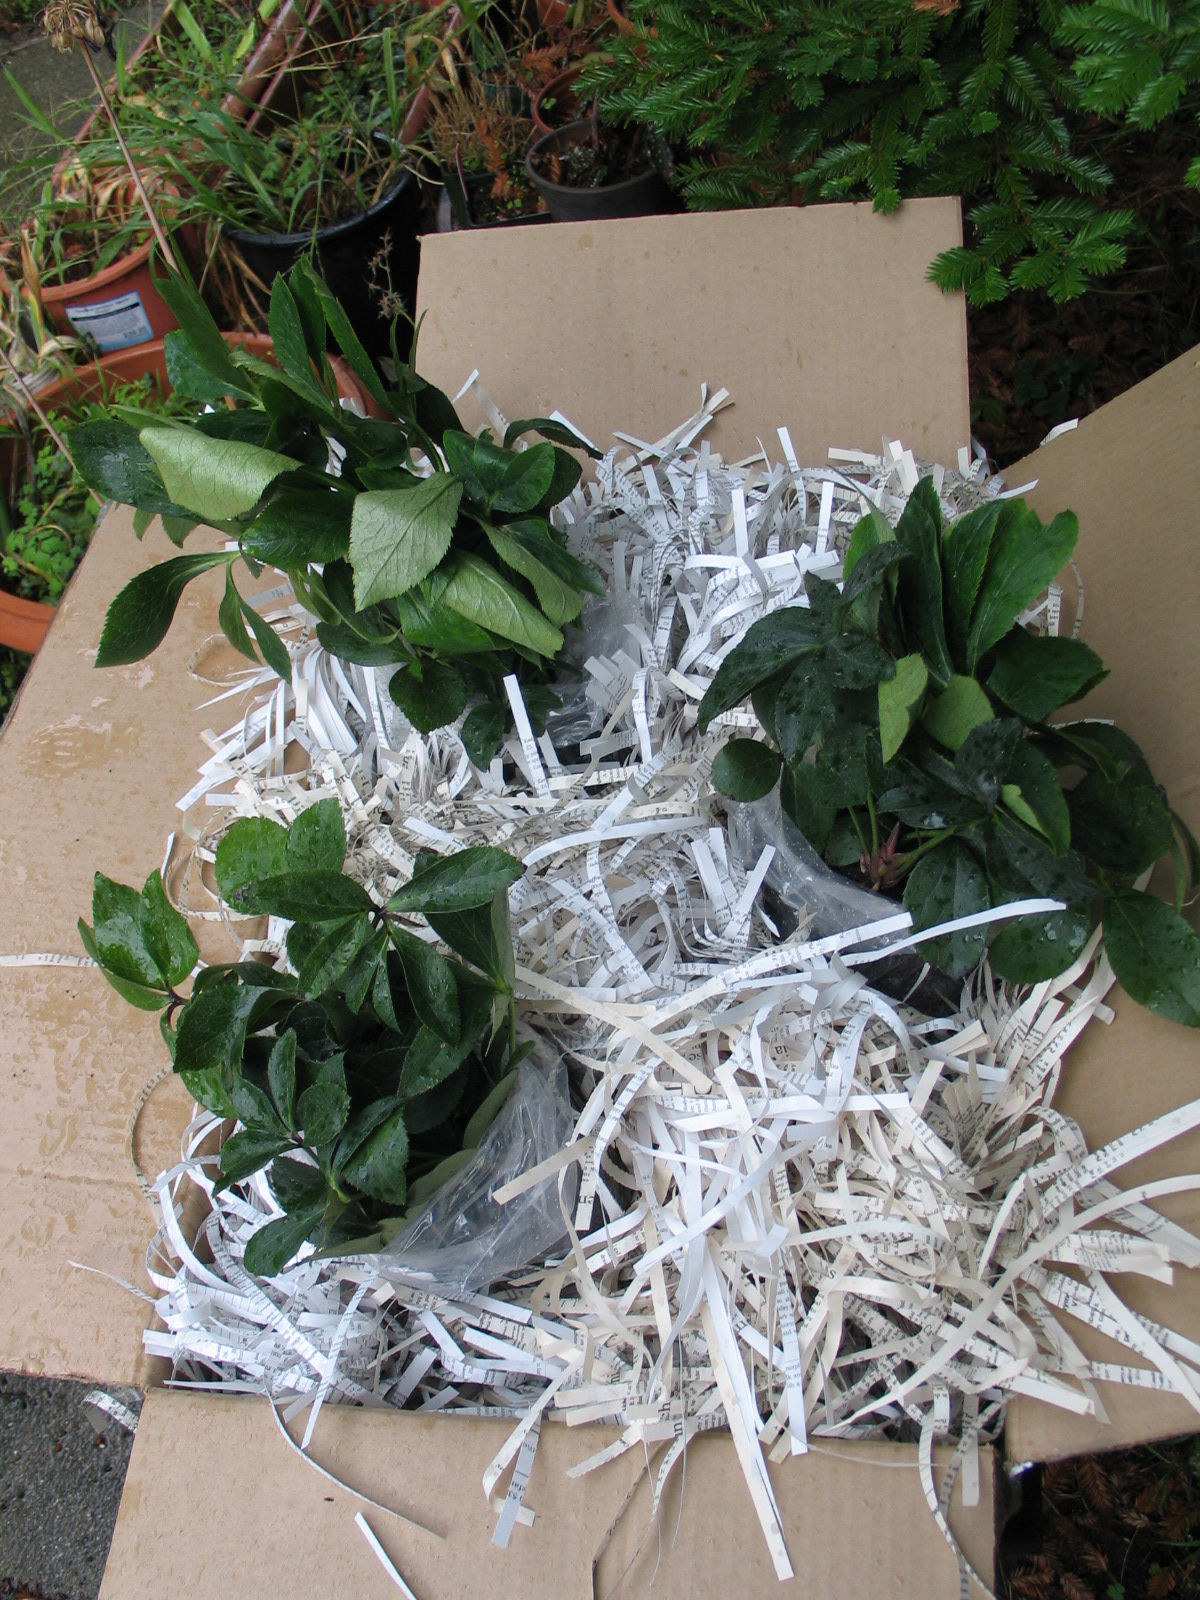
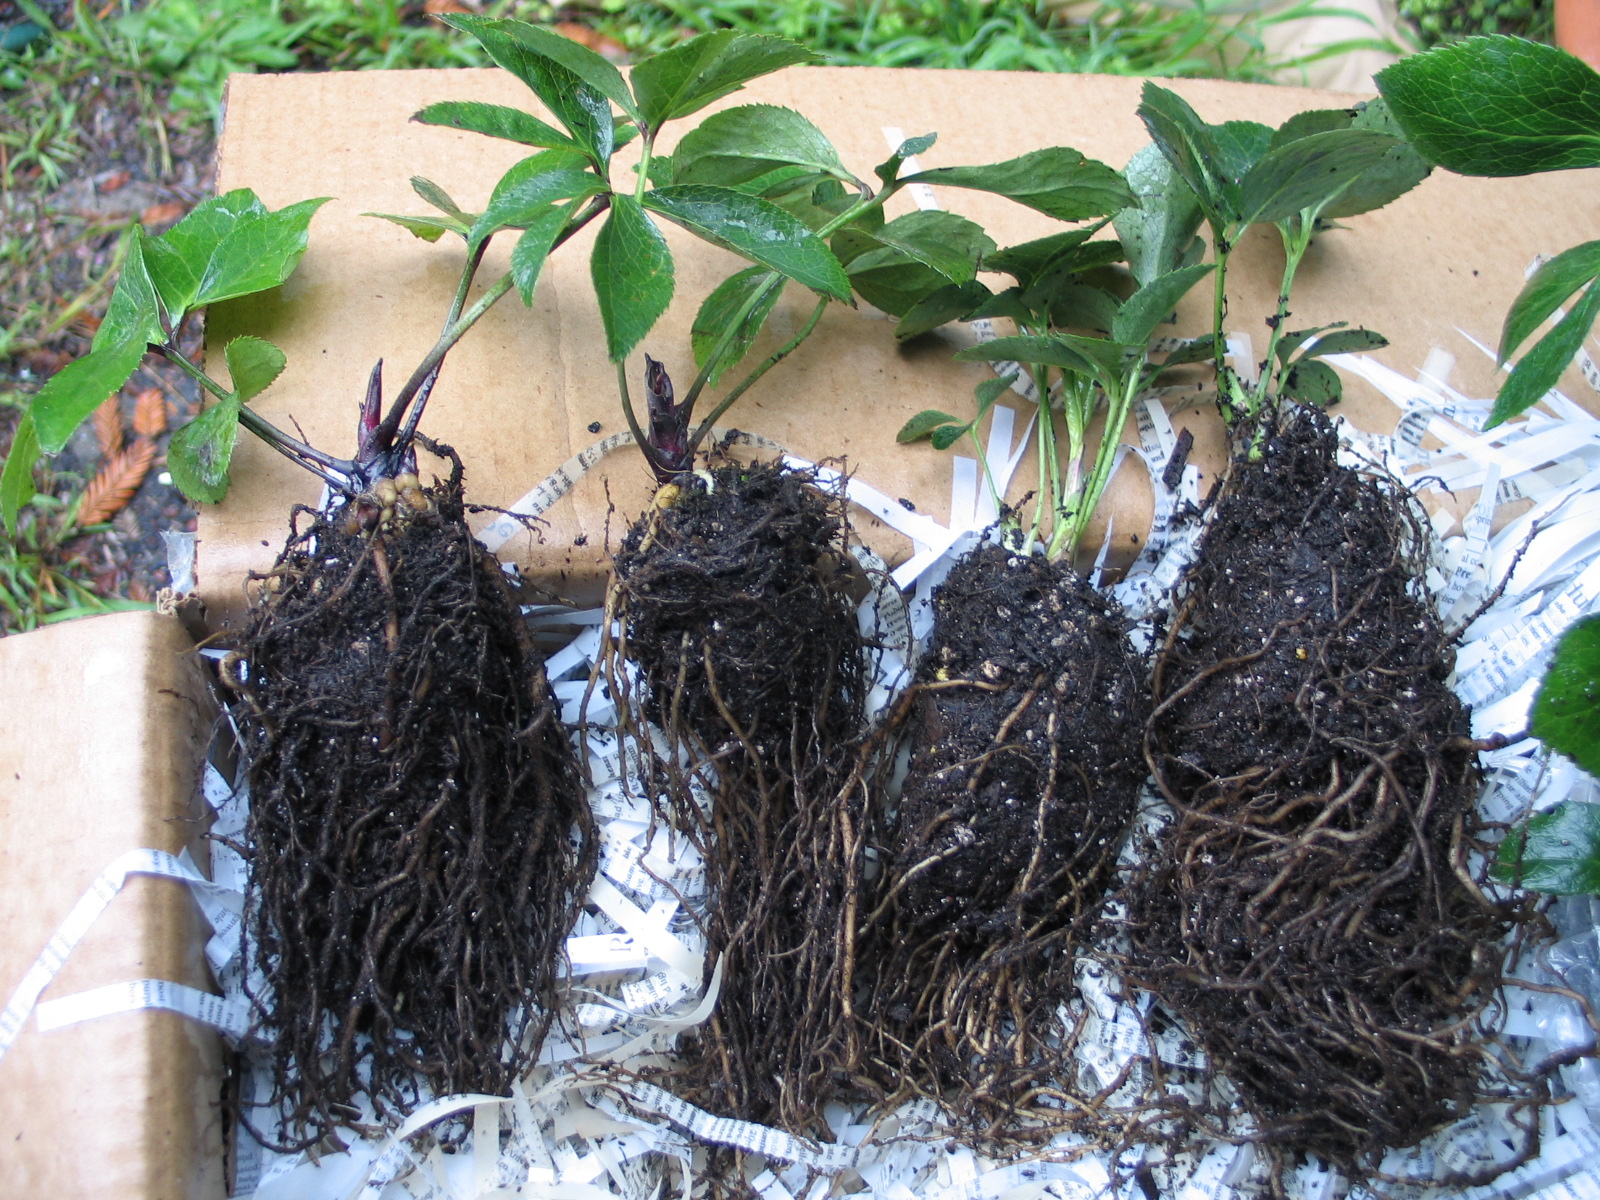
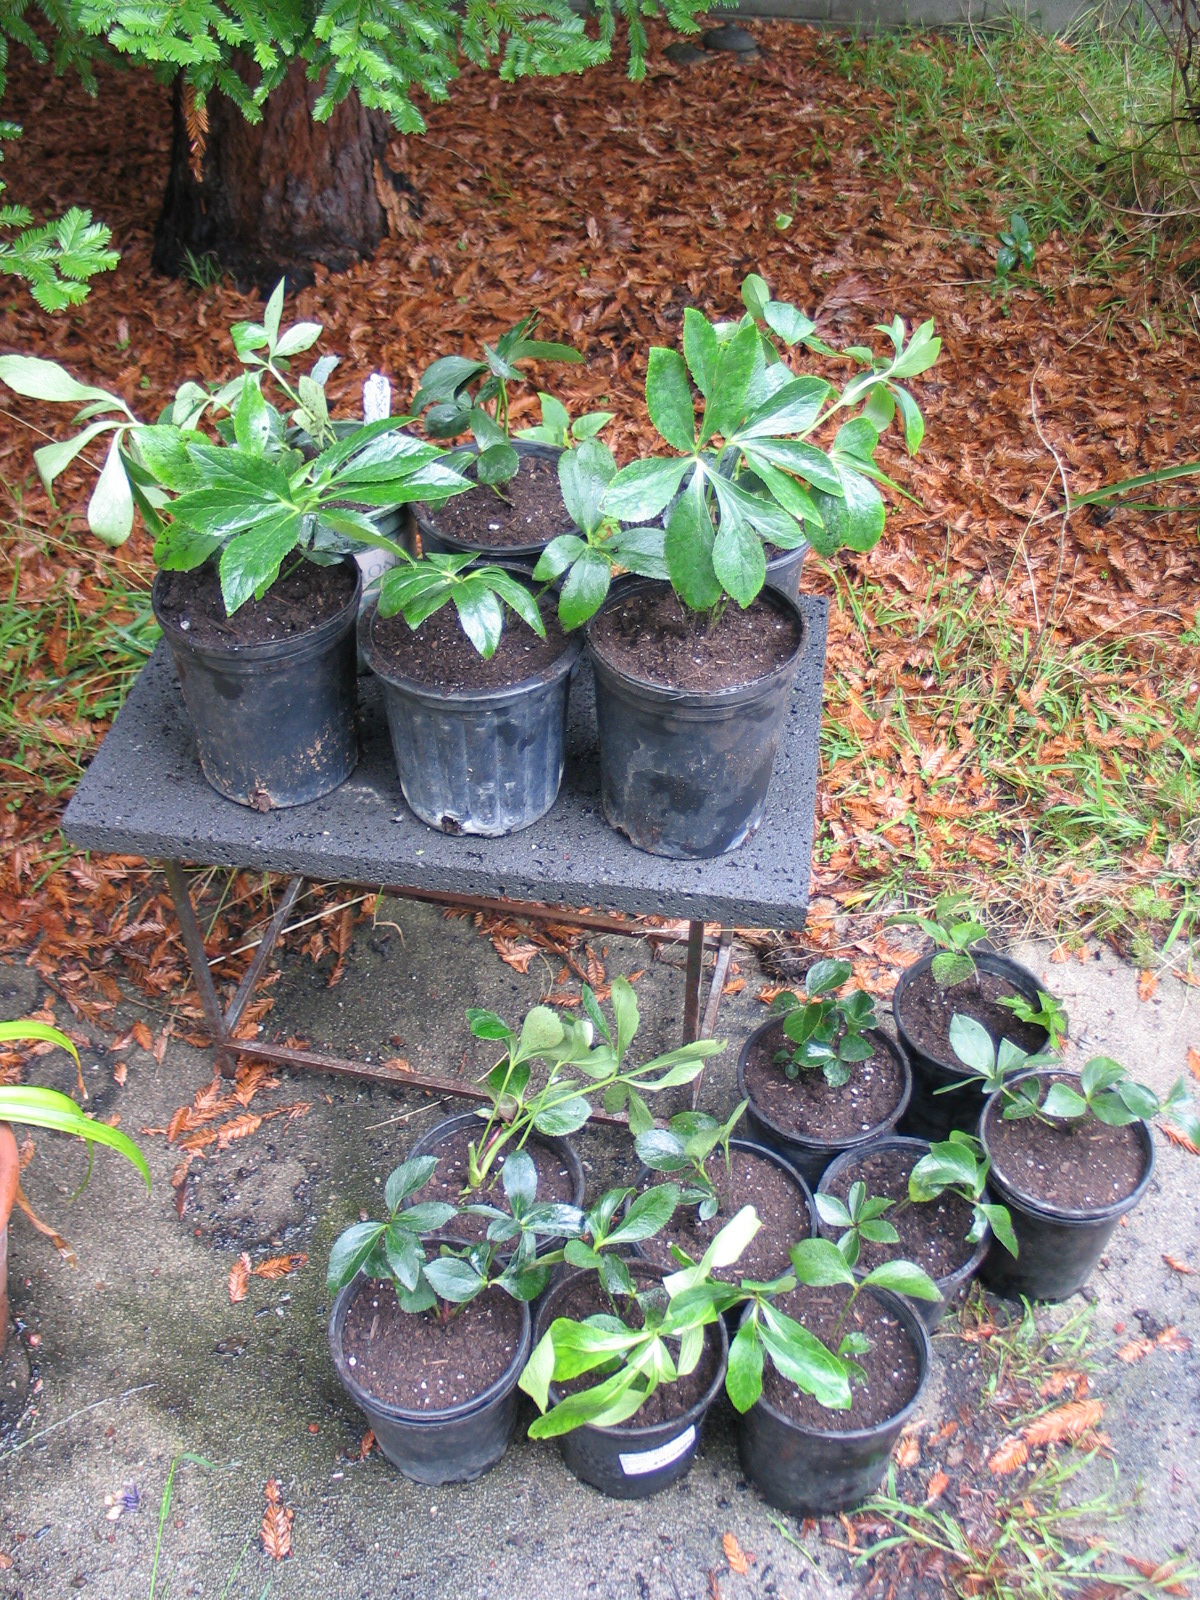 All in all, excellent plants - potted and ready for what comes next. My own Hellebores have not leafed-out yet, so it will be interesting to see how these behave, but they each have new growth on them (see the middle photo). They've been through a lot, being bare-rooted, inspected twice, then finally re-potted (they'll be disturbed again soon when they're planted in their new home).I have been frustrated in the past with the issues that come up when trying to design a garden around the seasonal availability of the plants I want to use. I think it is well worth the extra effort to get the exact plants desired rather than giving up and just finding something else that is less of a pain. I am looking forward to seeing them planted in their new home and will post again....
Sentimental Plants
 My mom used to have "naked ladies" (Amaryllis beladonna) in her garden until she dug them all up and gave them to a neighbor. Lucky for me, she had some Nerine bowdenii shoved in a corner of the yard (not planted, just set aside bare) and when I asked if the Amaryllis were all gone, she stuffed the Nerine in a box and gave them to me. Hey, close enough. Every fall when these things bloom, I think of "home" (though I haven't lived there in quite a long time).I've had a few clients with similar hand-me-down plants, and I think these are (depending on the client's wishes, of course) essential to any new design work. How rude would it be if you had a Hydrangea from a loved one's garden (heaven forbid that person is gone!) and I just designed it right out (and oh, yes, I've seen this happen) of the new garden.So below are my Nerine. I'll come clean with you: my yard is a disaster area (no, check that - it is a teensy American Meadow), I haven't done any maintenance since spring, staying inside and working on everything else instead. I live in an apartment, so yes, my friends, the Nerine are living in a kitty litter bucket with holes drilled in the bottom. They don't seem to mind, I pay them absolutely no attention whatsoever and look what they gave me back this year:
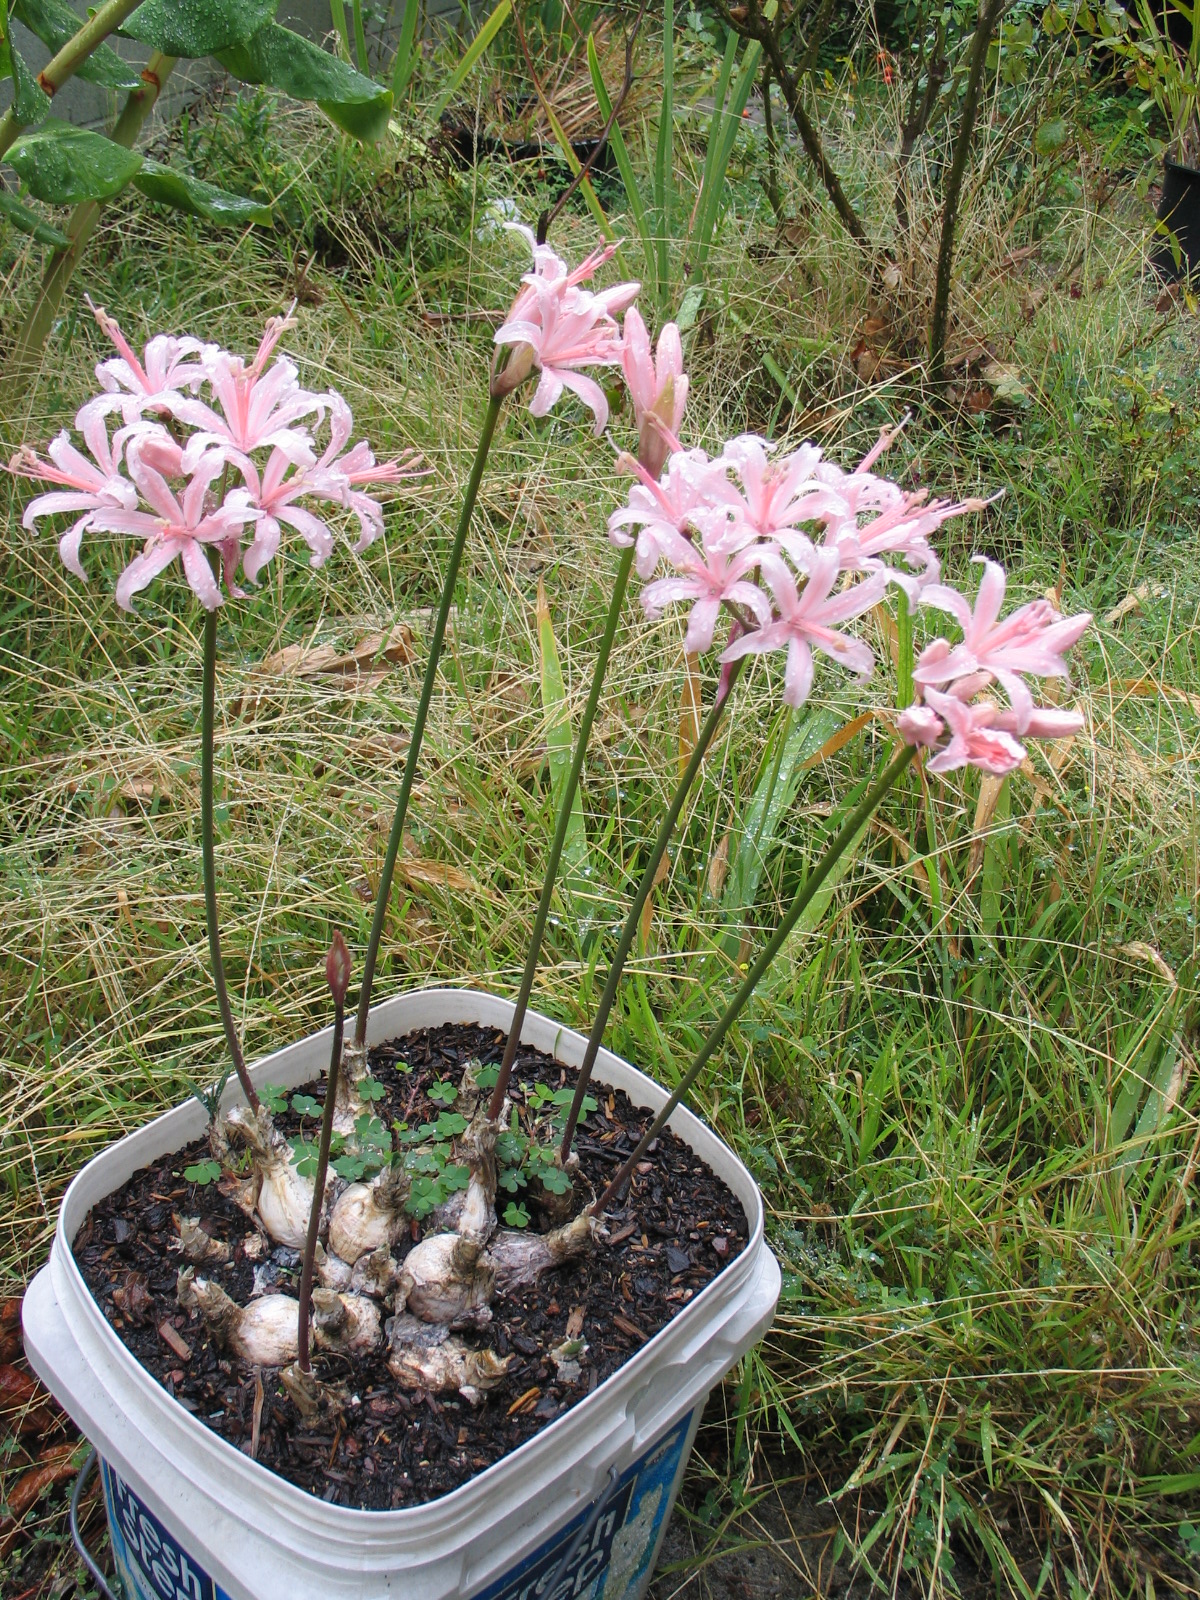
Ridiculous quantities of inspiration
GAP Photos is a UK based website that has an insane quantity of garden photos. They've got the most amazing search abilities, and their photos list actual plant names whenever possible. Being of the UK, most of the images are "english garden" types, but there's also images of flower shows (like Chelsea) and beautiful veggies. I think the site speaks for itself, just watch the clock - a person could get lost in there for hours.
Ruth Bancroft Garden
Ruth Bancroft Garden shade structure and Palo Verde tree
flowering blue palm
Ruth Bancroft Garden Oct 09
Bench at Ruth Bancroft Garden
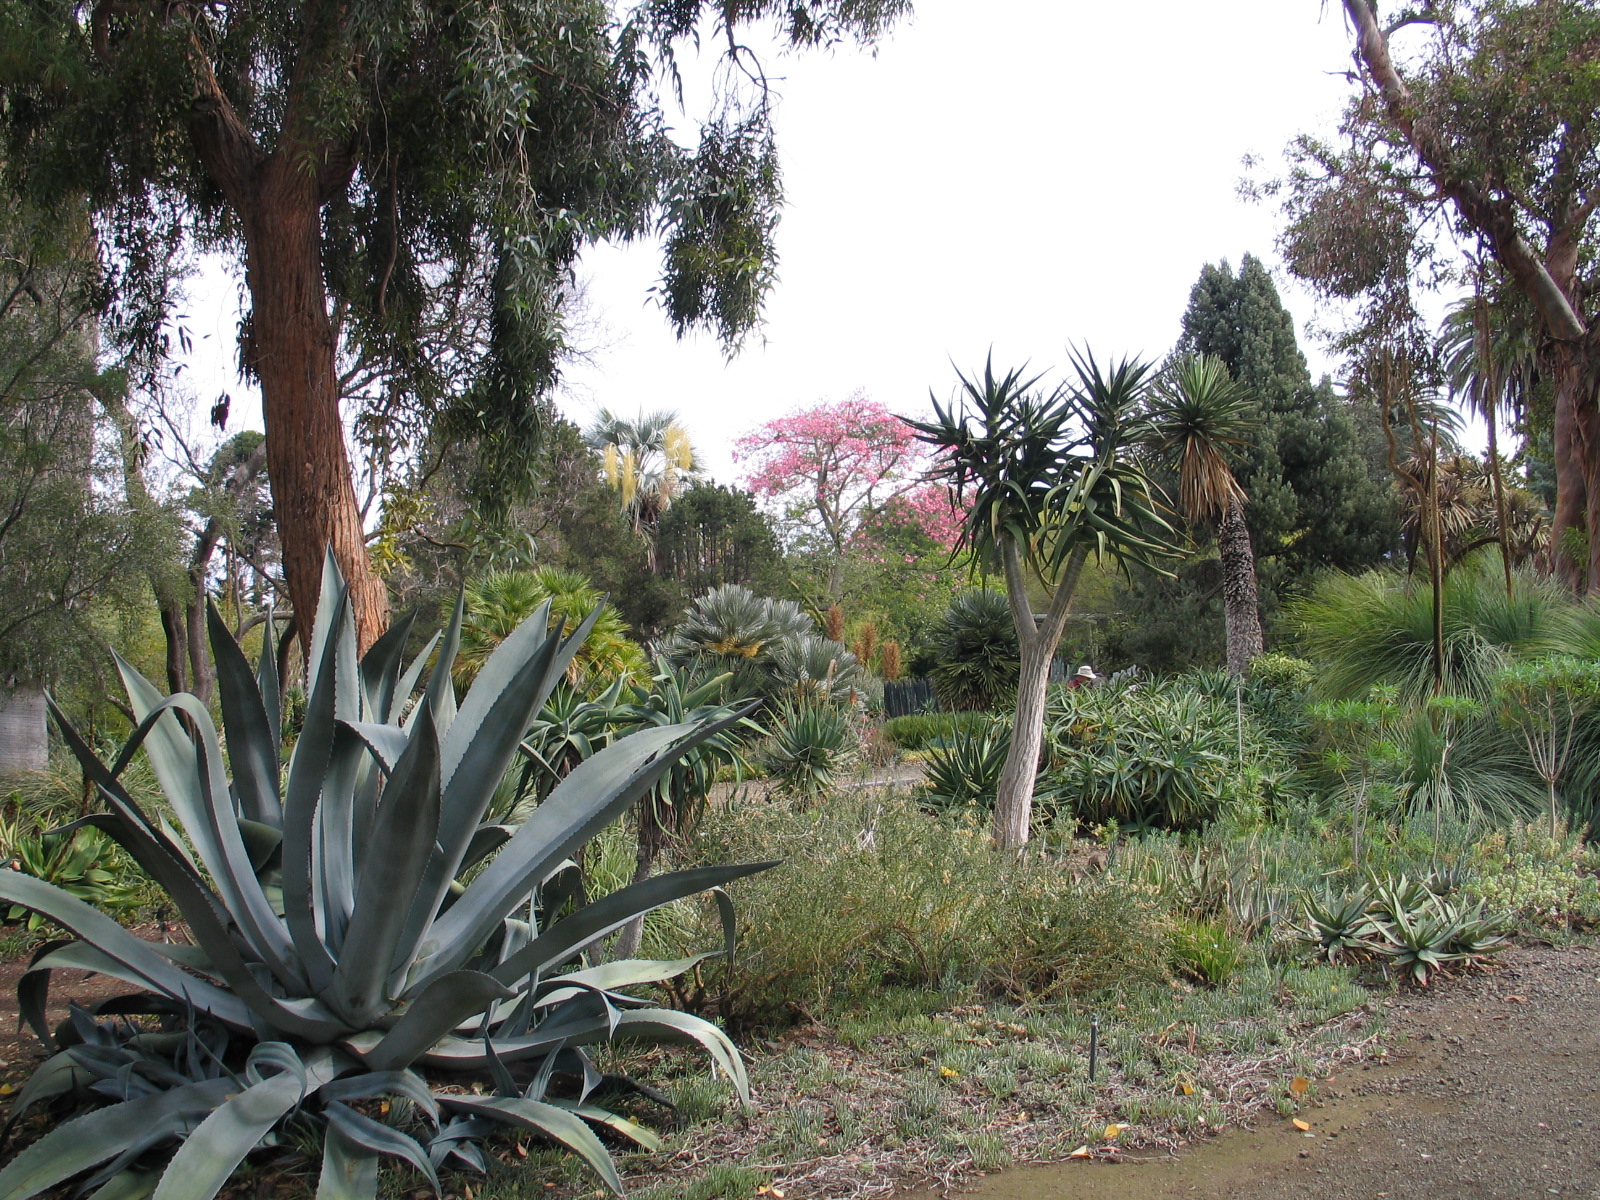
I finally went. I've been meaning to go to the Ruth Bancroft Garden for years, and I am so glad I finally went today. Nice and overcast, not hot out, quiet with few visitors. They're closing soon for most of the winter, so this was a last chance day. I enjoyed the garden, but I was surprised both at how big it is and also how small given the reputation. Getting there is easy, figuring out what to do next was confusing. I passed the whole thing the first time, having missed the entrance....then we drove around the back to park in (apparently) someone's driveway?Anyway - the whole experience was fun, the garden could do with some work, more seating, and a proper gift shop. Today was one of those instances when I badly wish I could win the lottery and make it all better. Even though it is scrappy in many areas, it was also easy to find a flattering angle for pictures - something I attribute to the layout being very relaxed and organic, no edging or excessive ornament, and the plants being a well layered mix of nice big mature specimens with smaller plants. There were lots of plant labels but no labels on plants I wanted to identify / verify.All in all, worth the ten bucks to support a local treasure.....even if it did mix all kinds of weird stuff in with natives with little explanation of what we were looking at and there was only one bench in the whole place. I'd not call it a botanical garden, but I had a really nice half day out.
Mixed lawns - alternatives to turfgrass
Lawn daisies
Even if you don't go to the expense and trouble of removing an existing lawn regardless of its condition, simply overseeding with white clover can start a remarkable transformation. Adding clover to your turfgrass lawn can begins the transformation of adding little flowers, benefits from nitrogen fixing, and gaining a more textured, greener appearance.
Read more


